
One and a half years of DIY Remodeling Before/After
As 2020 comes to a close, I decided to bring together a collection of photos. This is some personal progress tracking for everything I’ve remodeled. The before photos are when I moved in, and the after is what they look like now from approximately the same perspective. Parts that are not remodeled yet are not included in this post. I plan to do much more :)
Yes, I plan to paint the remaining wood trim white, and replacing the rest of the luan doors.
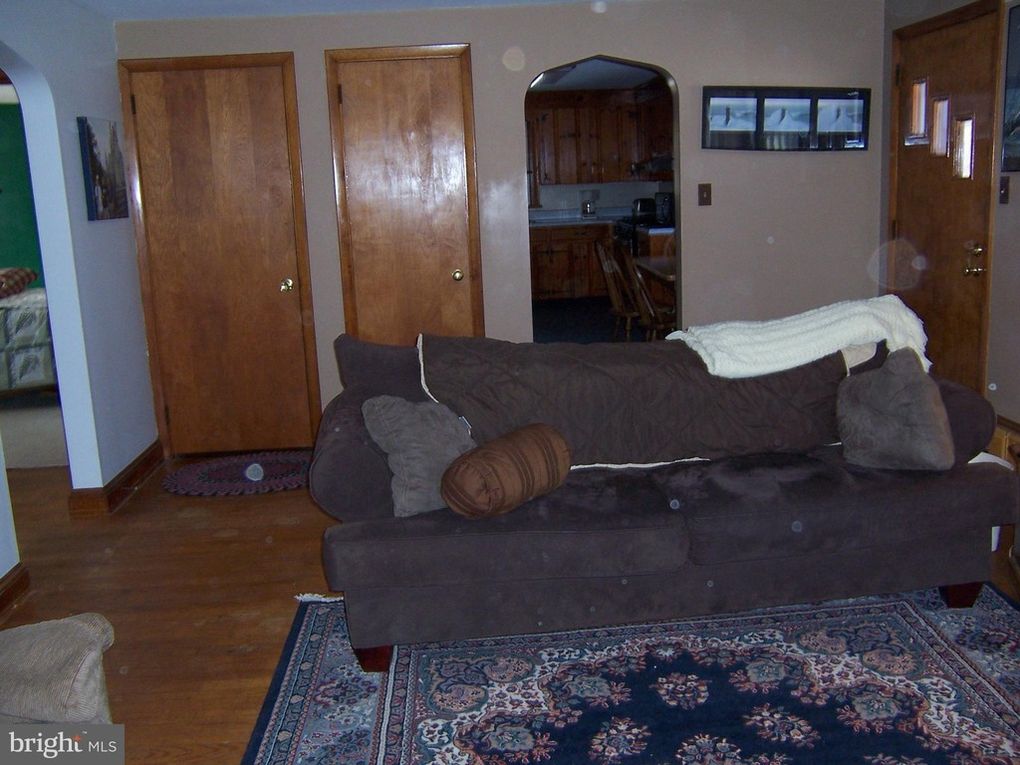
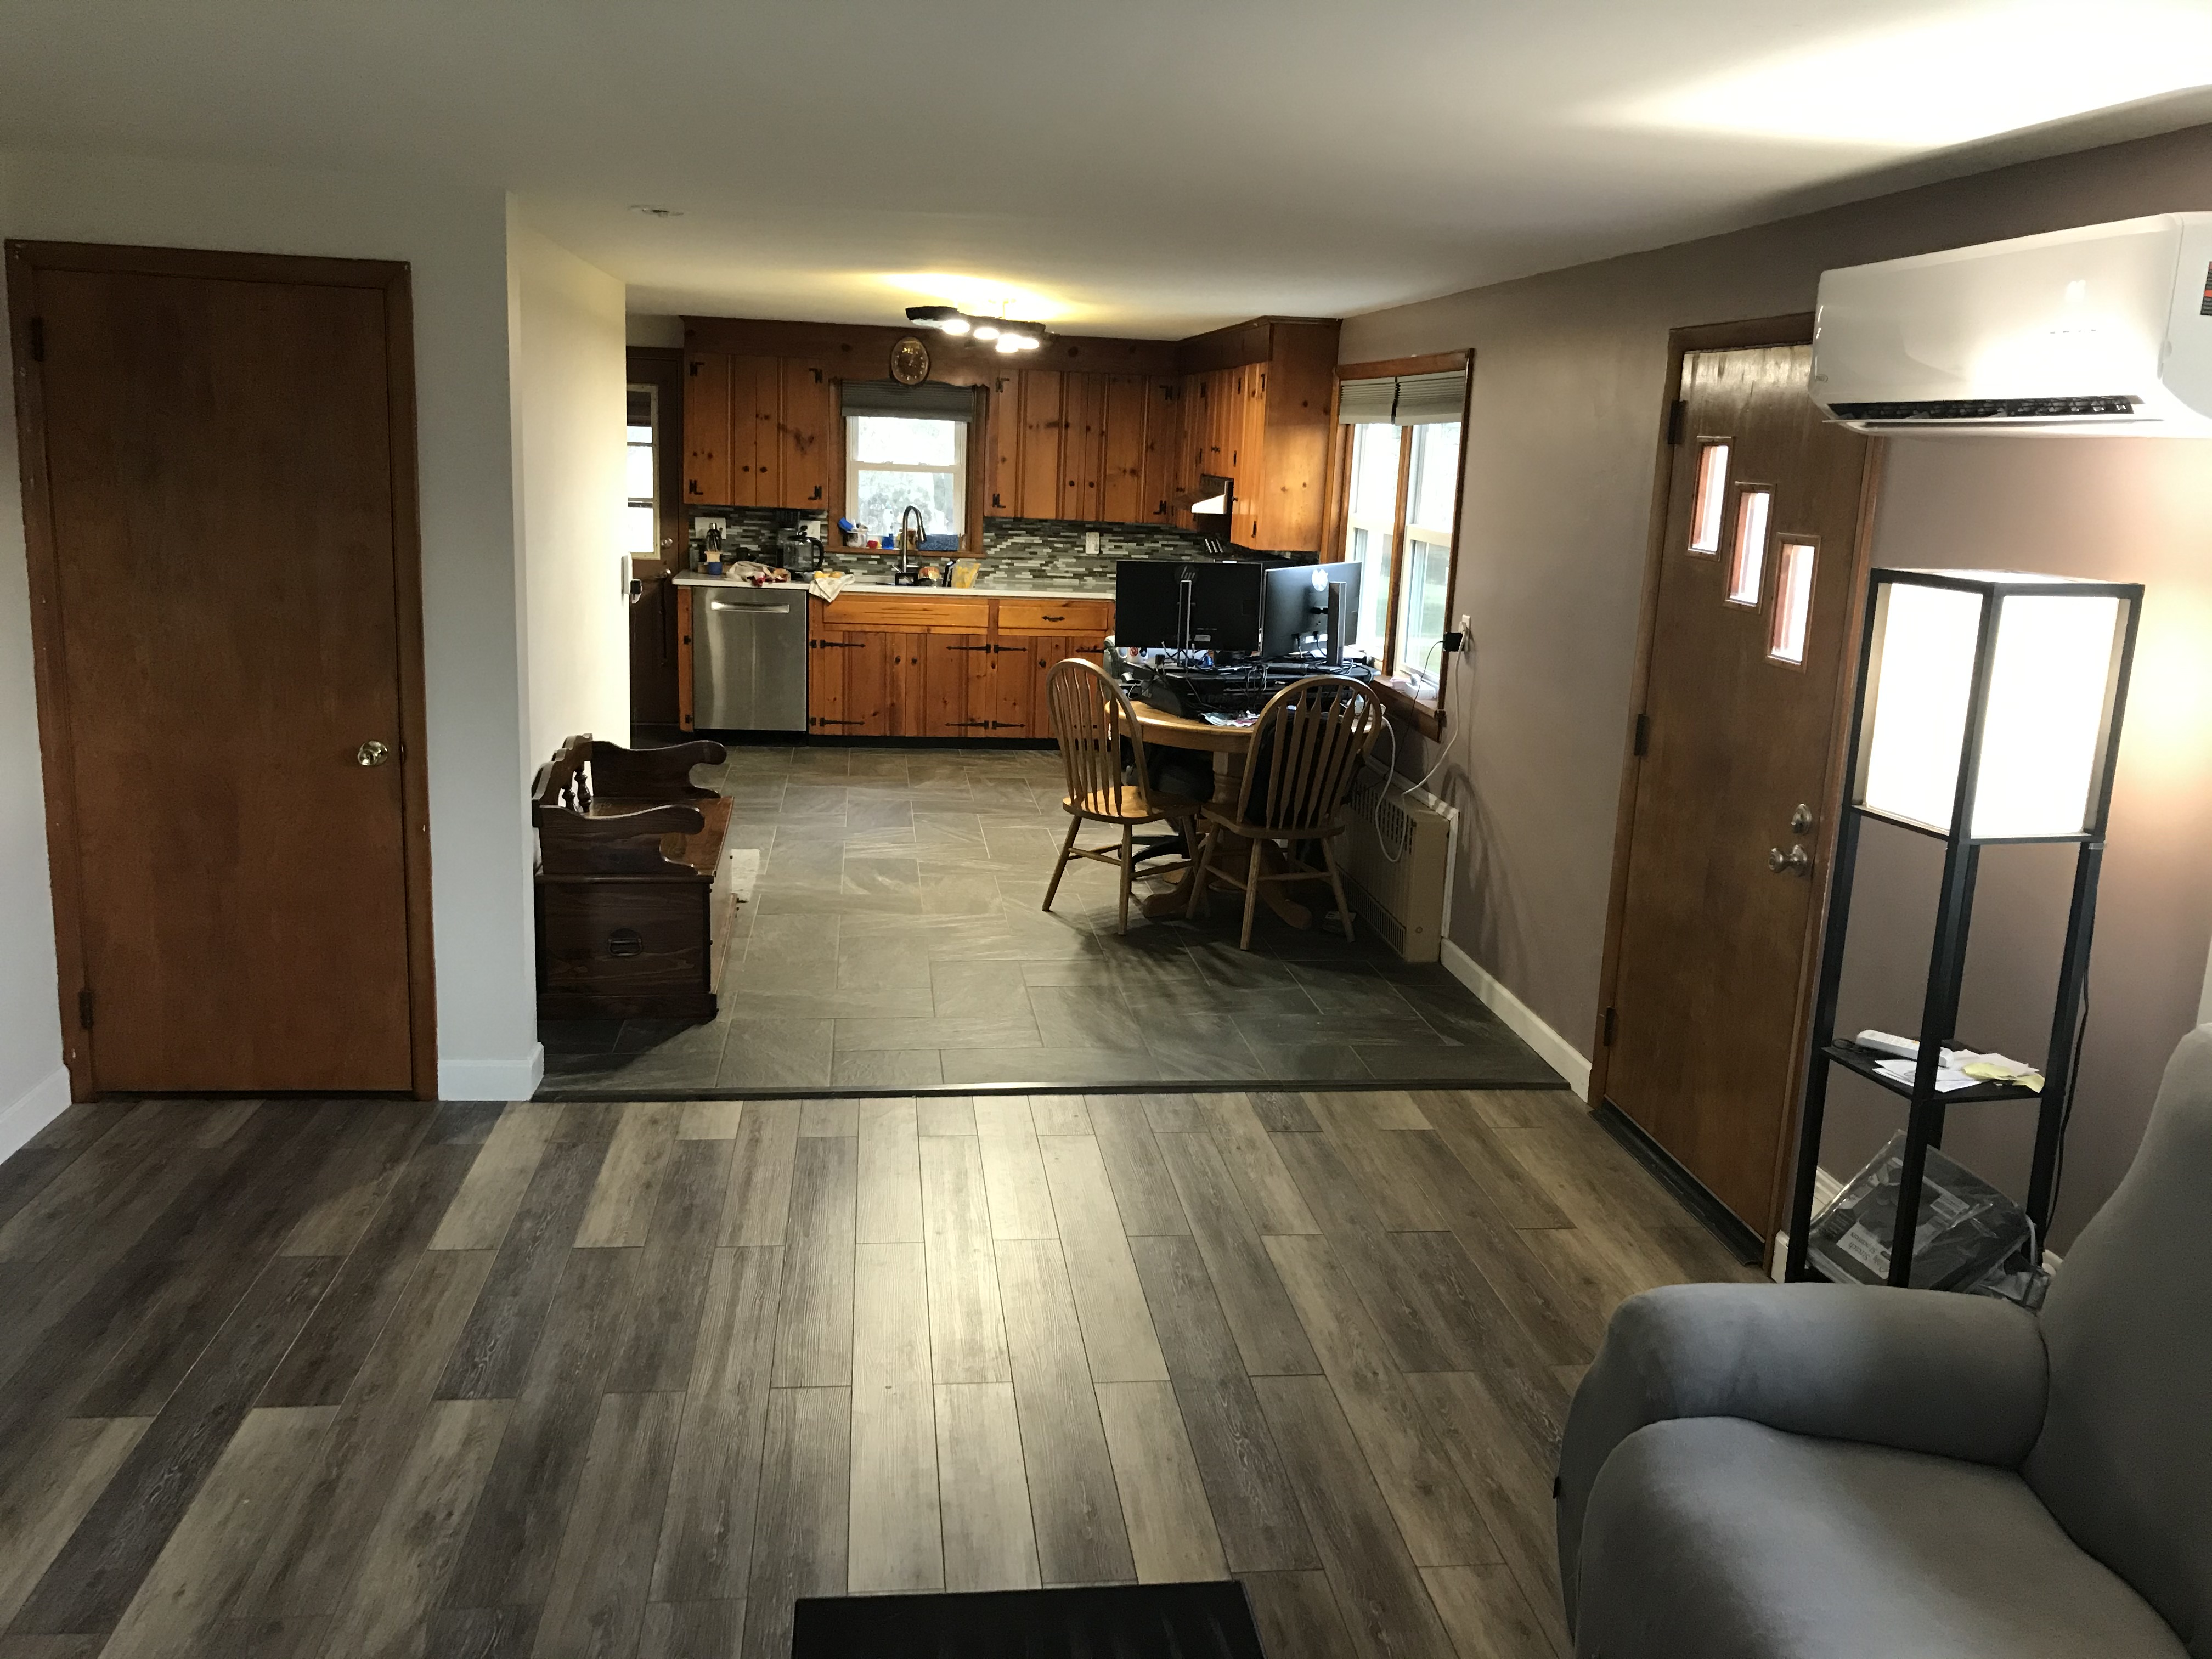
Open Floor Plan
Should have seen the garbage pileup from this. Something like 30 bags had to be hauled by my brothers and I down the driveway.
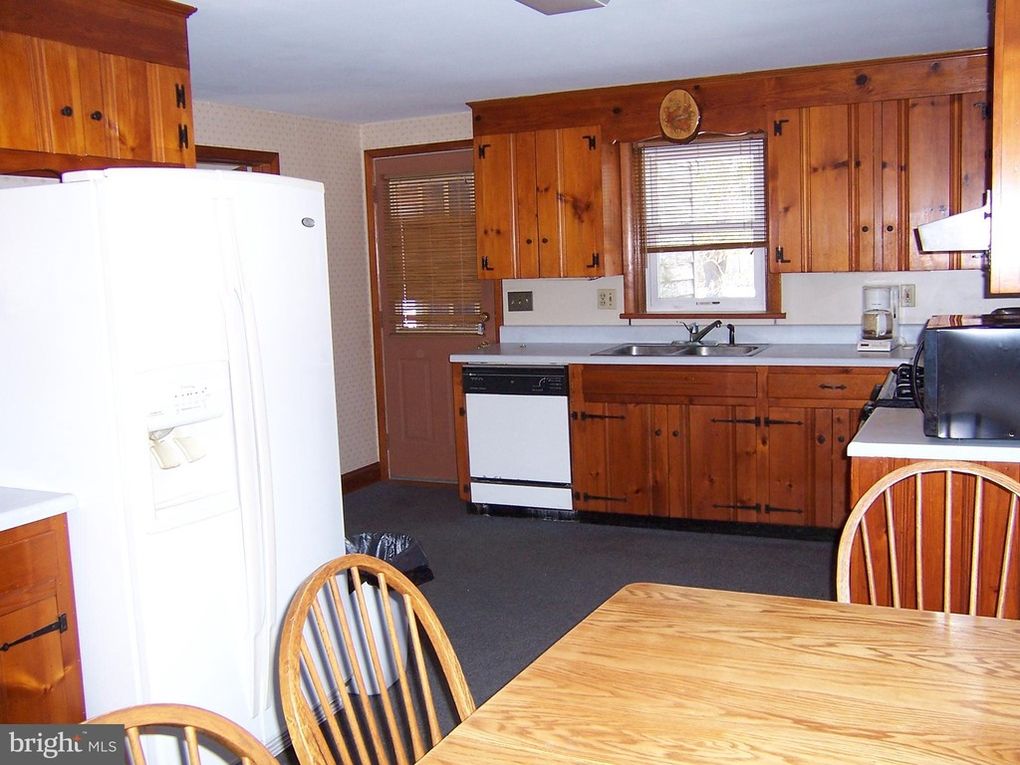
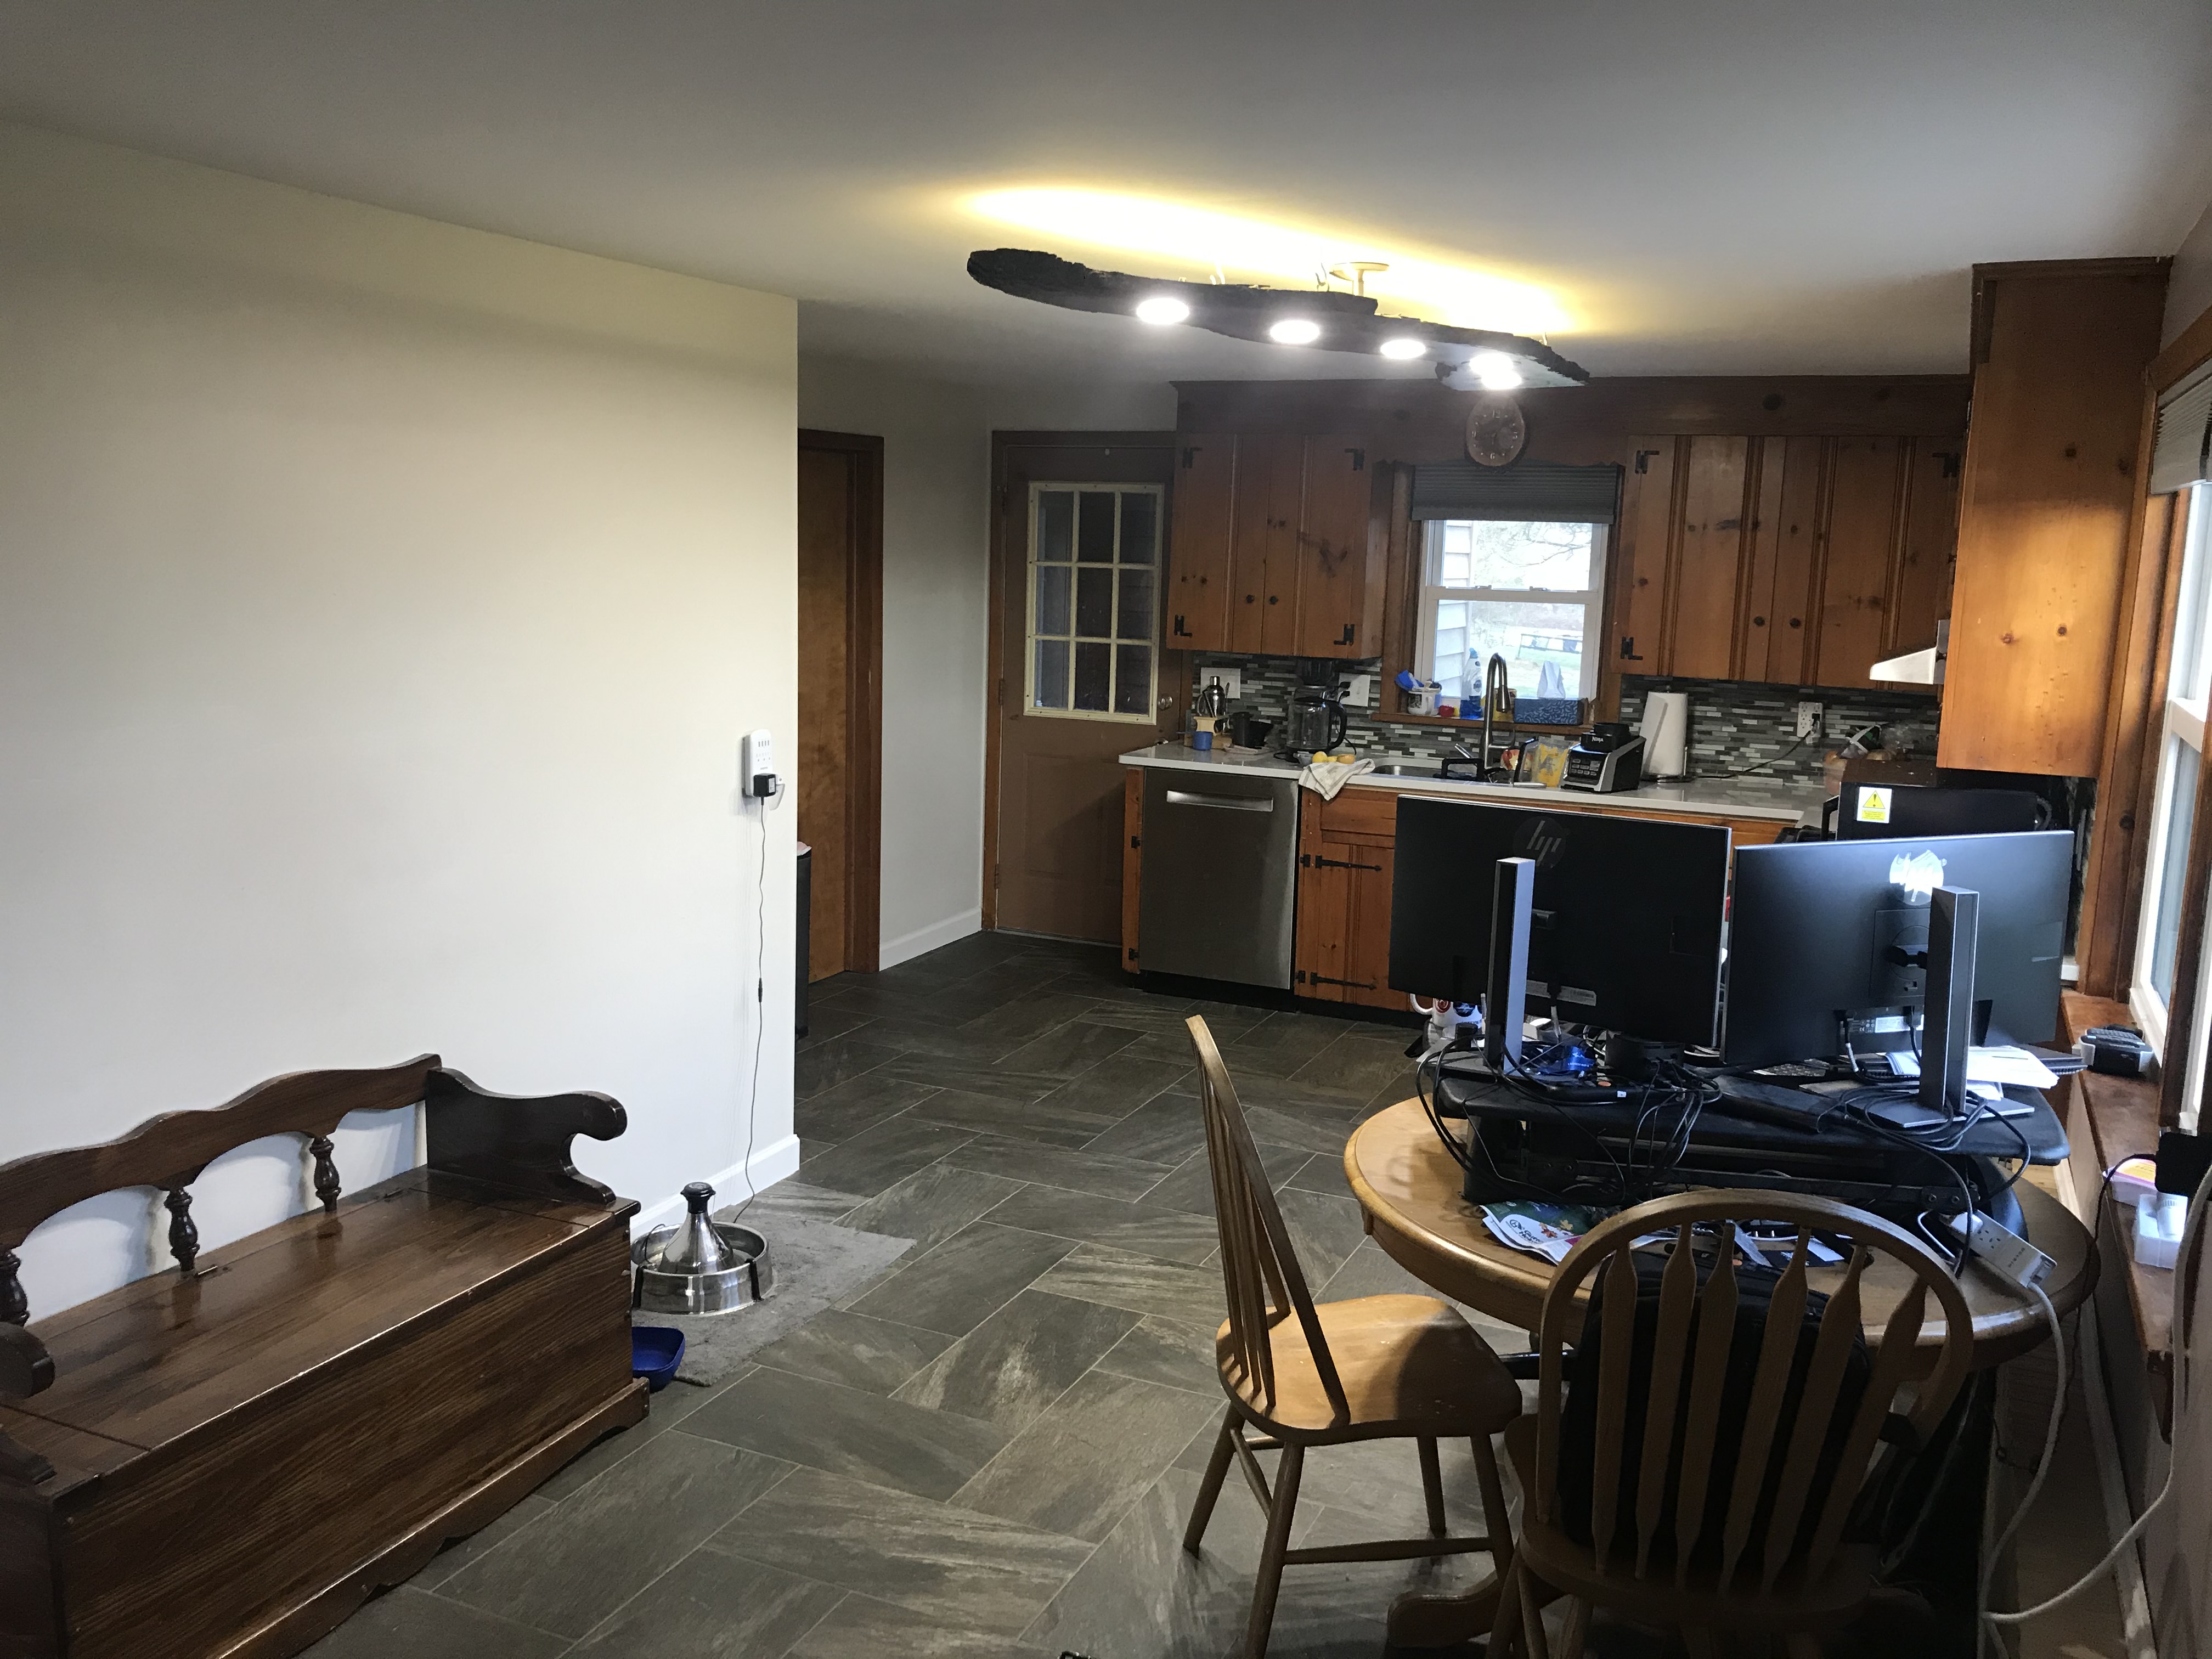
Kitchen Entry
No more extra useless cabinet, fridge moved into the “pantry” which we have yet to remodel. For info on how i did that live-edge light you can see my post here.
Kitchen Counter
I really wanted (and still want) to redo these cabinets.
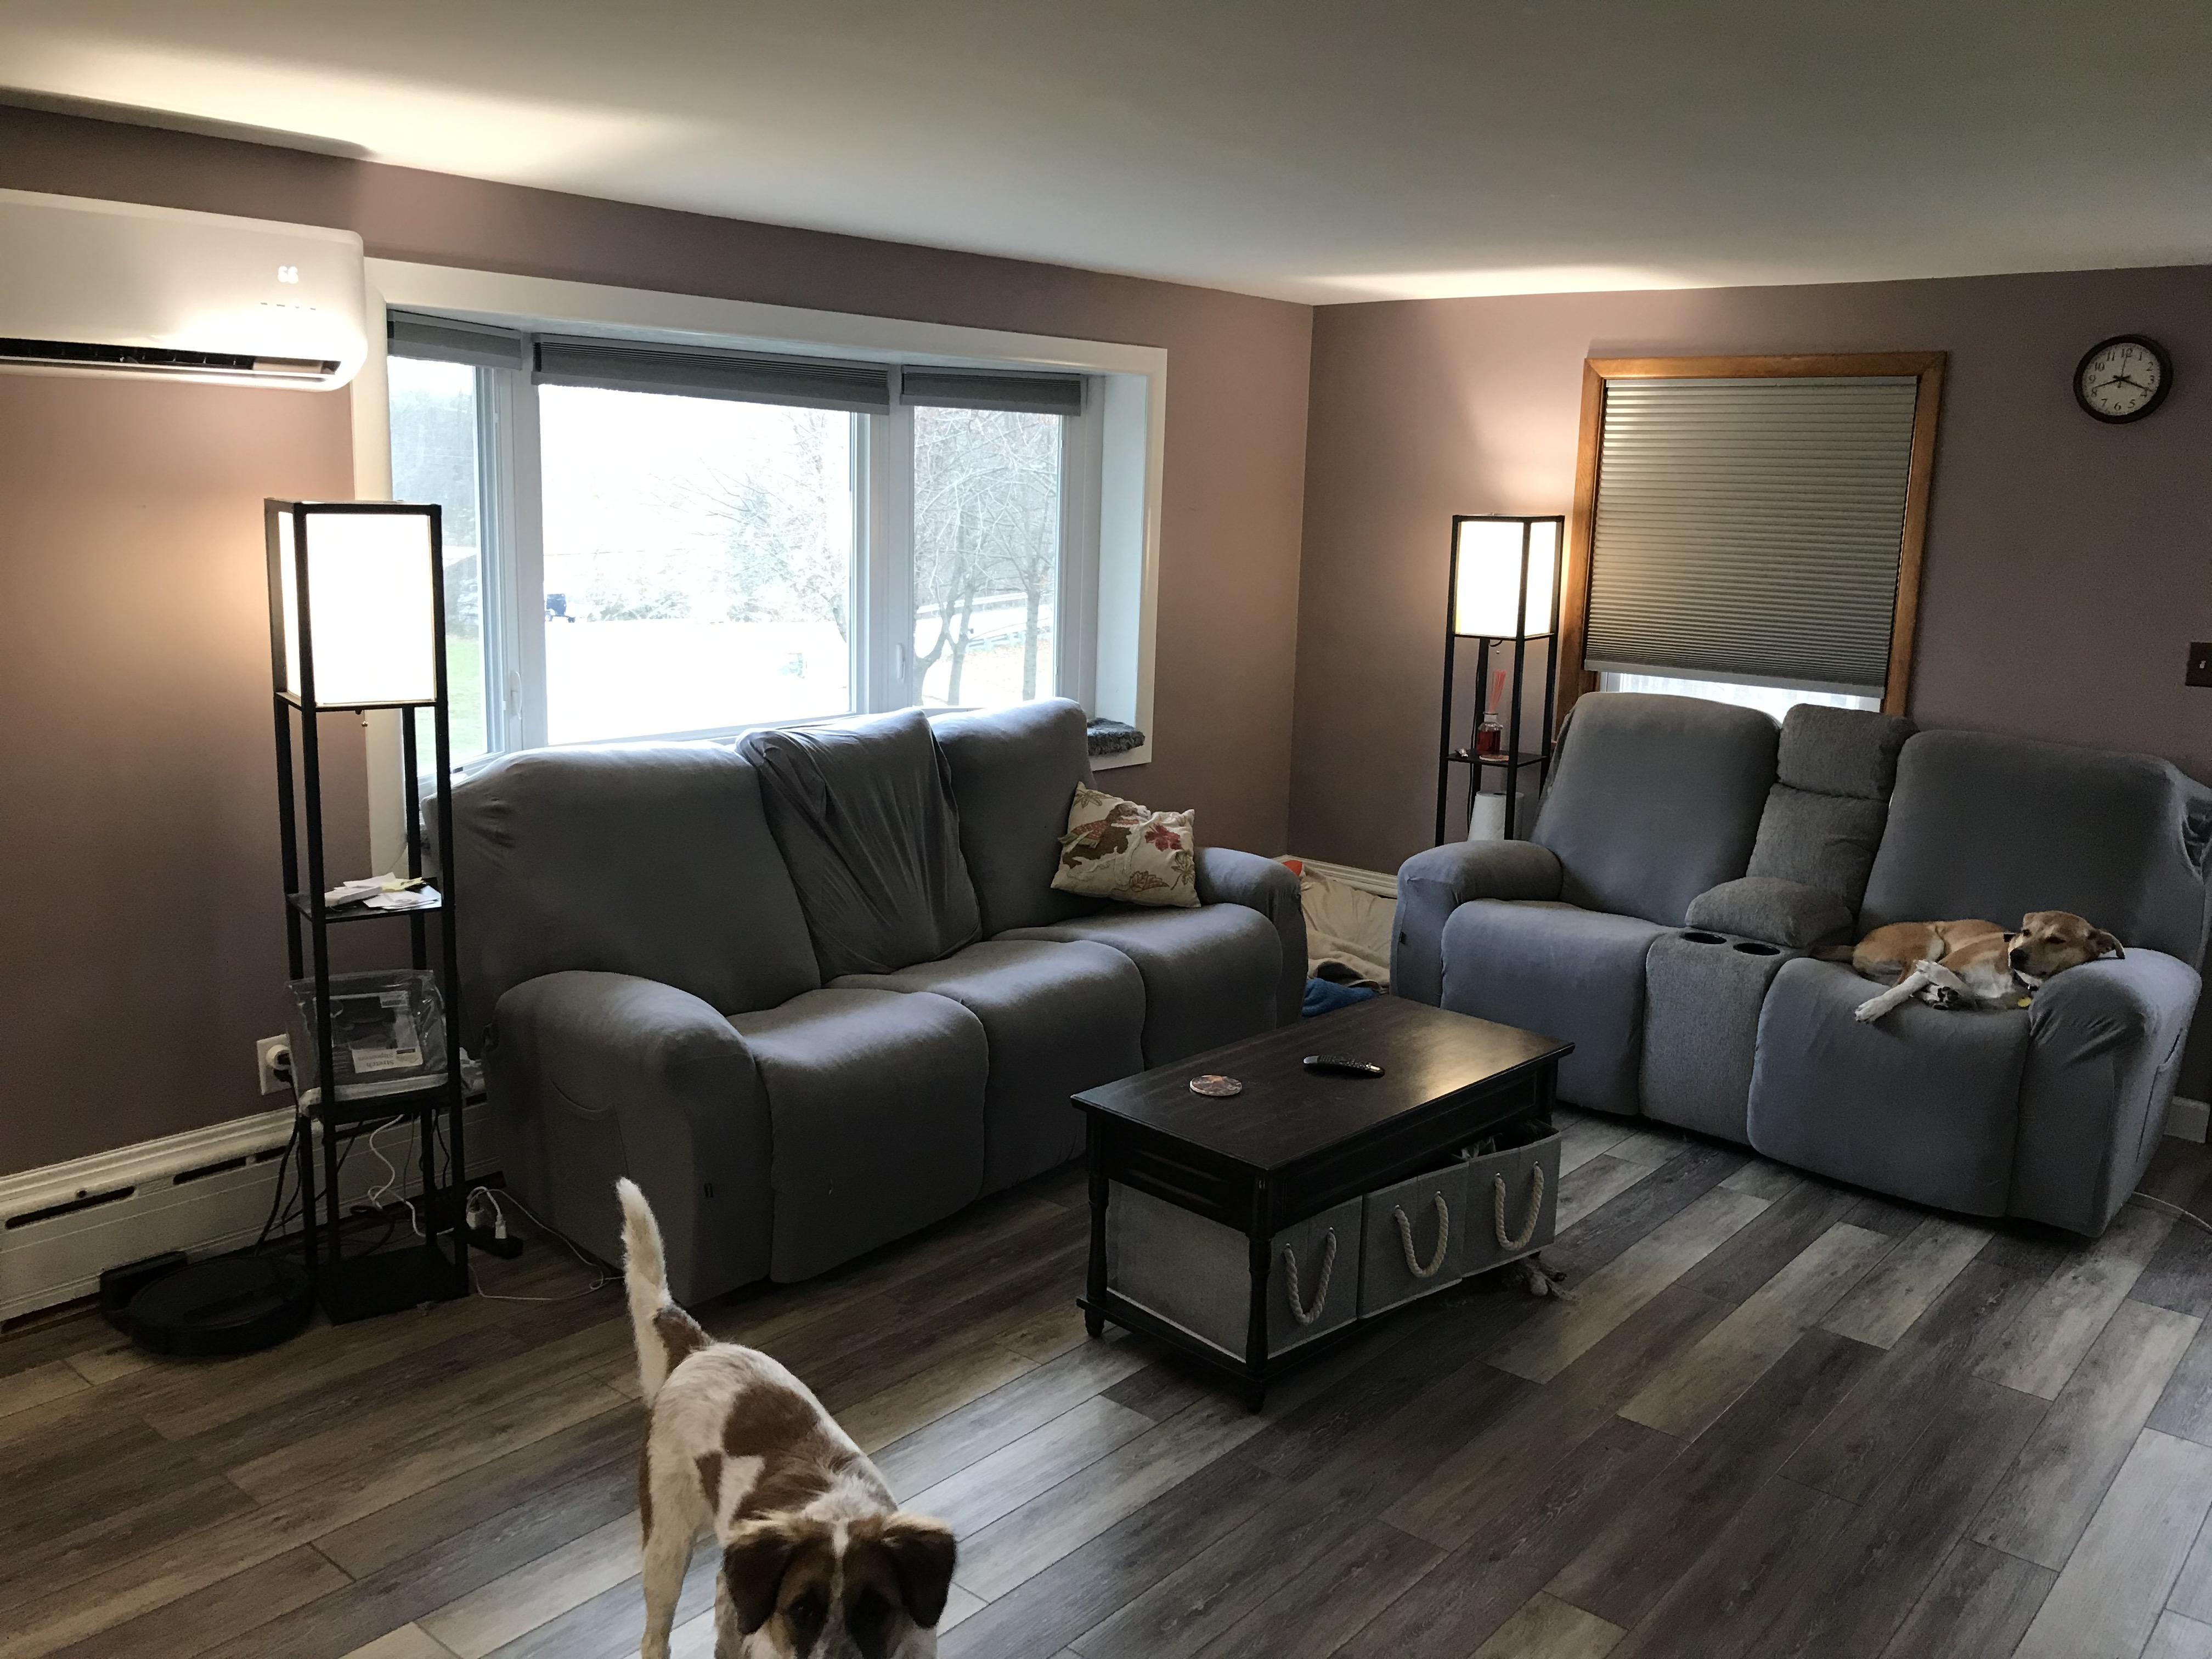
Living room
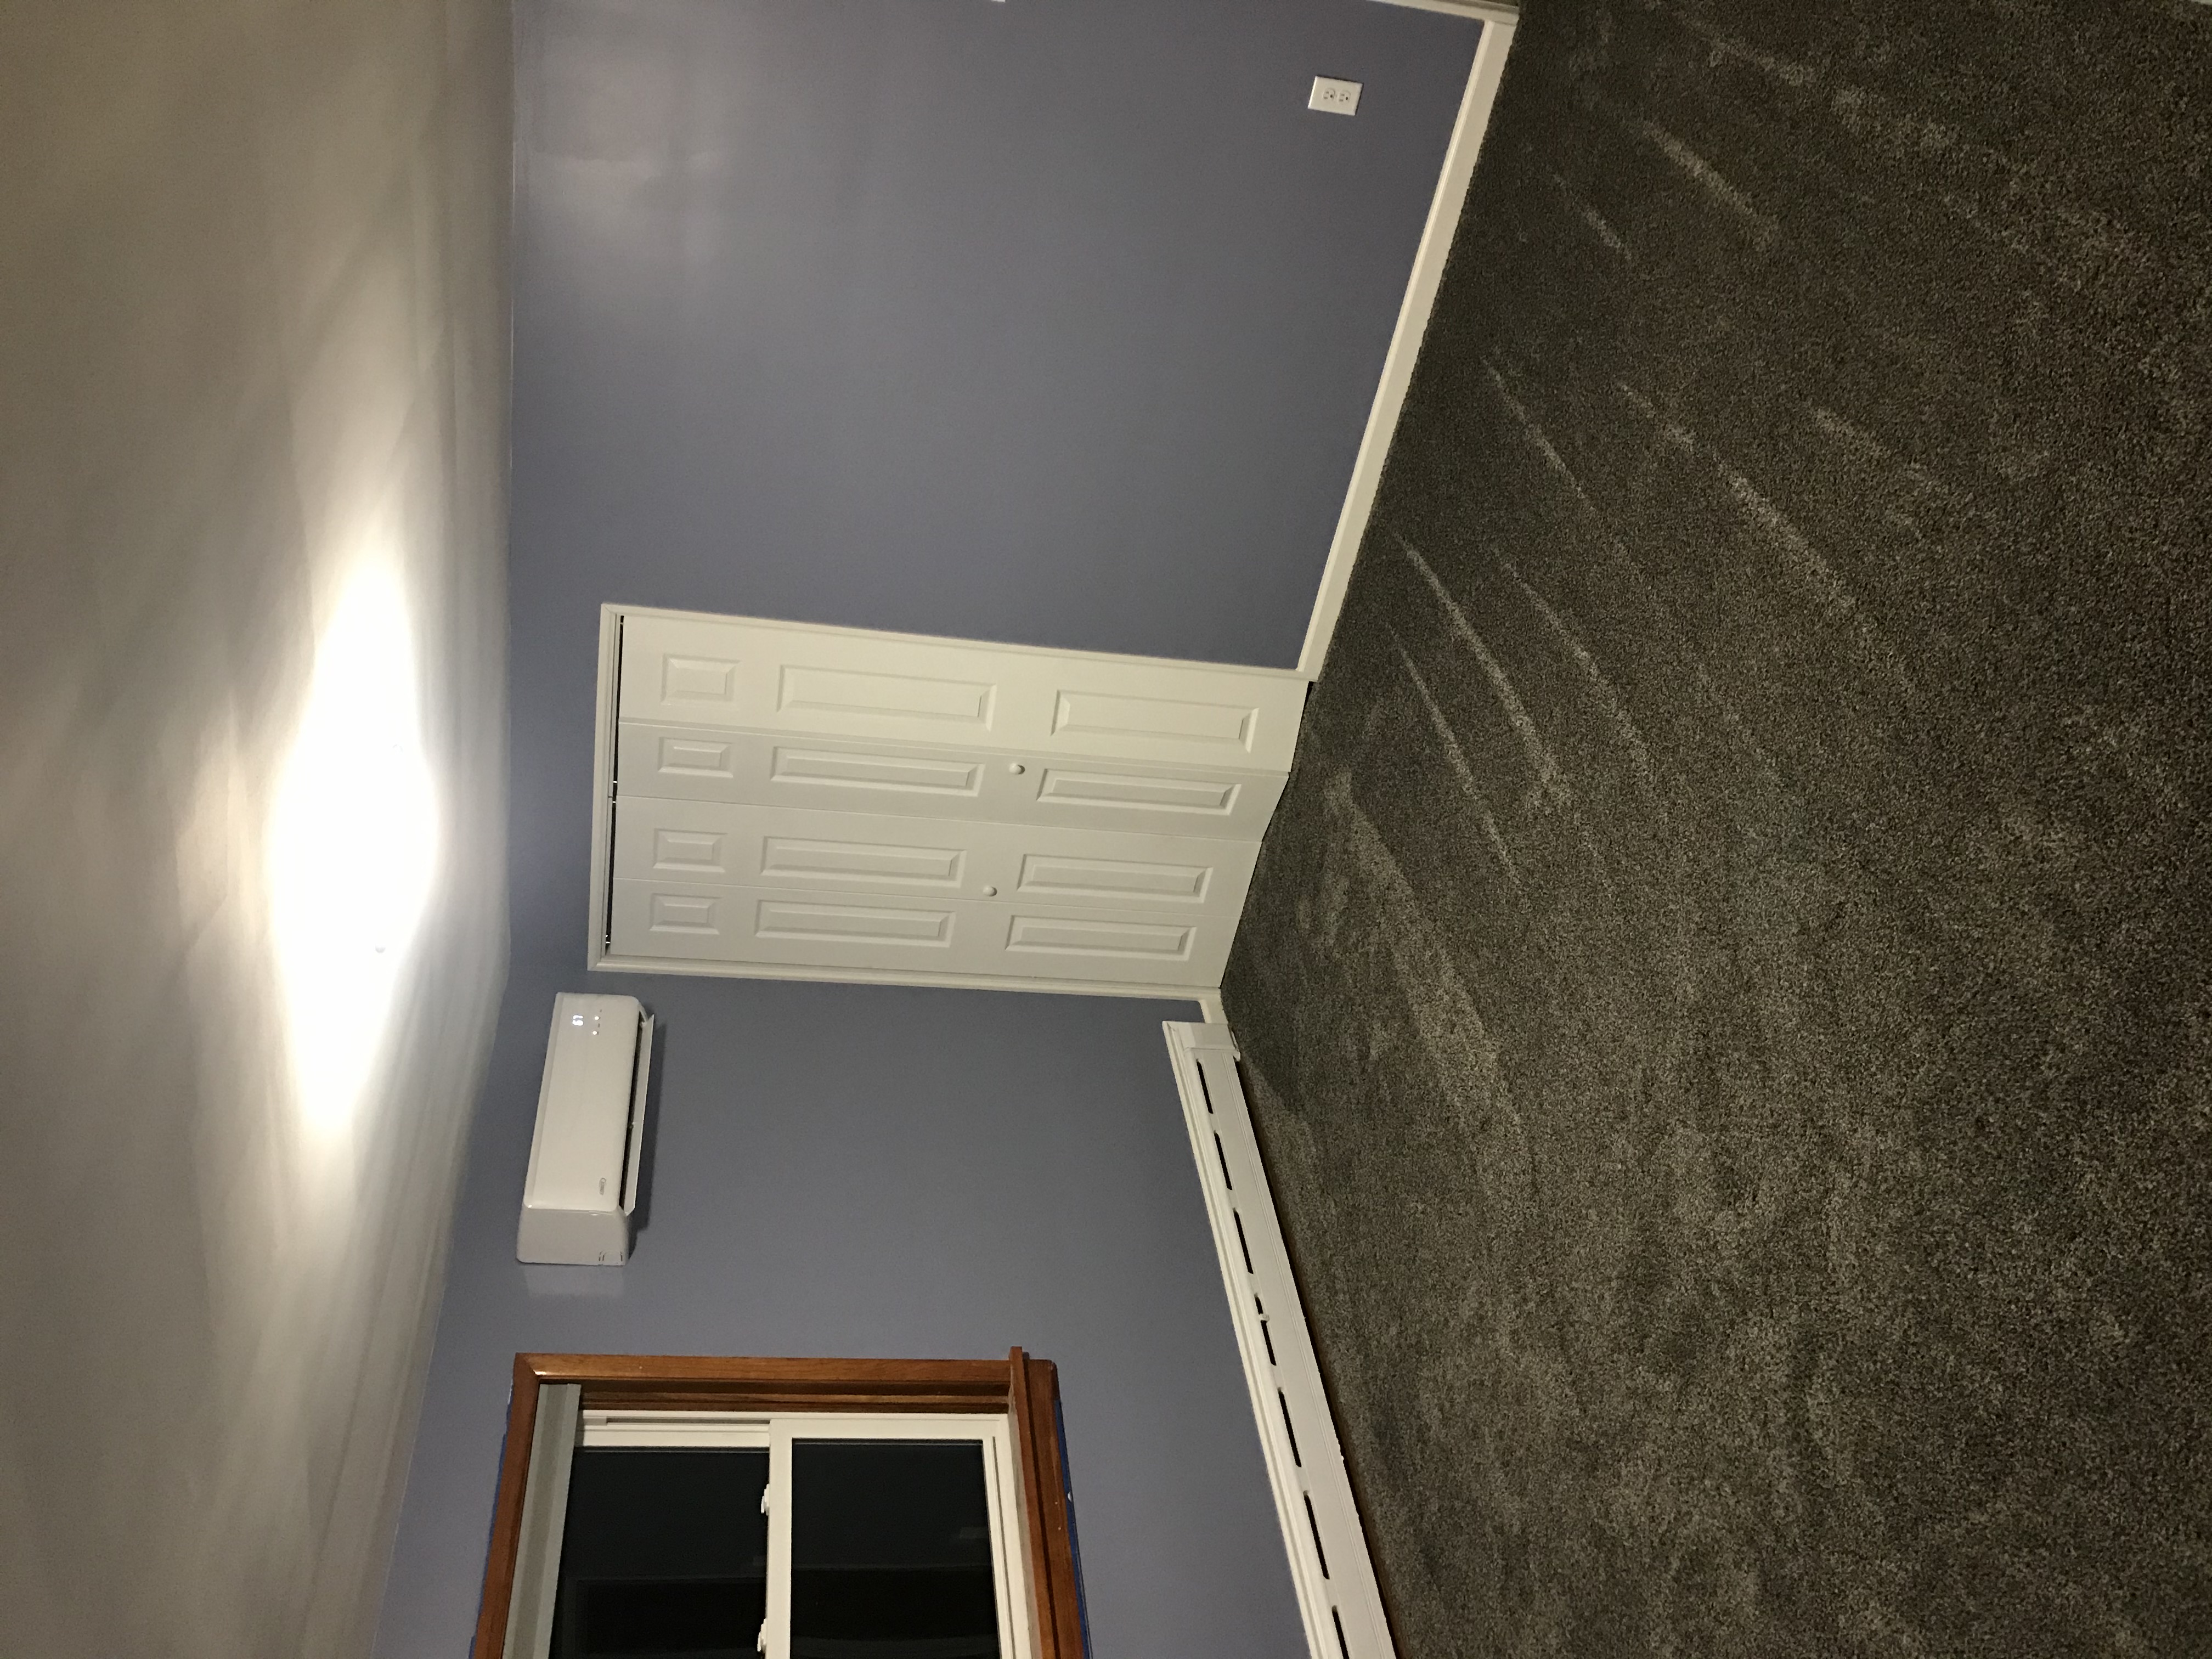
Living room, featuring a new bay window and part of our 3-zone ductless minisplit, which I think gives our house a more modern vibe.
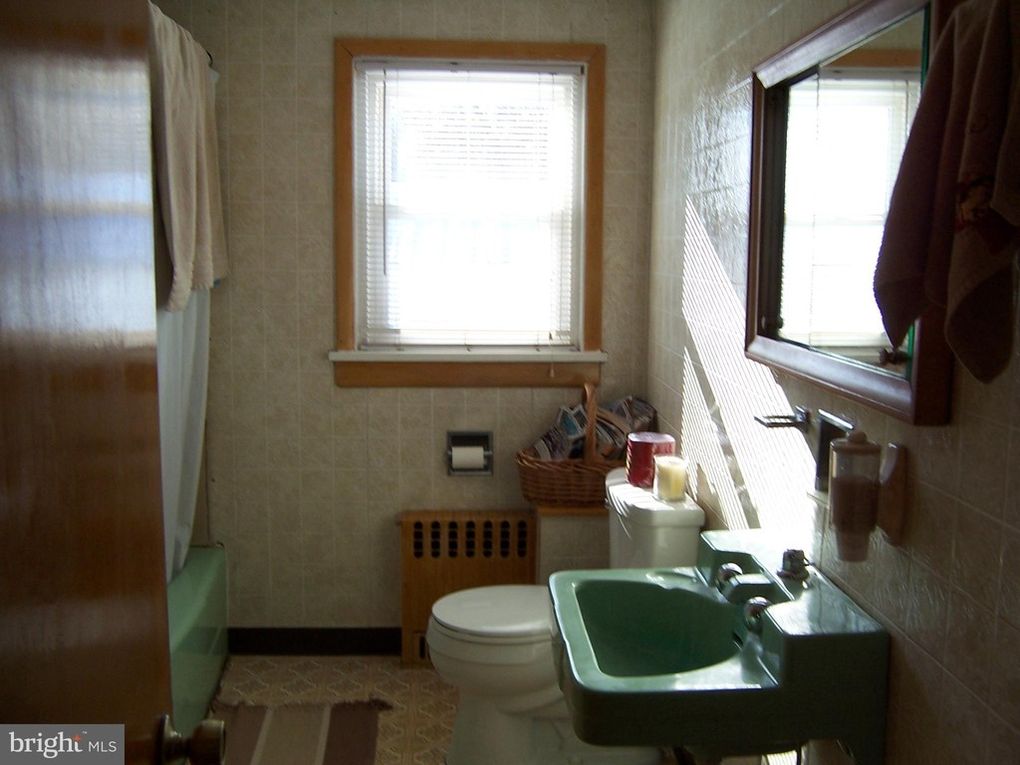
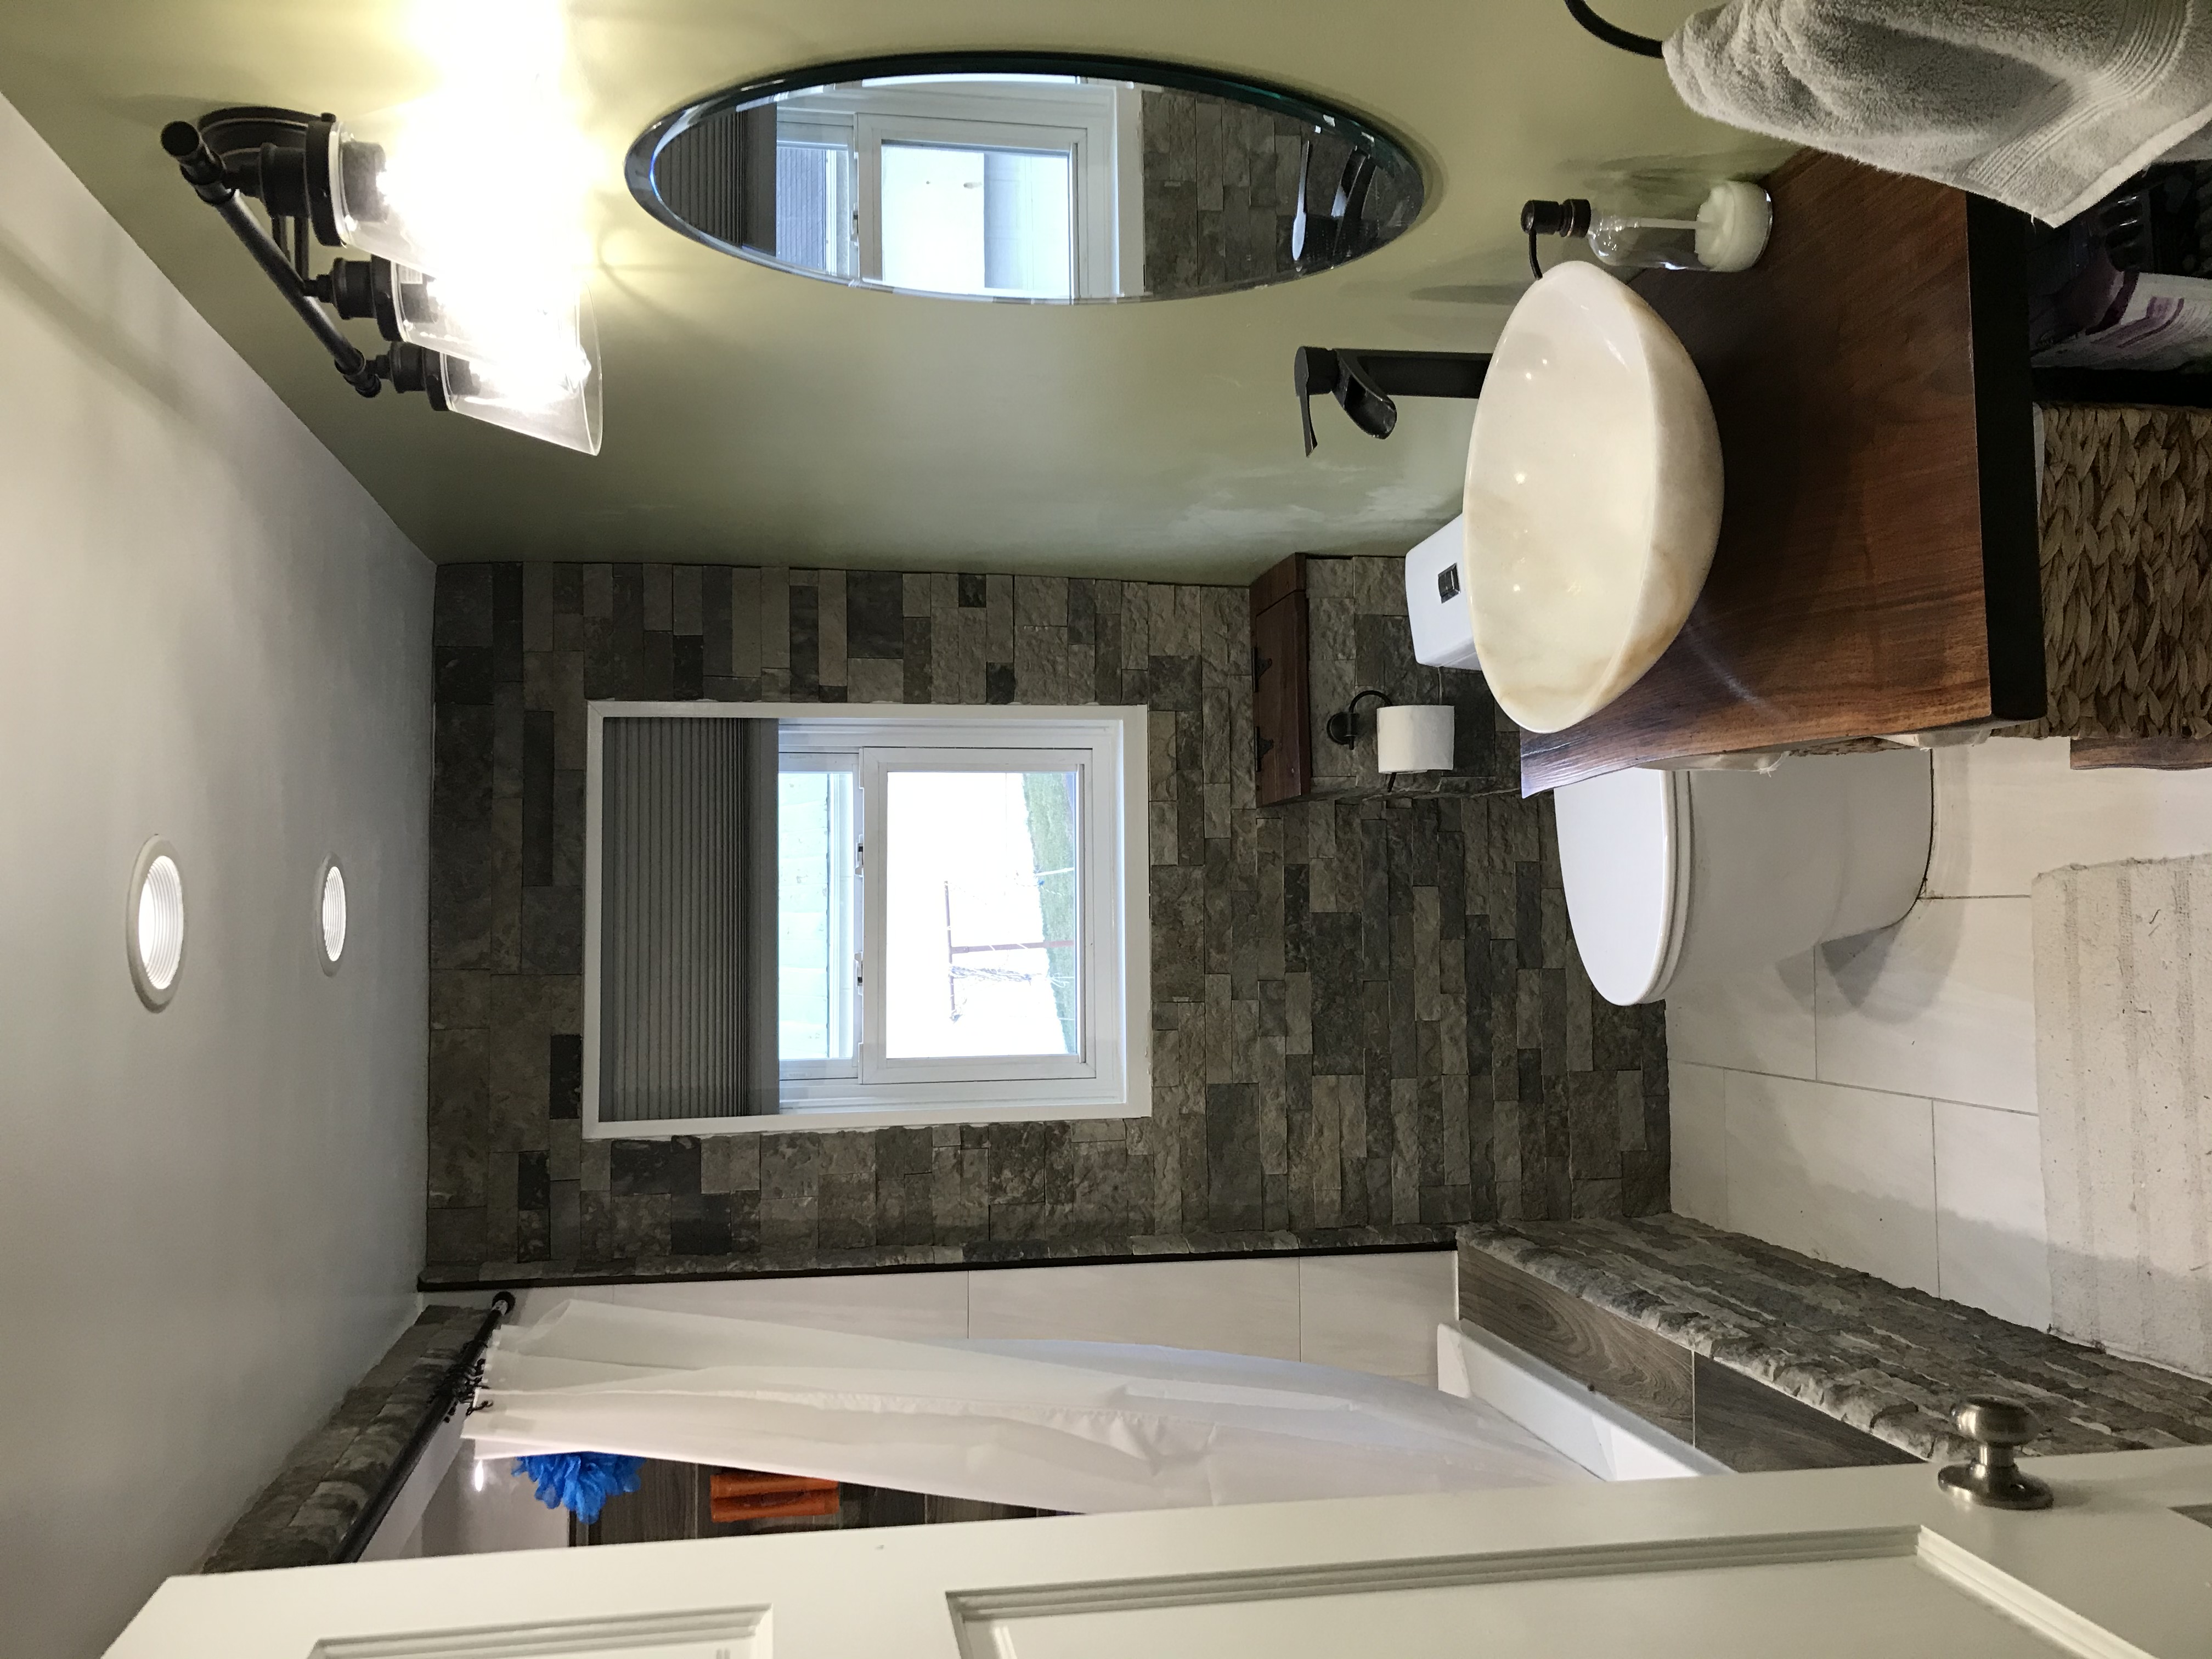
Bathroom
For more photos and info you view my bathroom post here. This was quite an undertaking.
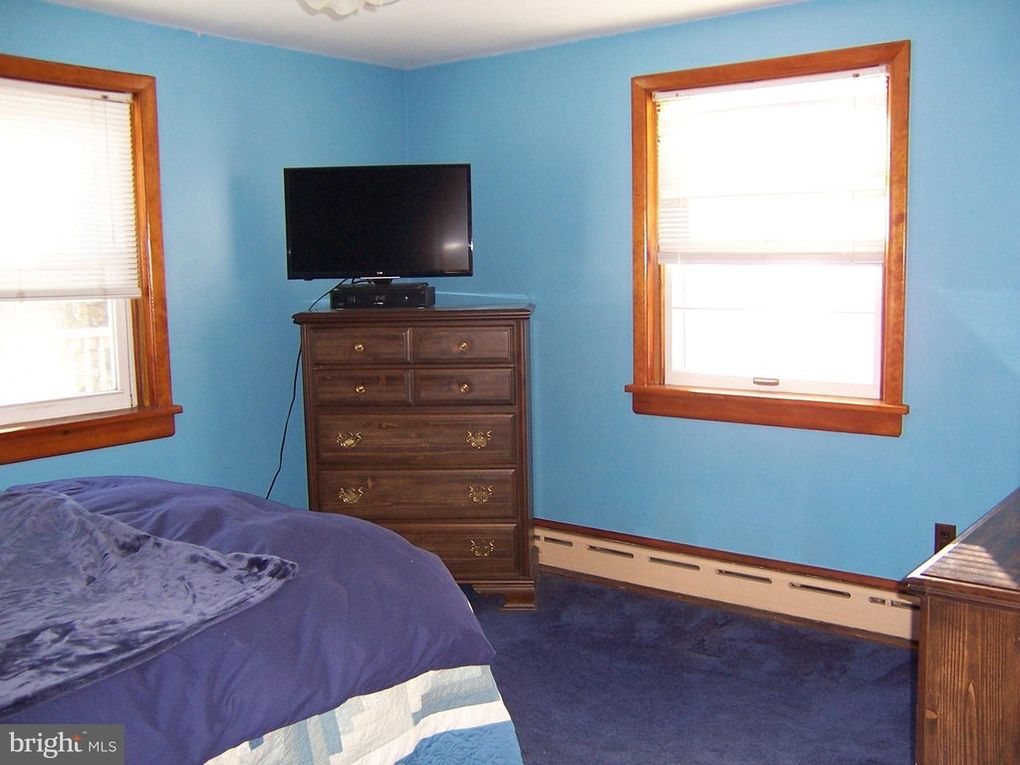
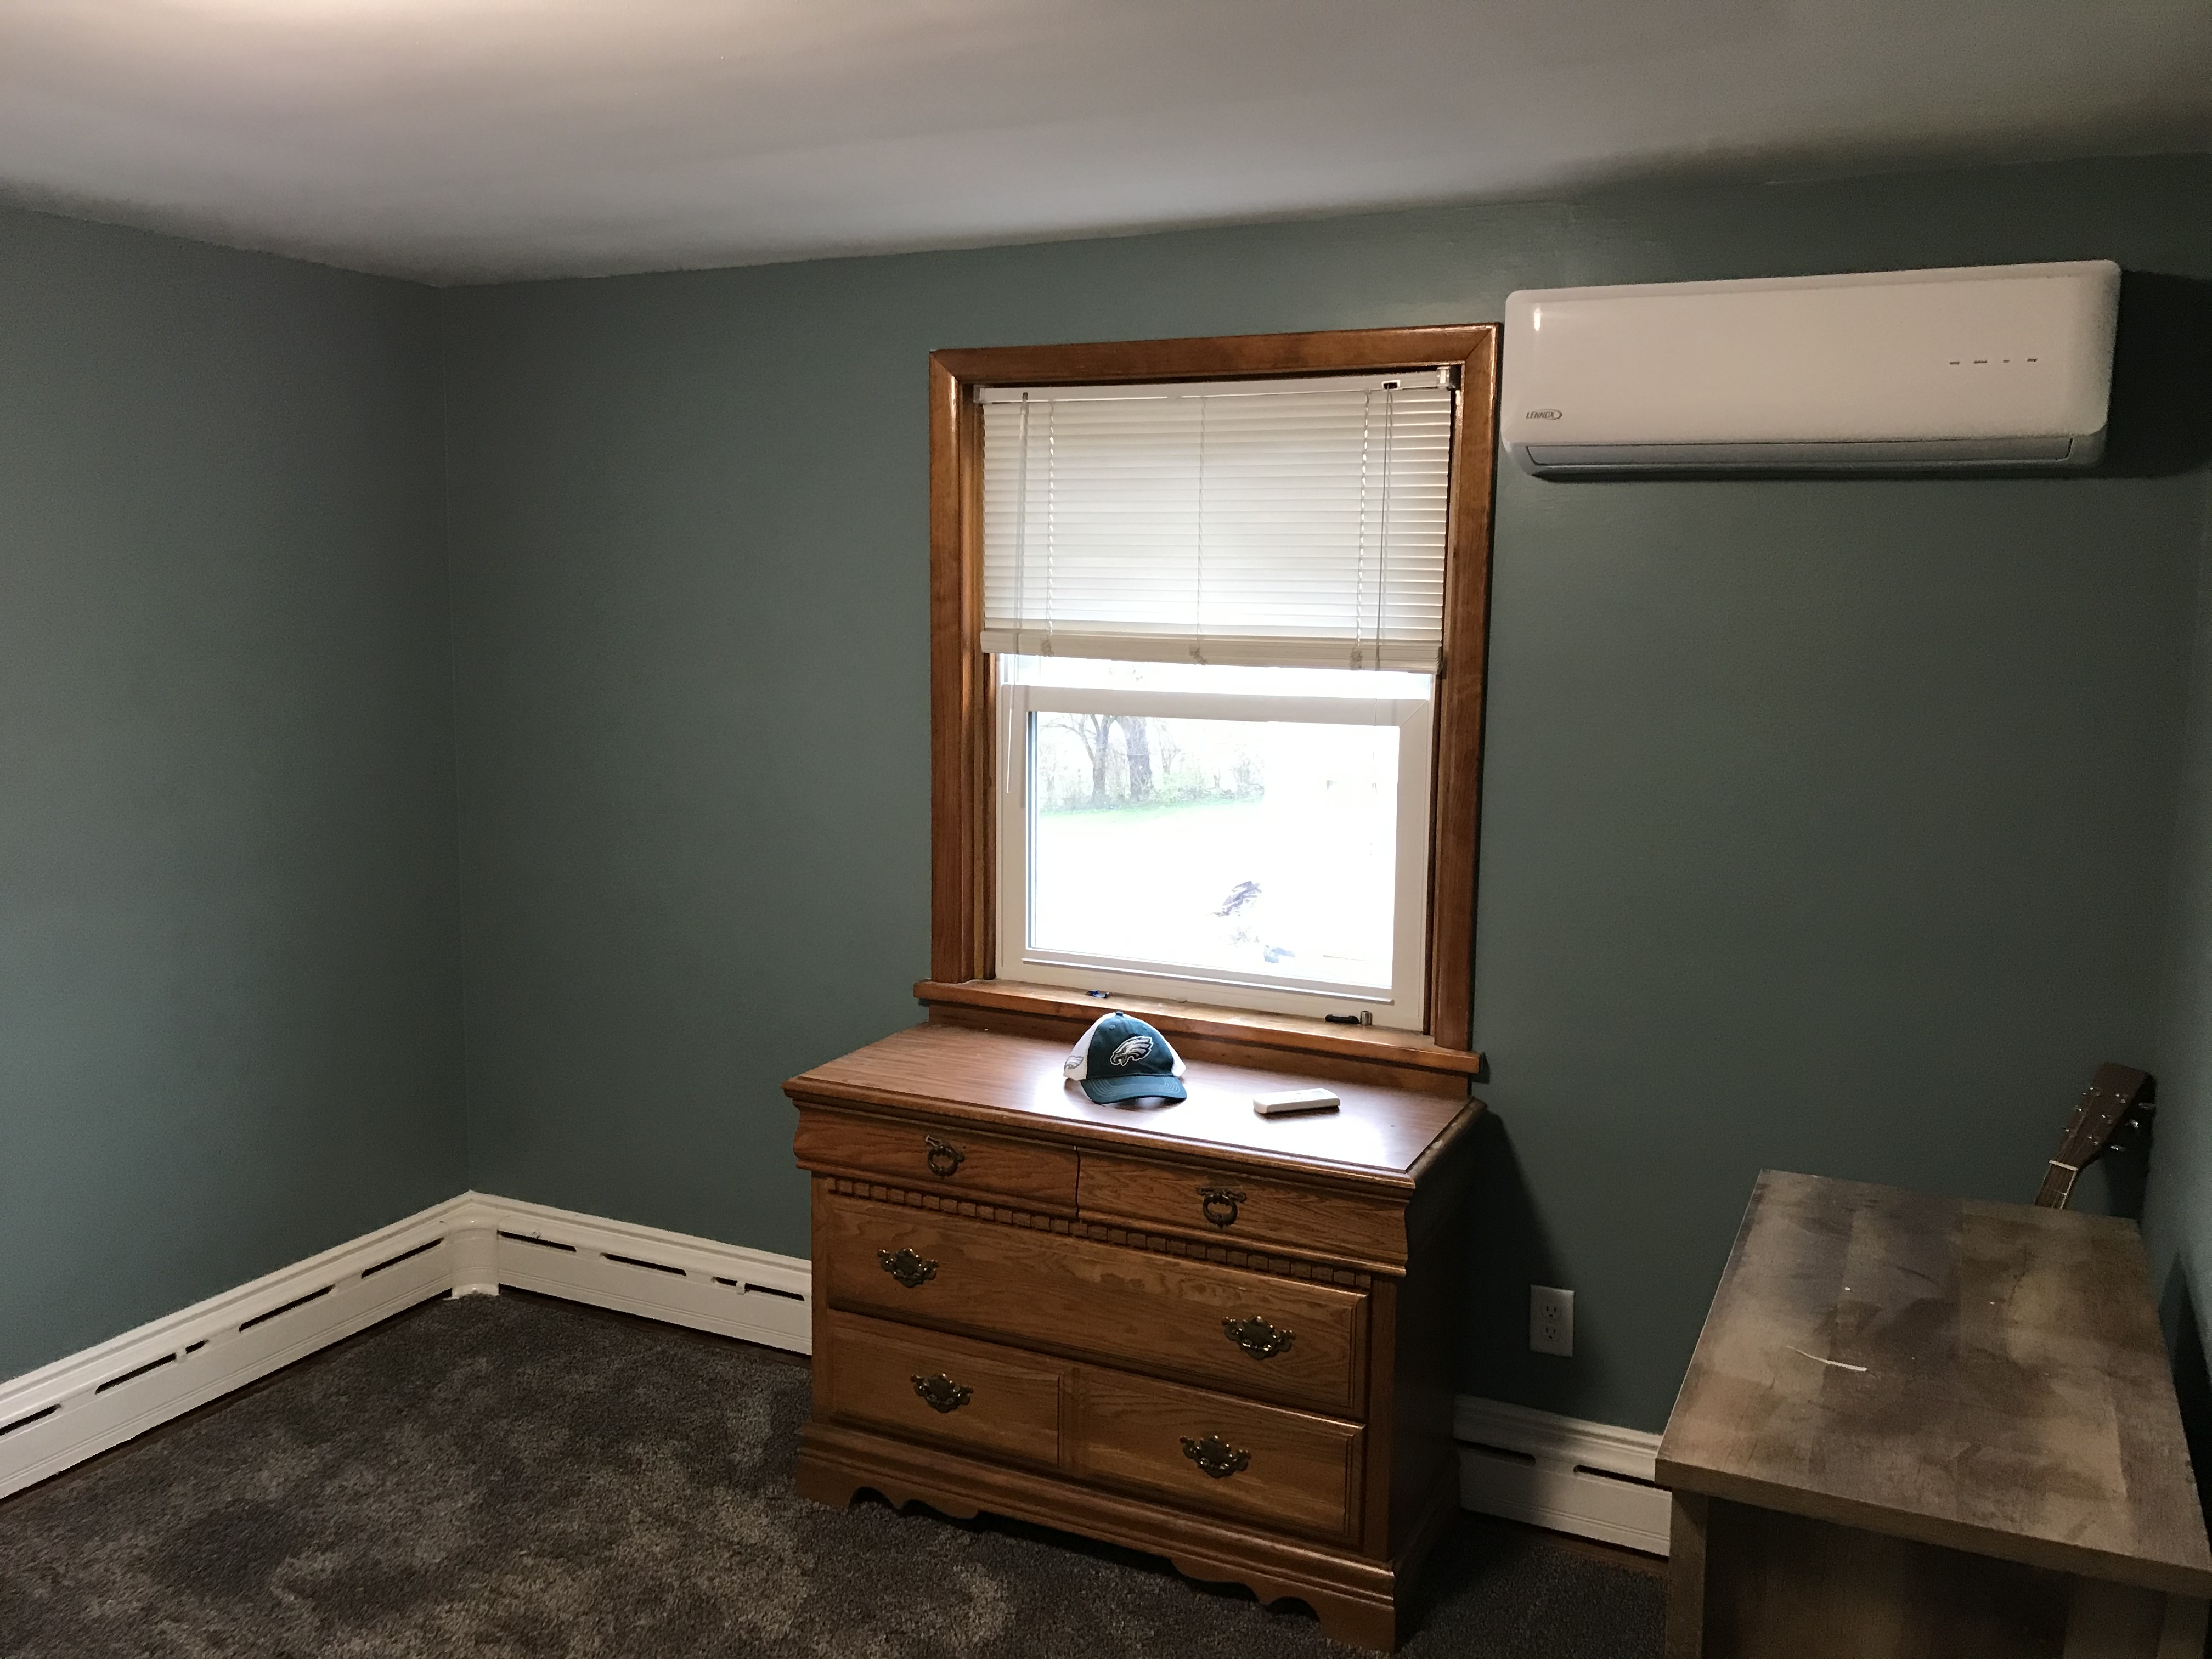
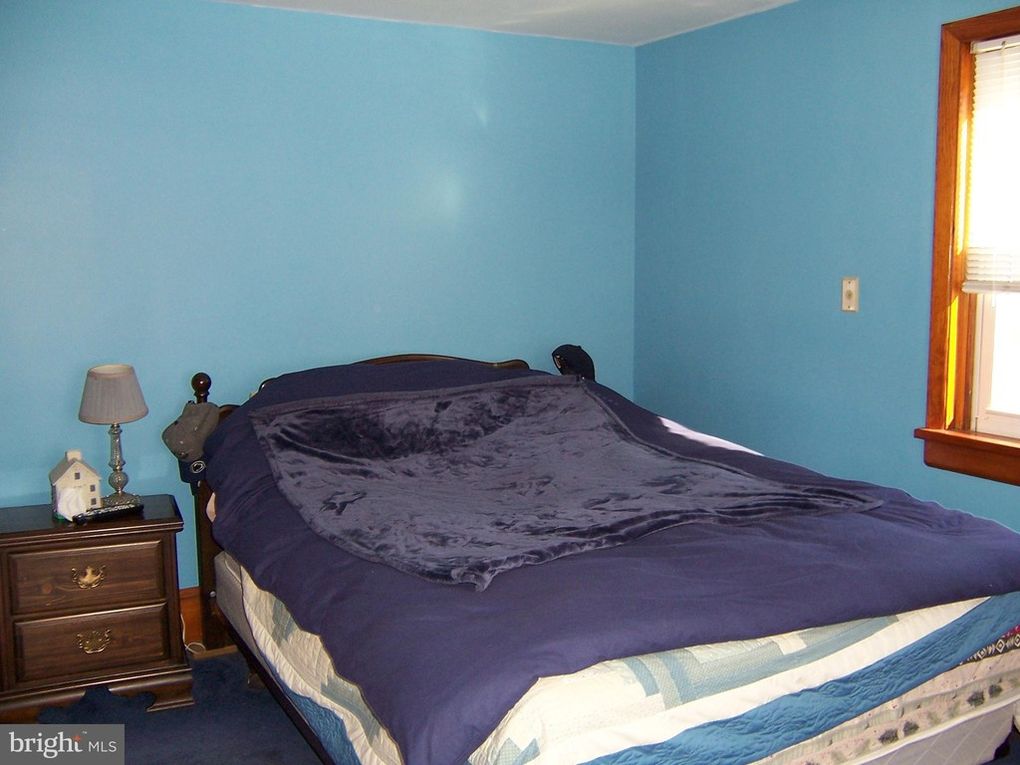
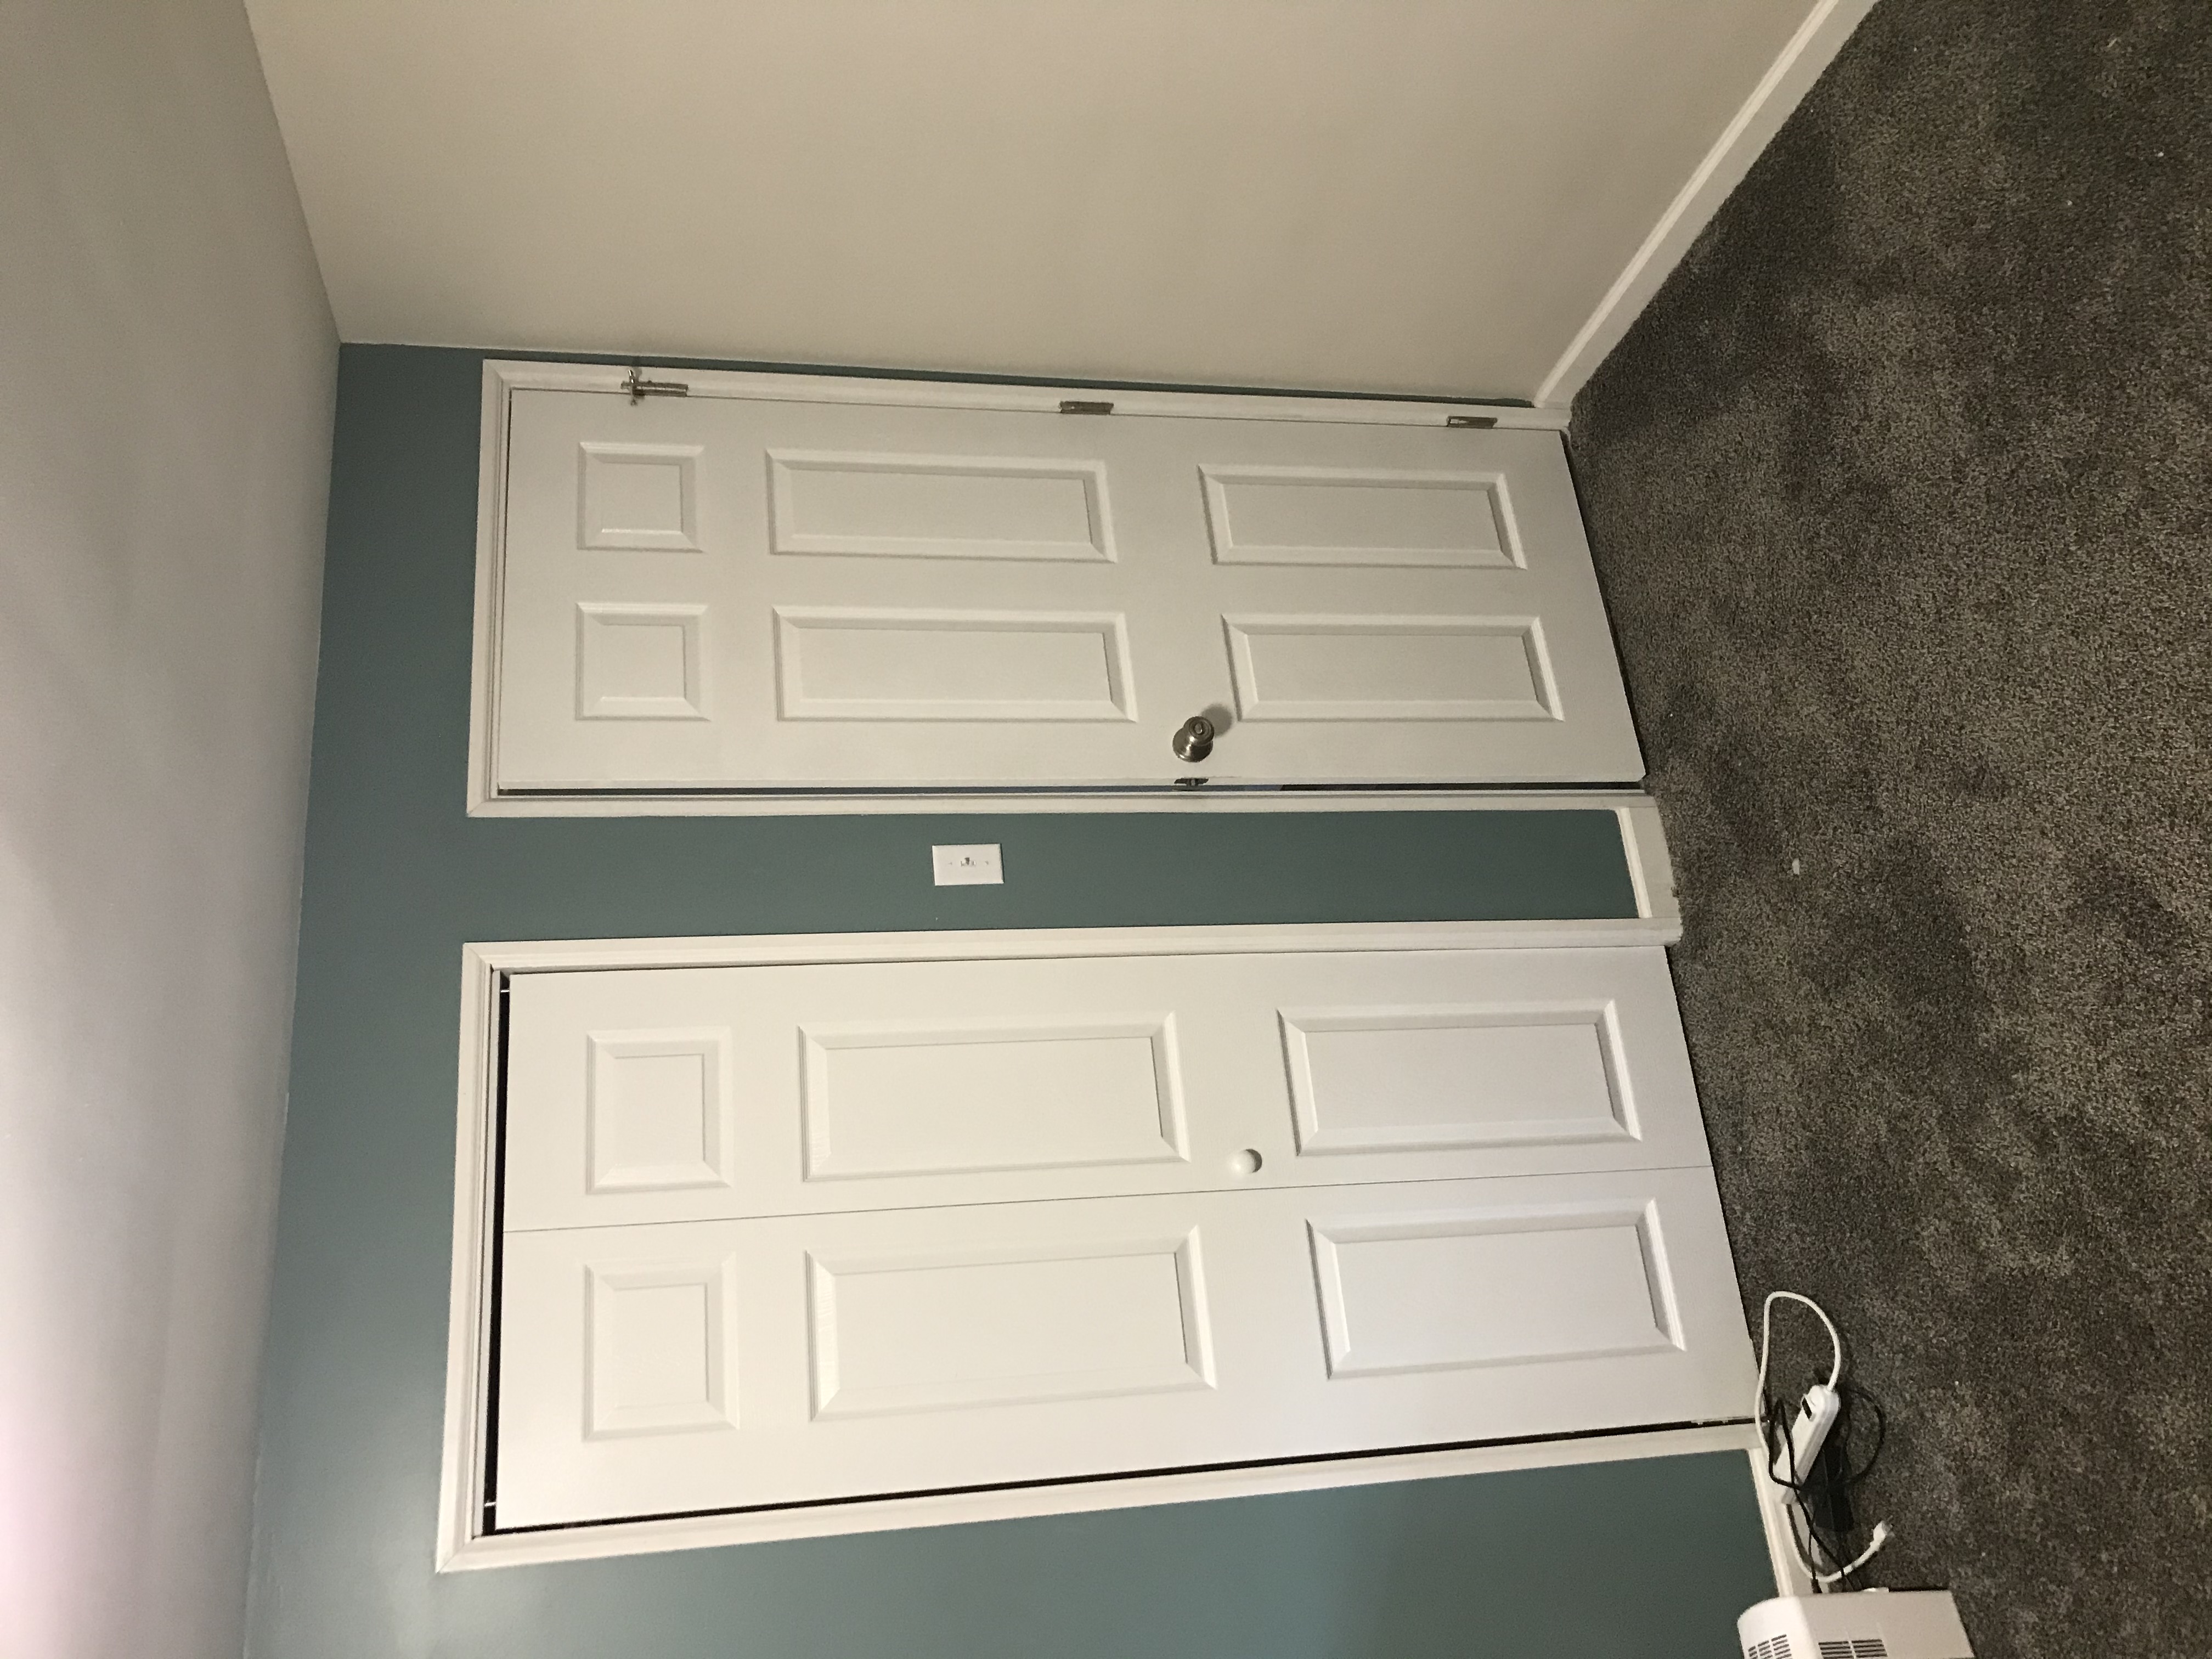
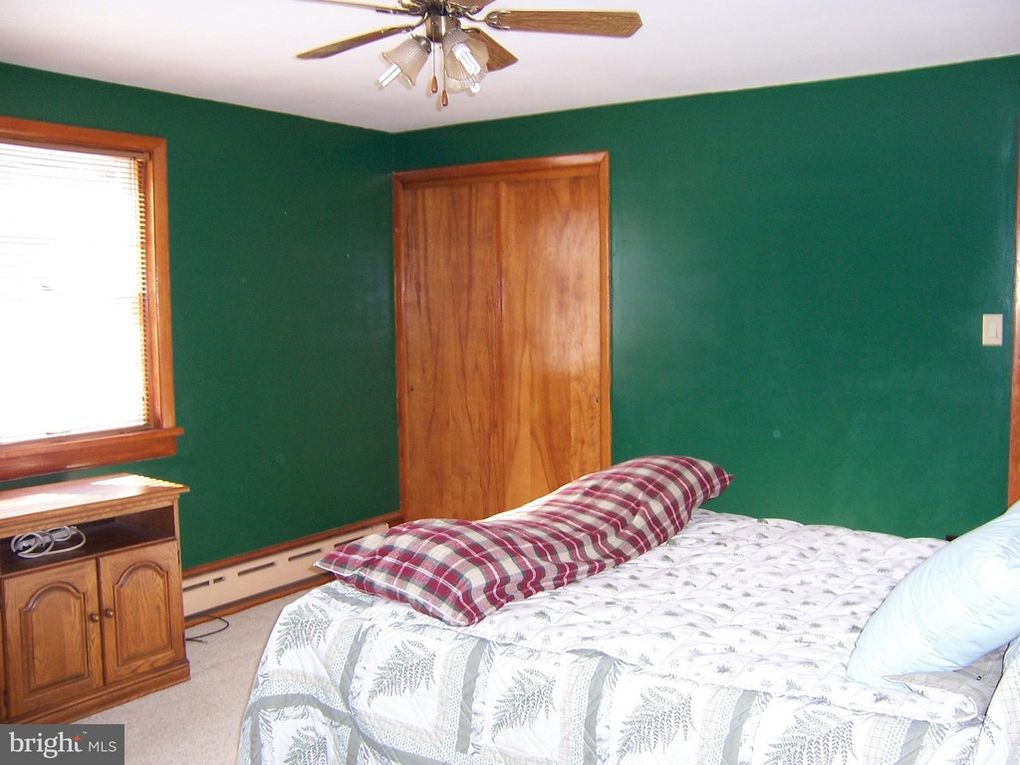
Guest Bedroom
These bedrooms light remodels. Redid carpet, doors, trim, paint. Still gotta do those windows, they taunt me. My ceilings are small (7.5 ft) so i also removed the ceiling fan, which would wobble whenever you turned it on. You’d be amazed how many things in this house were held in by a single screw. Believe it or not, the previous owners hooked up the fan to an old dimmer switch. You could hear the fan motor arc when you played with the dimmer.
View from Entry
View from Corners

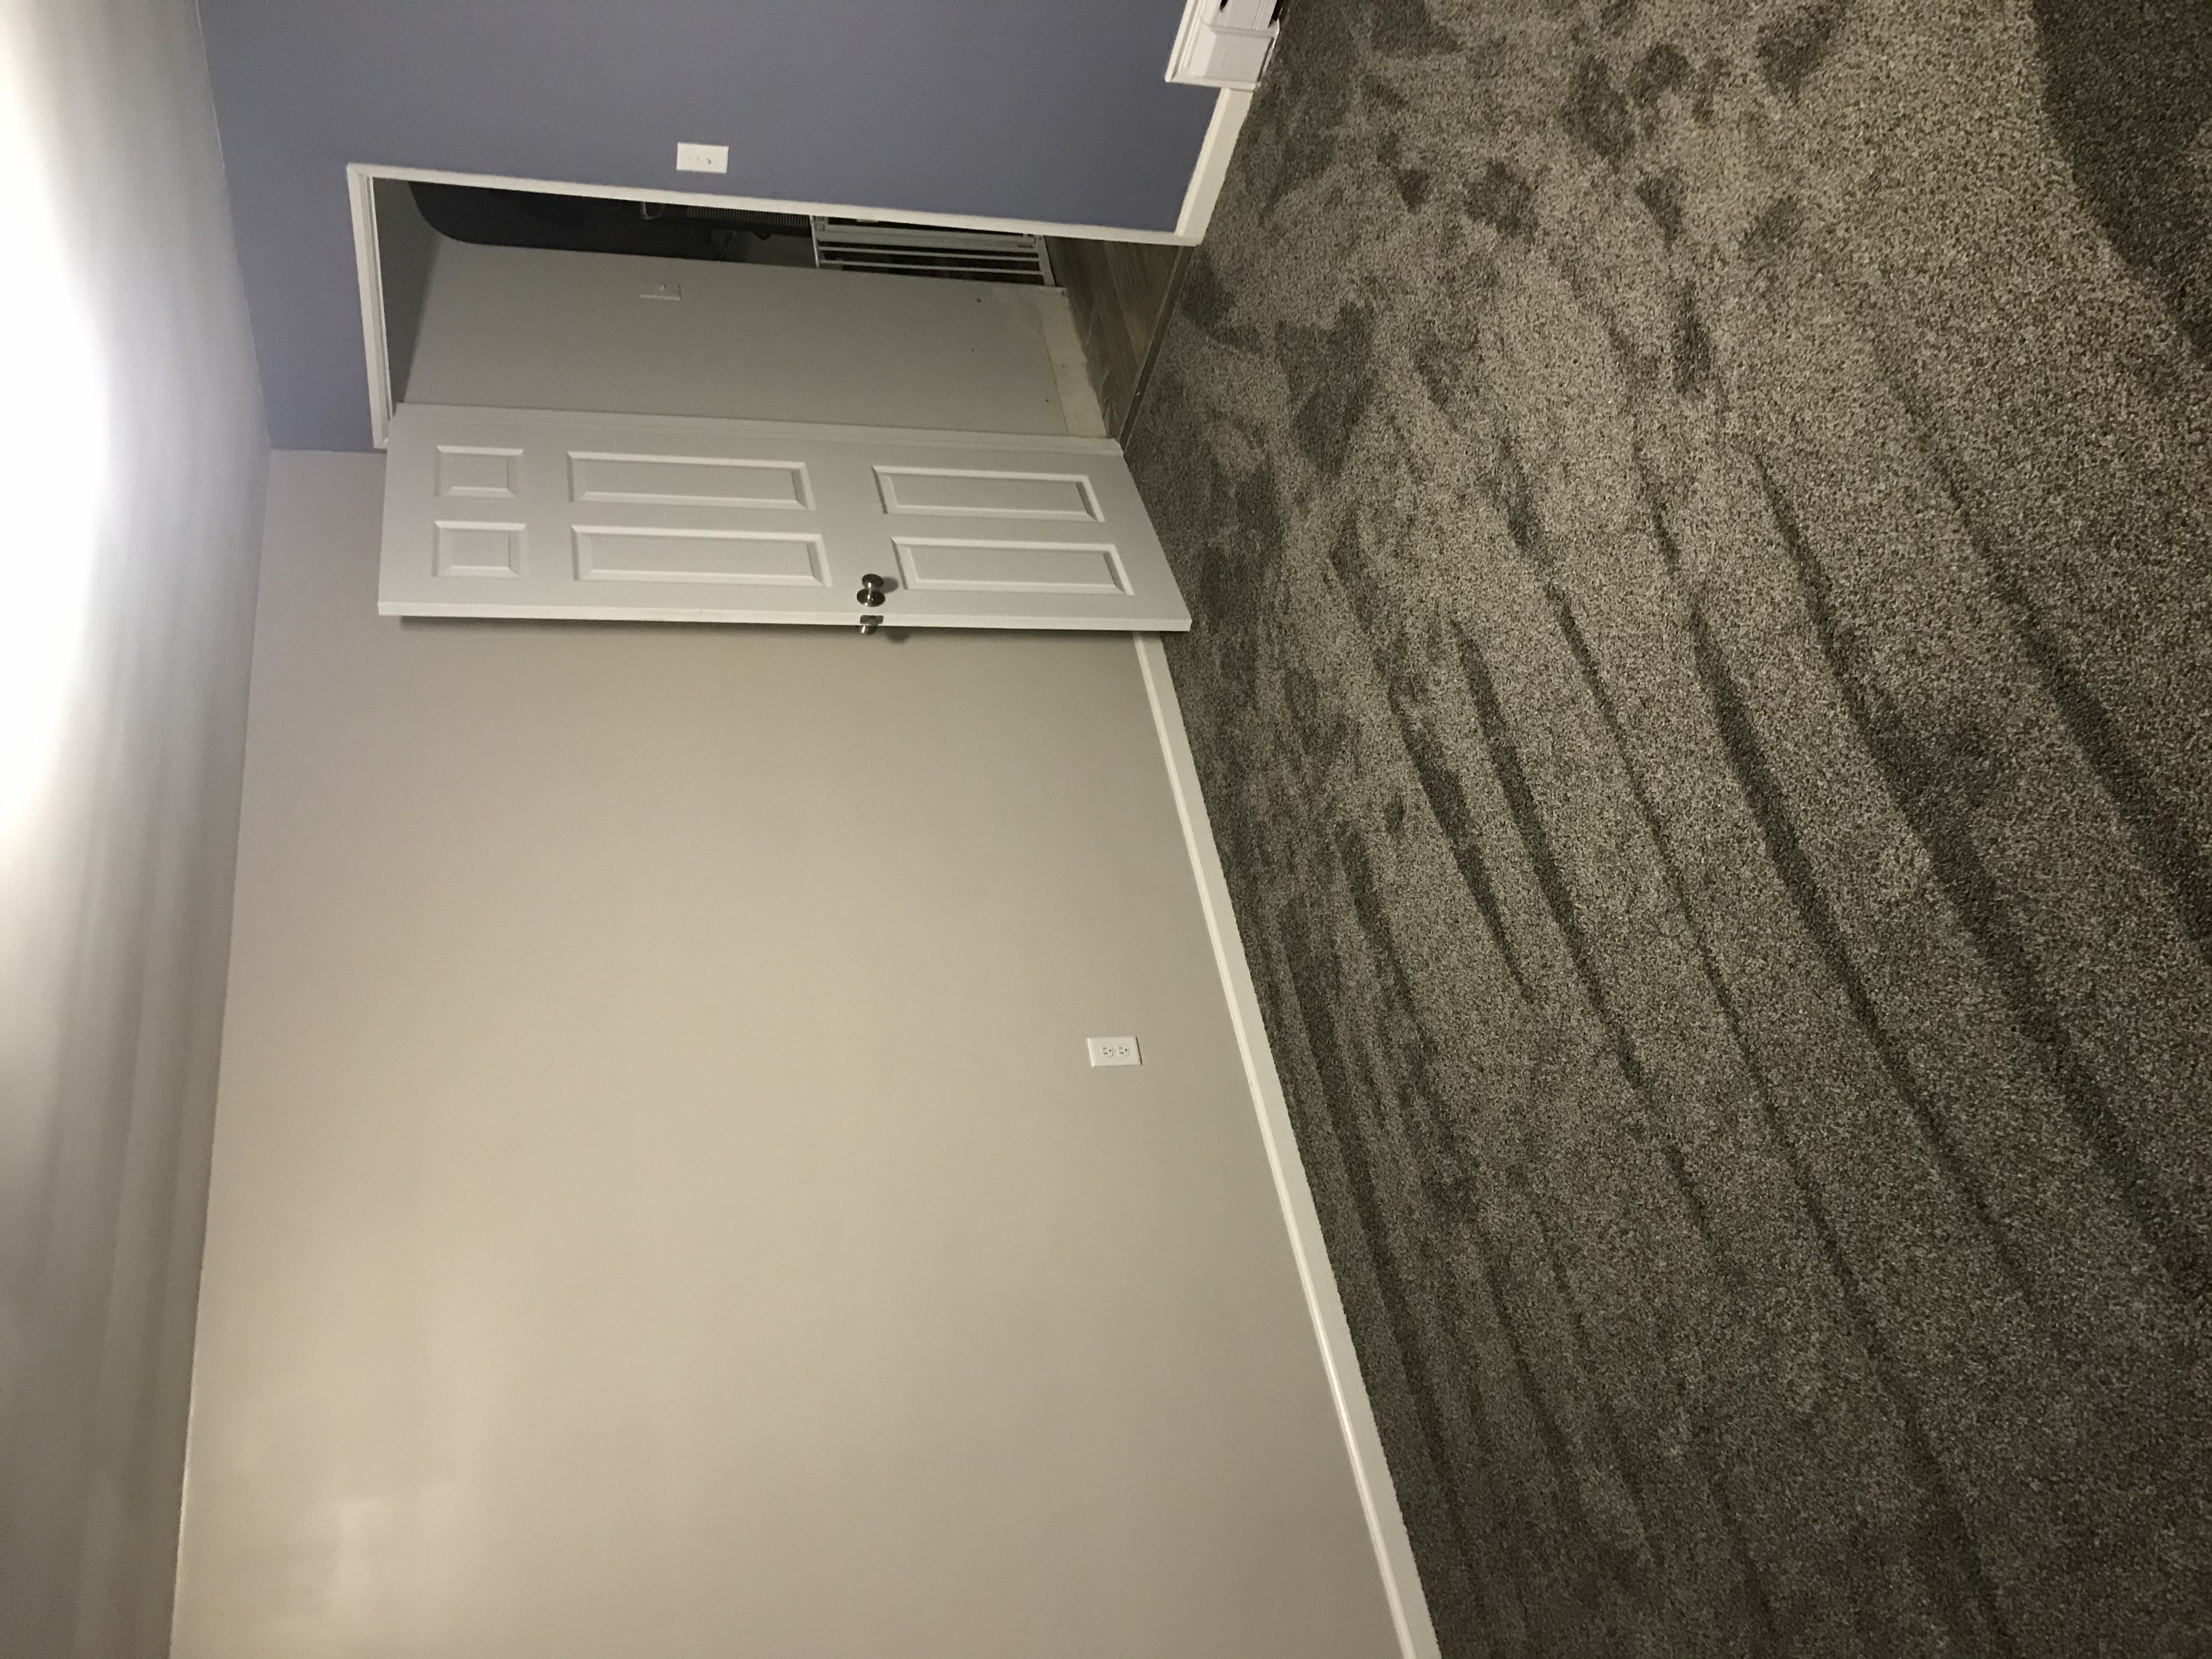
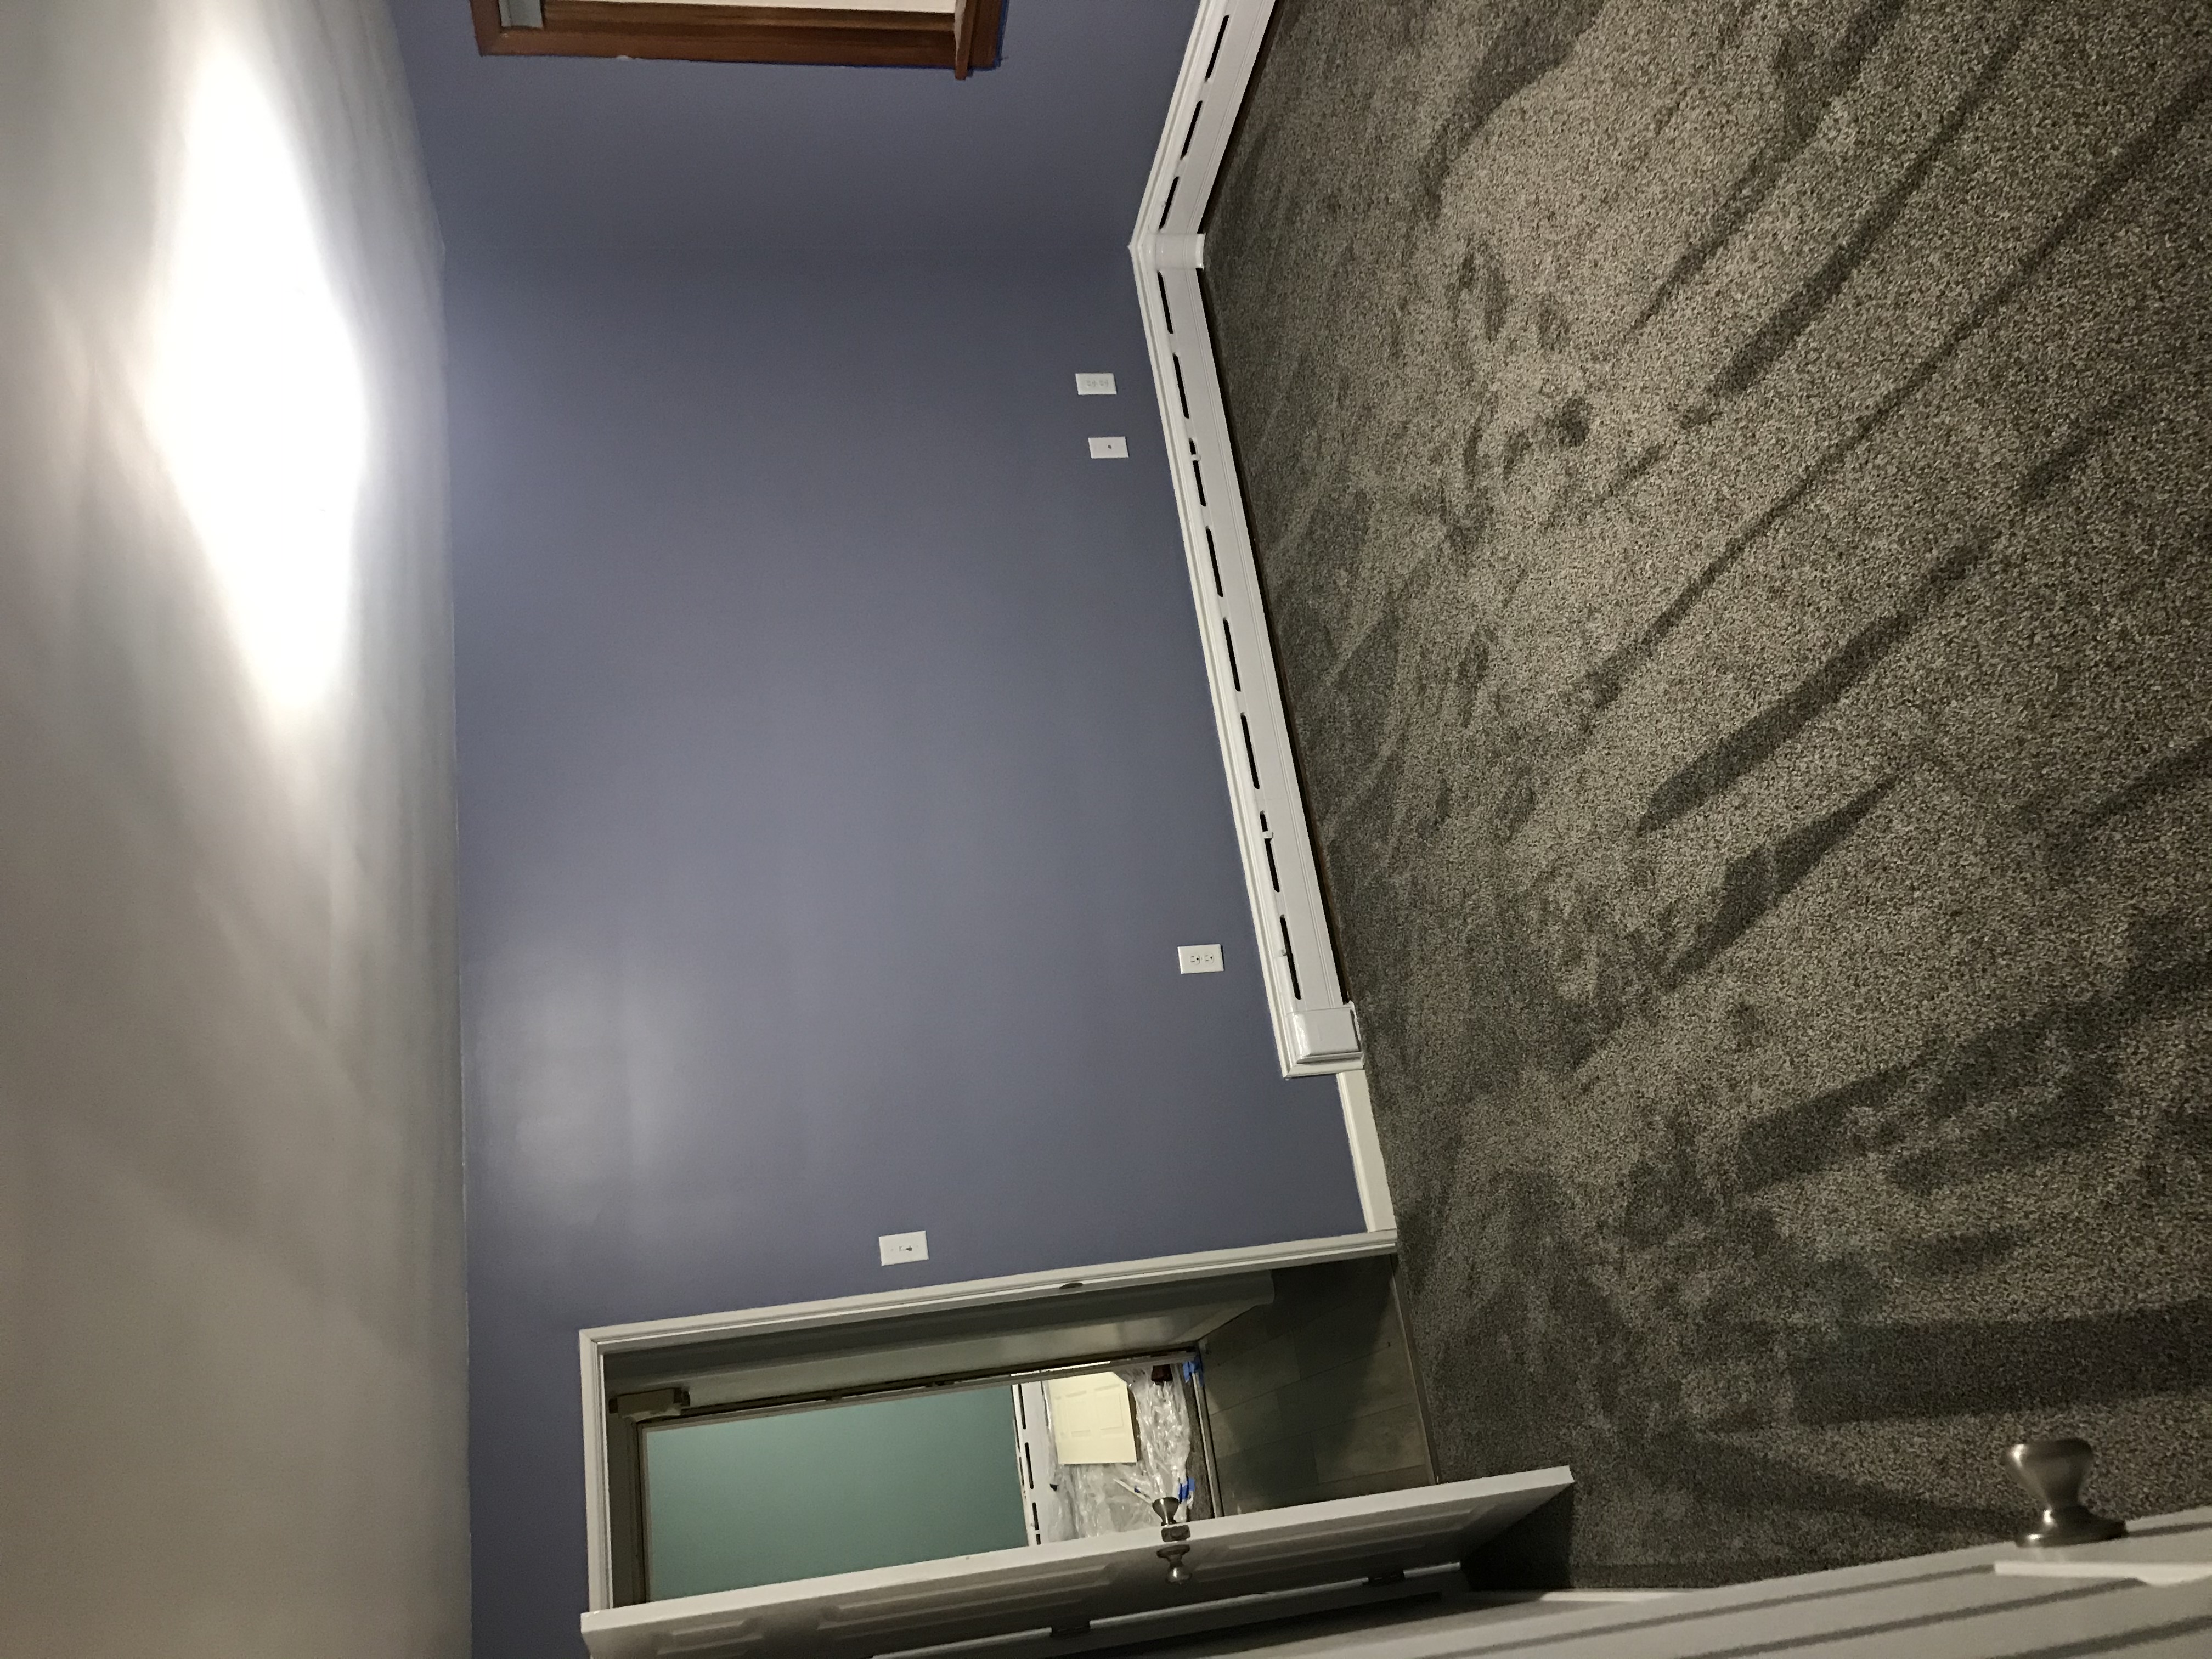
Main Bedroom
View from Entry
View from Corners
No before shots, they were hiding some holes and bolts in the walls. Also hiding a really bad paint job.
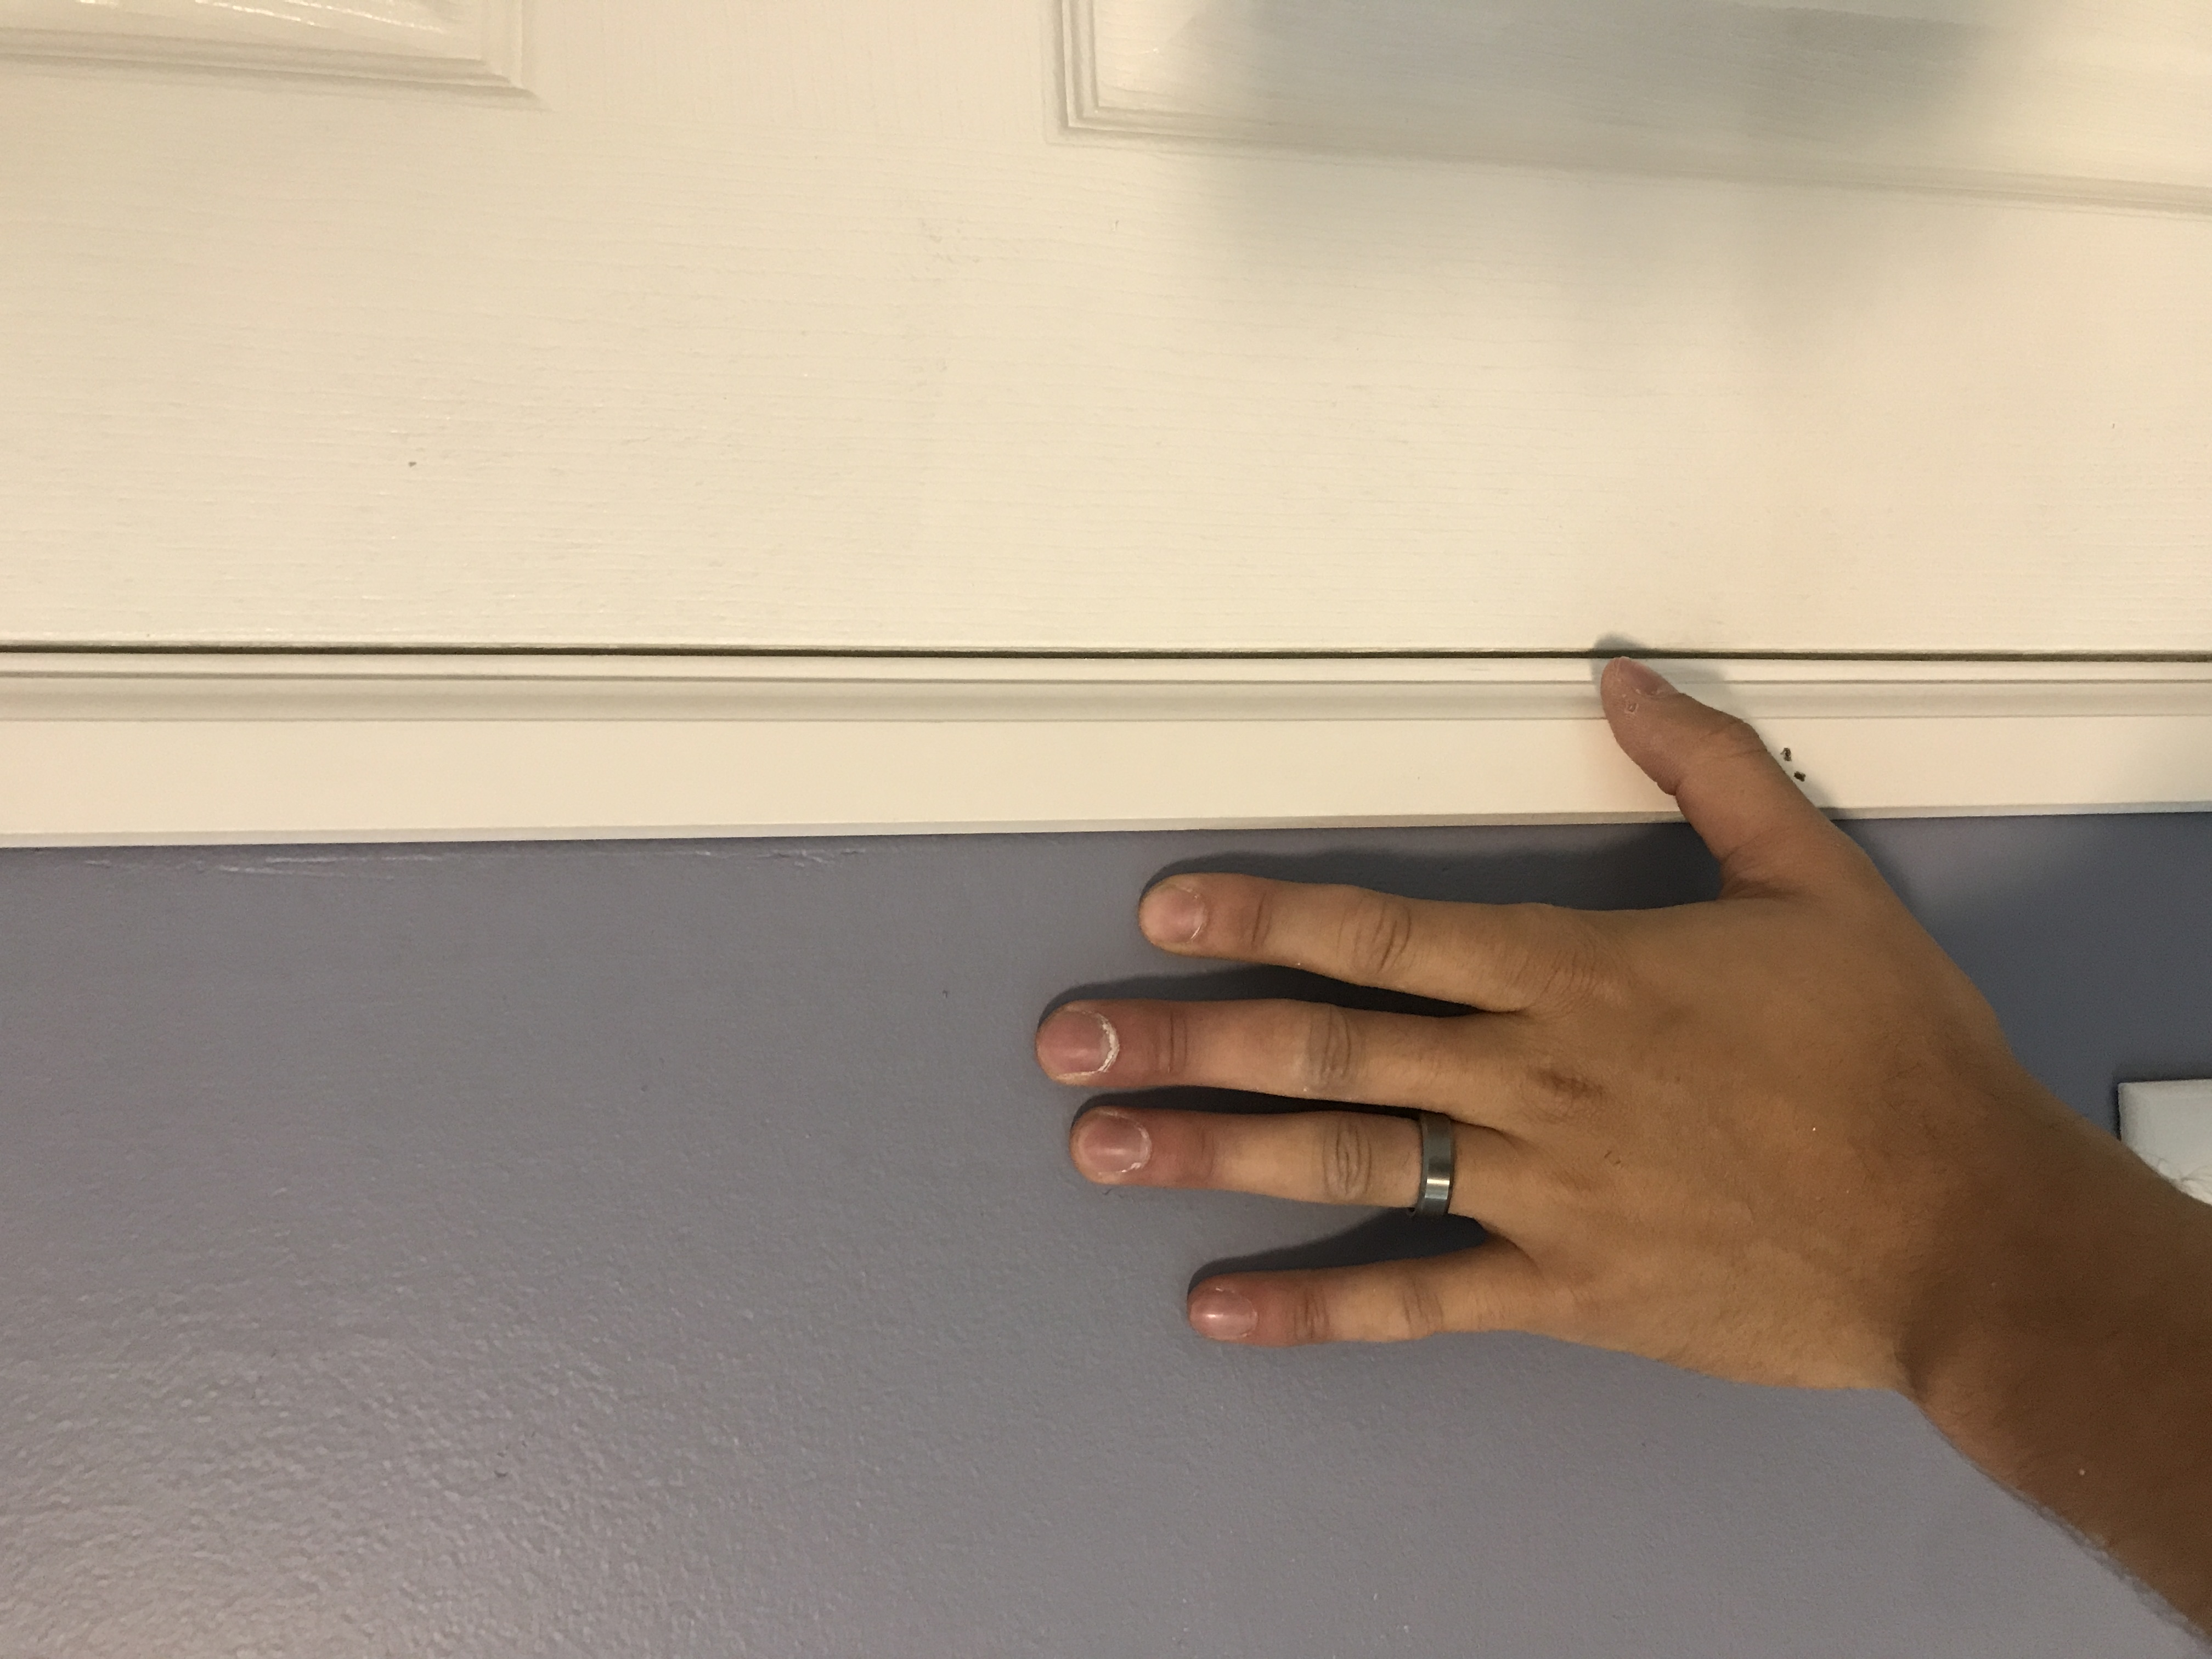
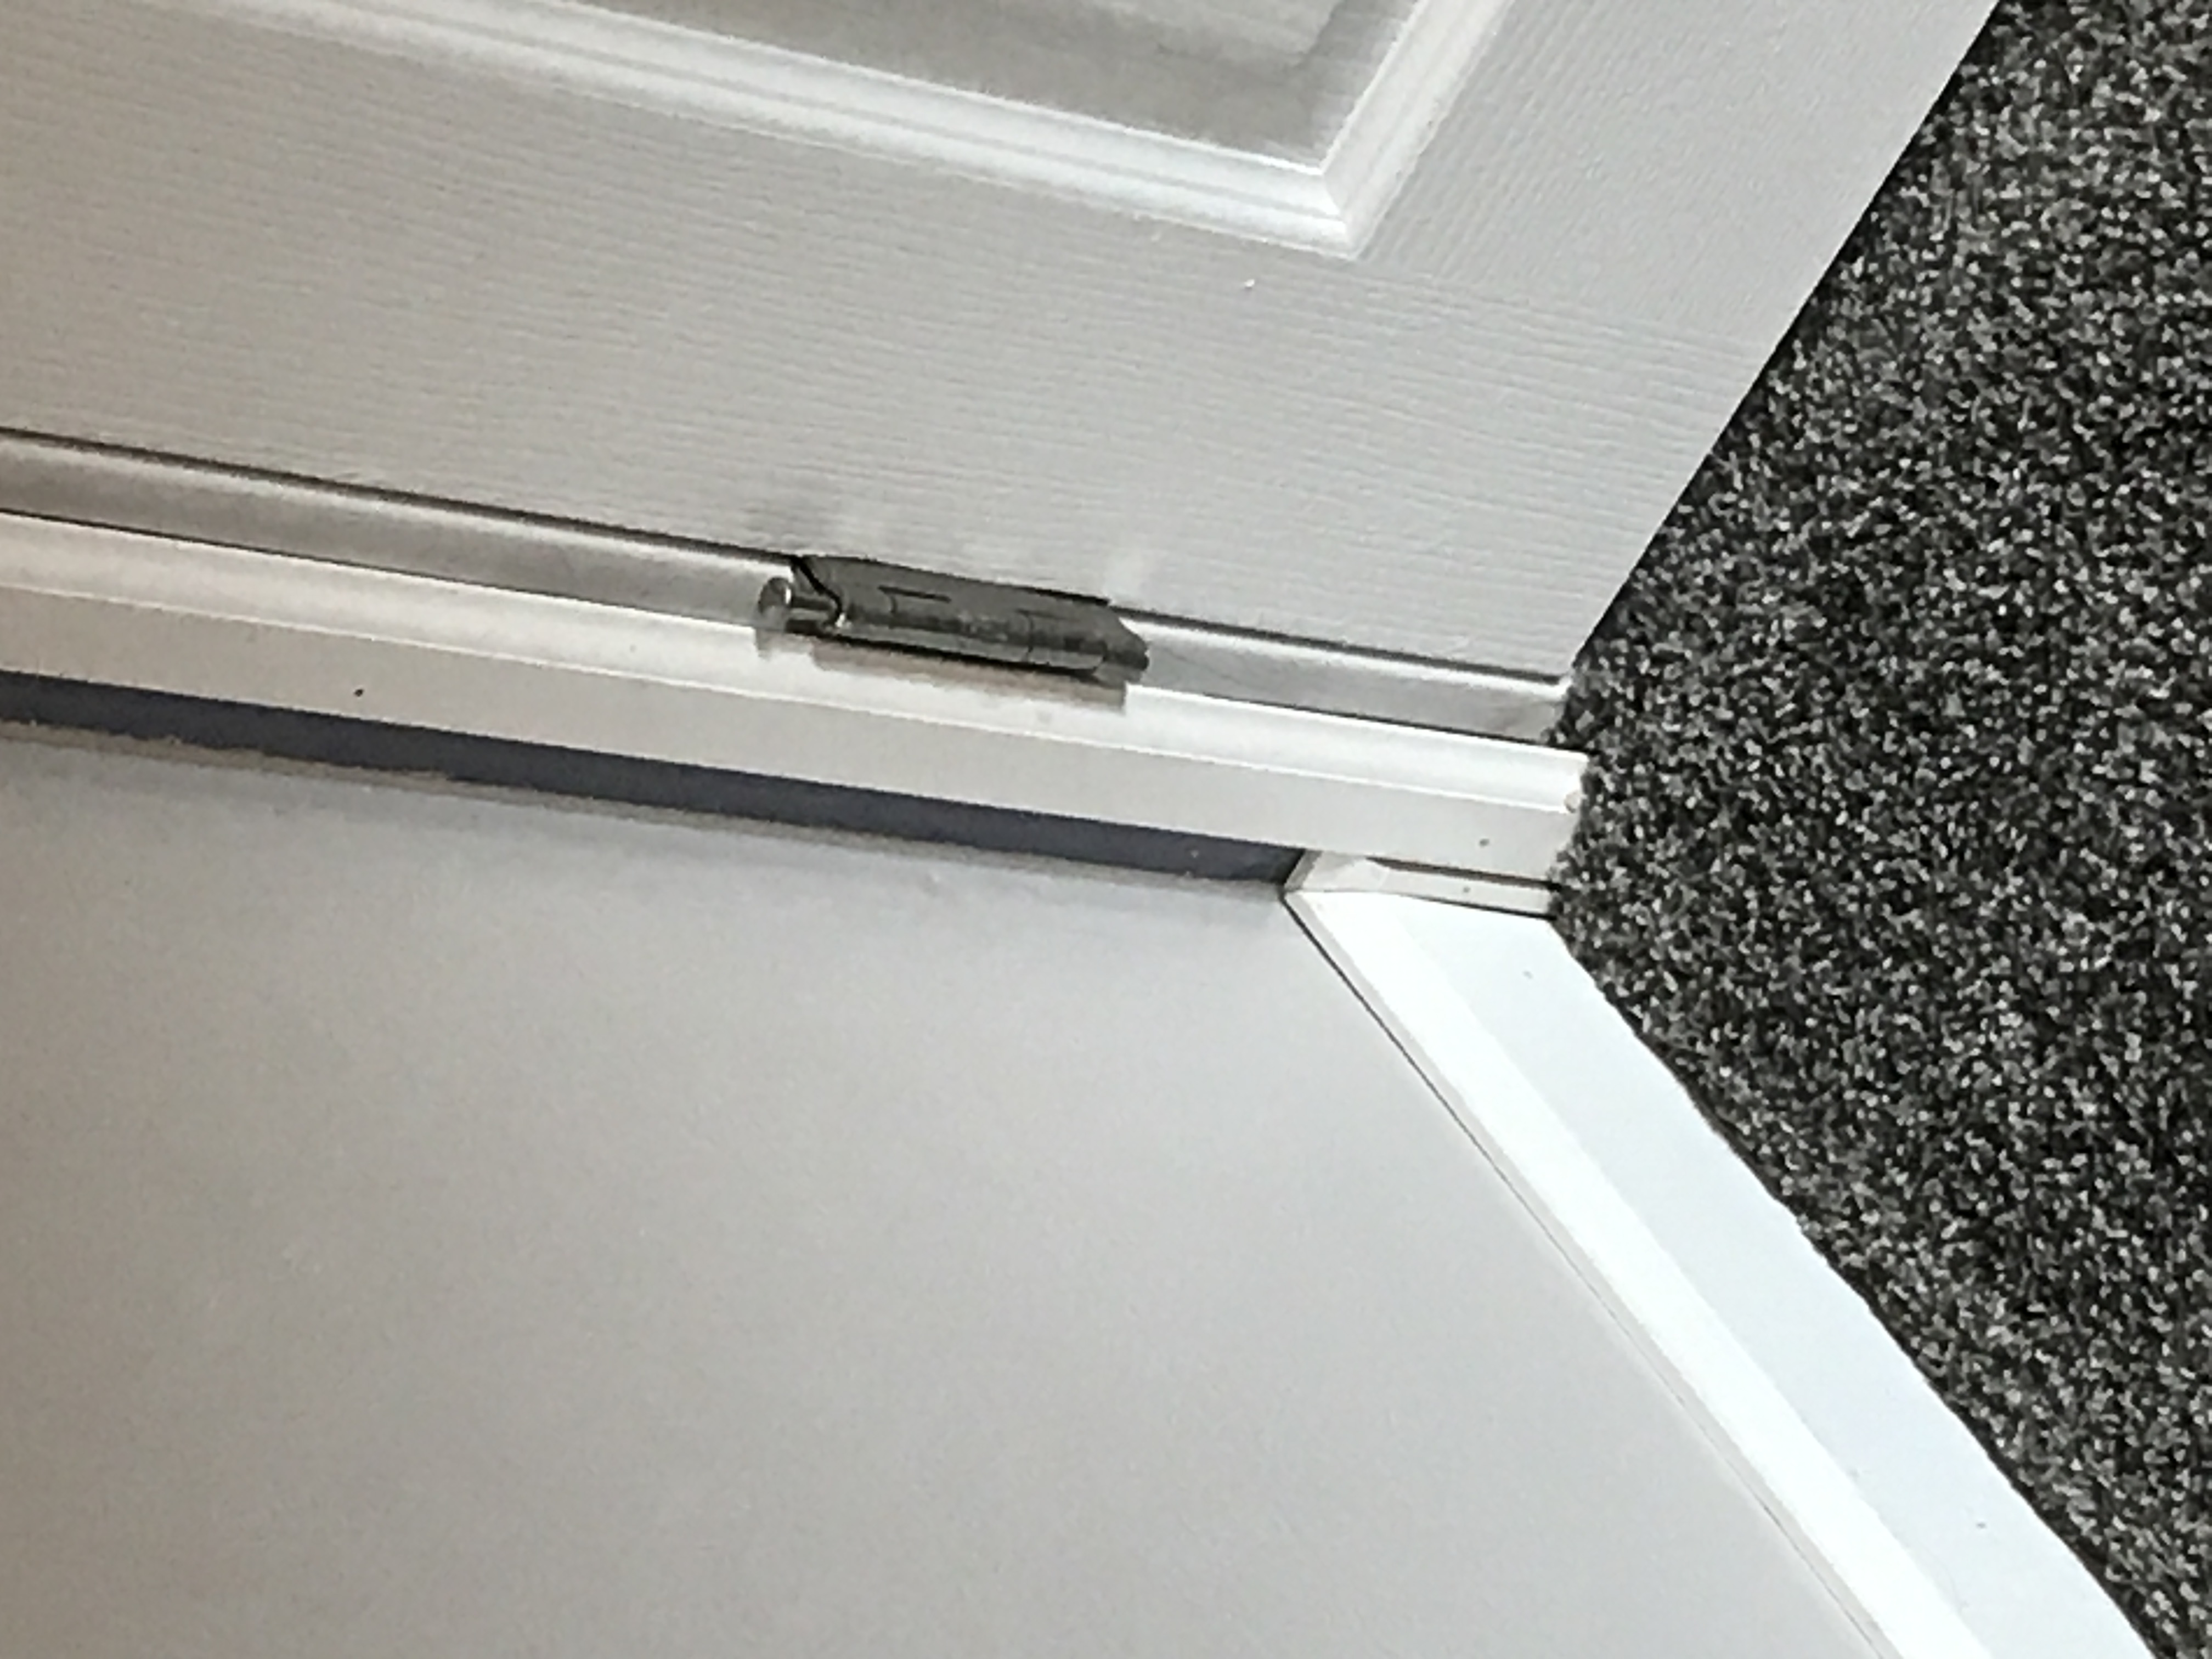
New Trim

Some Notes
I plan to do a whole lot more with this house. A never ending project. And I got a greenhouse to build soon, a basement to finish, a detatched in-law suite, and an attic to finish.
Comments