
DIY Live Edge Wooden Ceiling Light
Our ceiling light (4ft fluorescent tube) fell off our ceiling one day while I was playing with my dog and shattered across my freshly tiled kitchen floor. I went out to buy a new one that would fill the kitchen with light, but everything was horrible or overpriced. It’s amazing what people will pay for fancy lights. So I built one myself!
This project was originally done around December of 2019
Total price: ~300$
- Wooden slab (cherry wood) - 200$
- Dimmable 4 Inch Lights - 60$
- LED Strip - 16$
- Dimmer AC/DC Inverter - 20$
- Odds and ends (stain, wires, hot glue, etc)
Money saved from etsy/bought equivalent: ~$1-2k
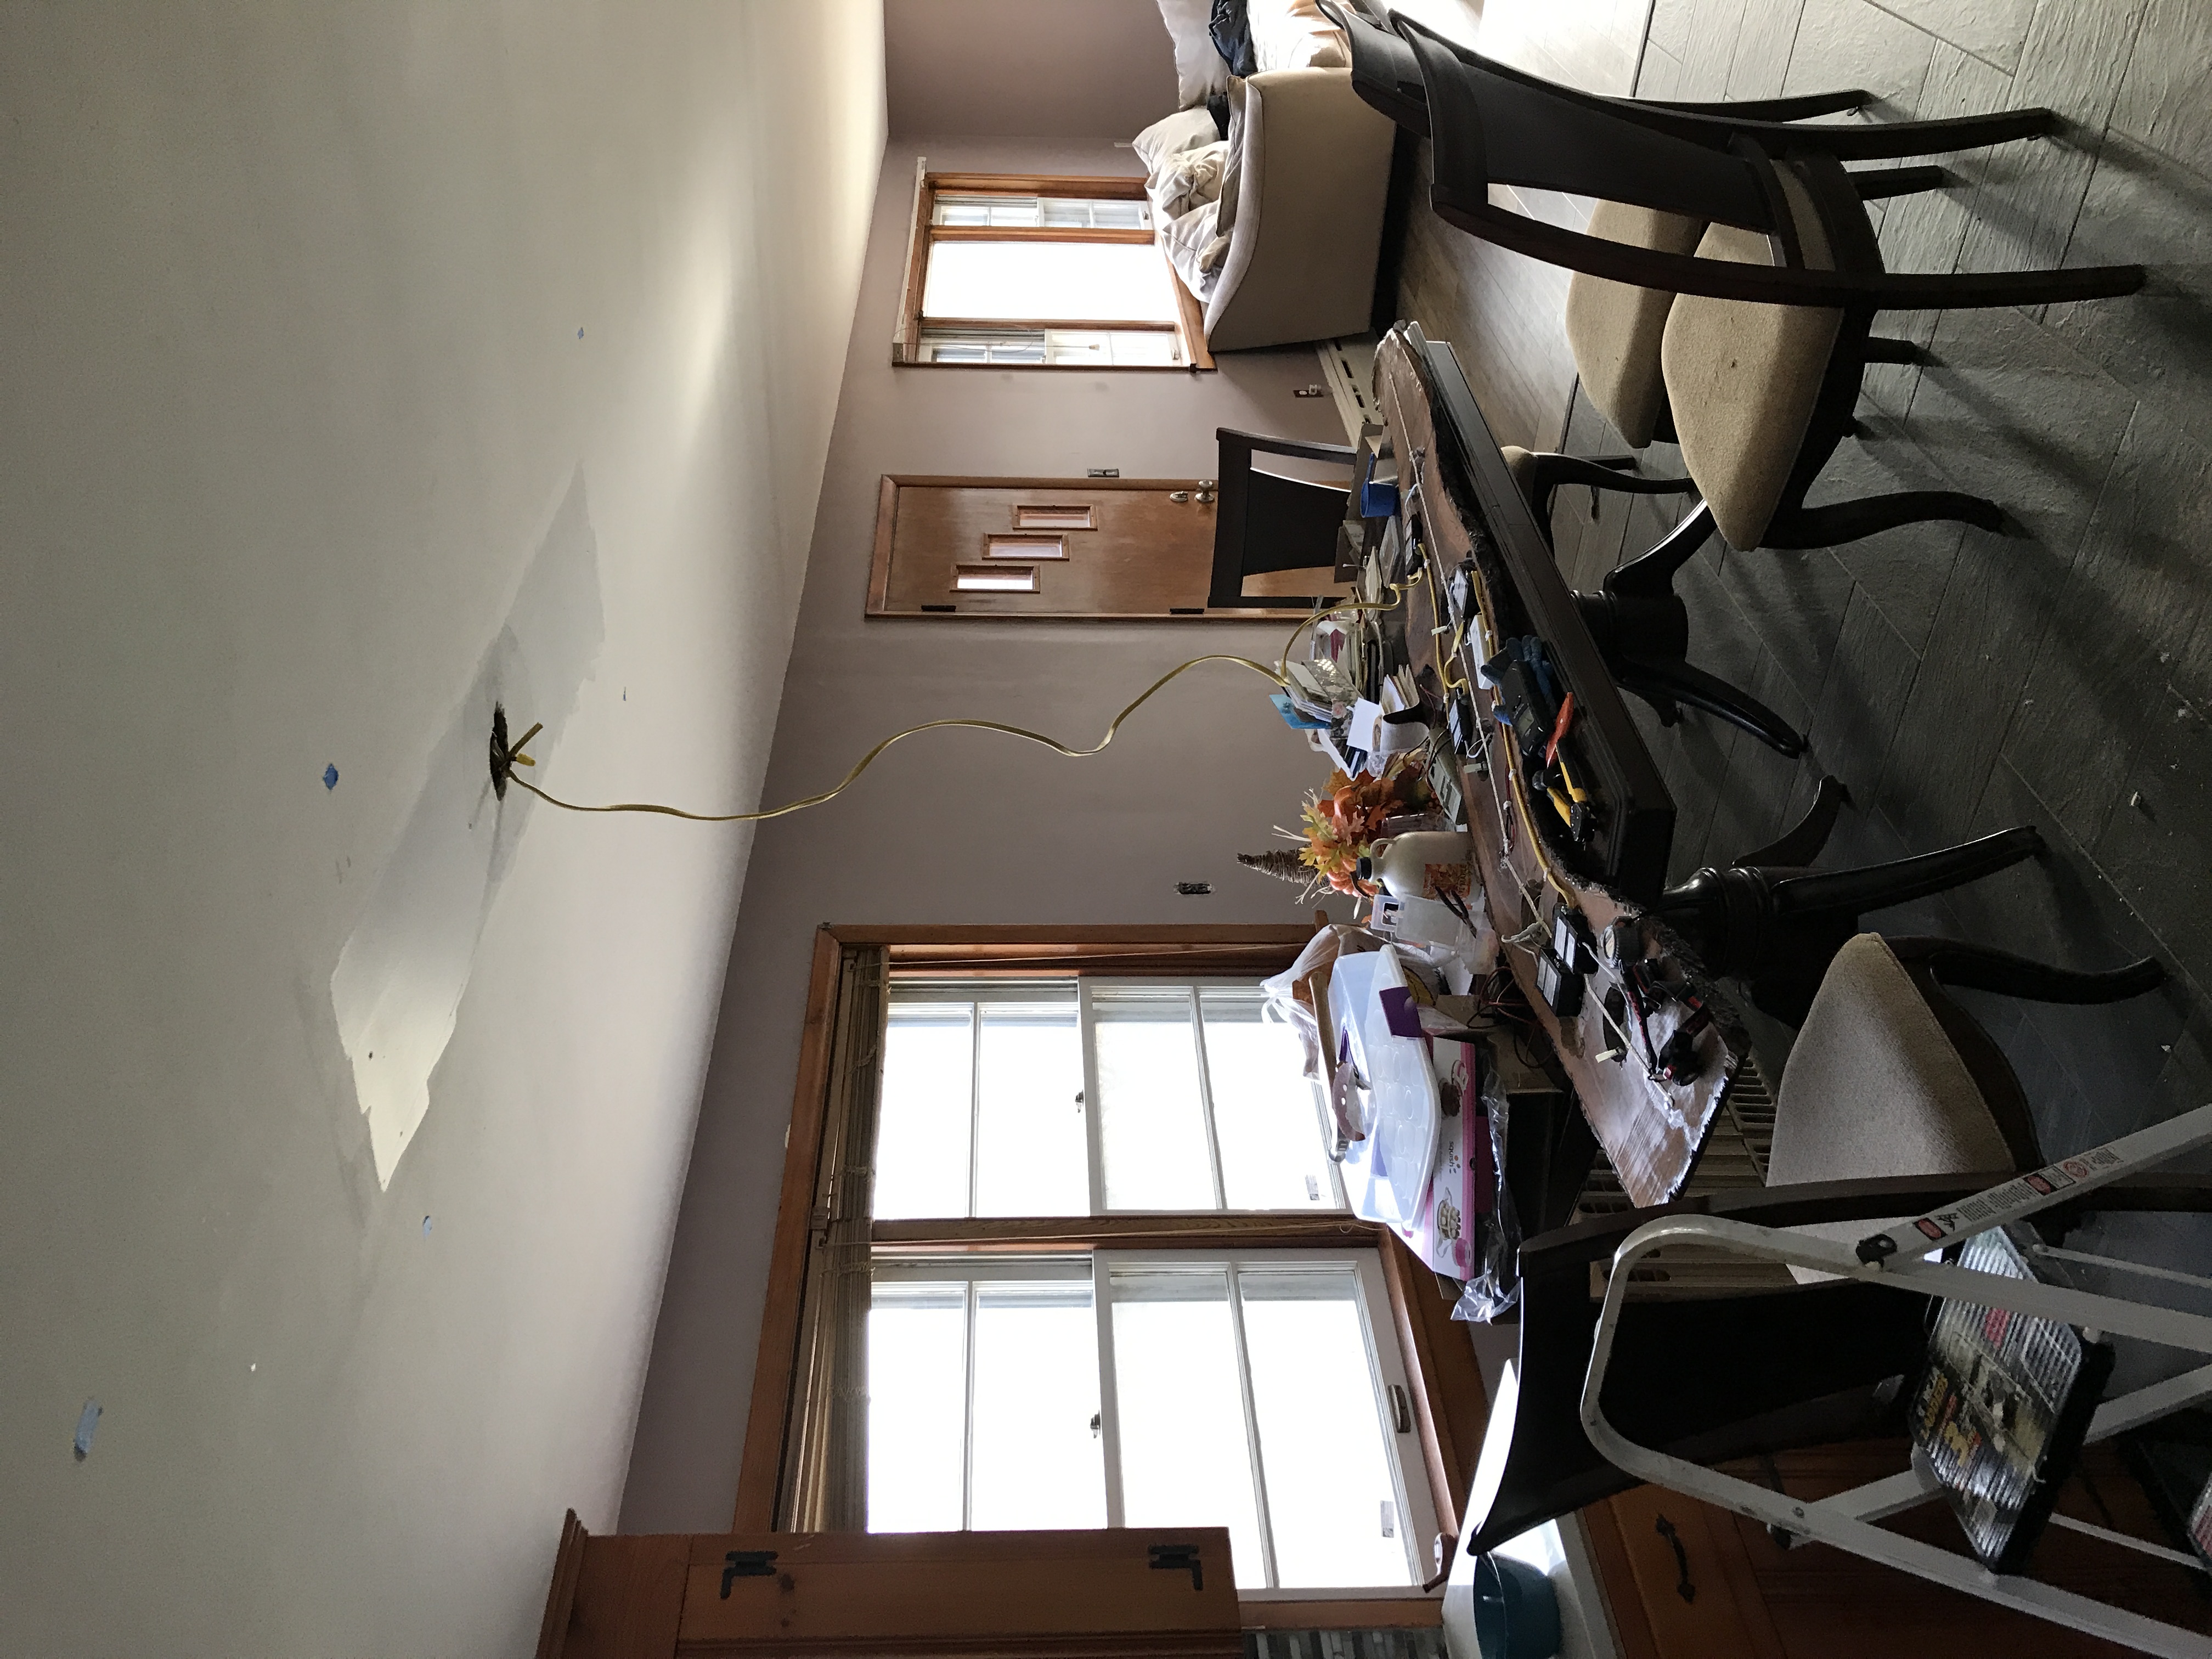
Before

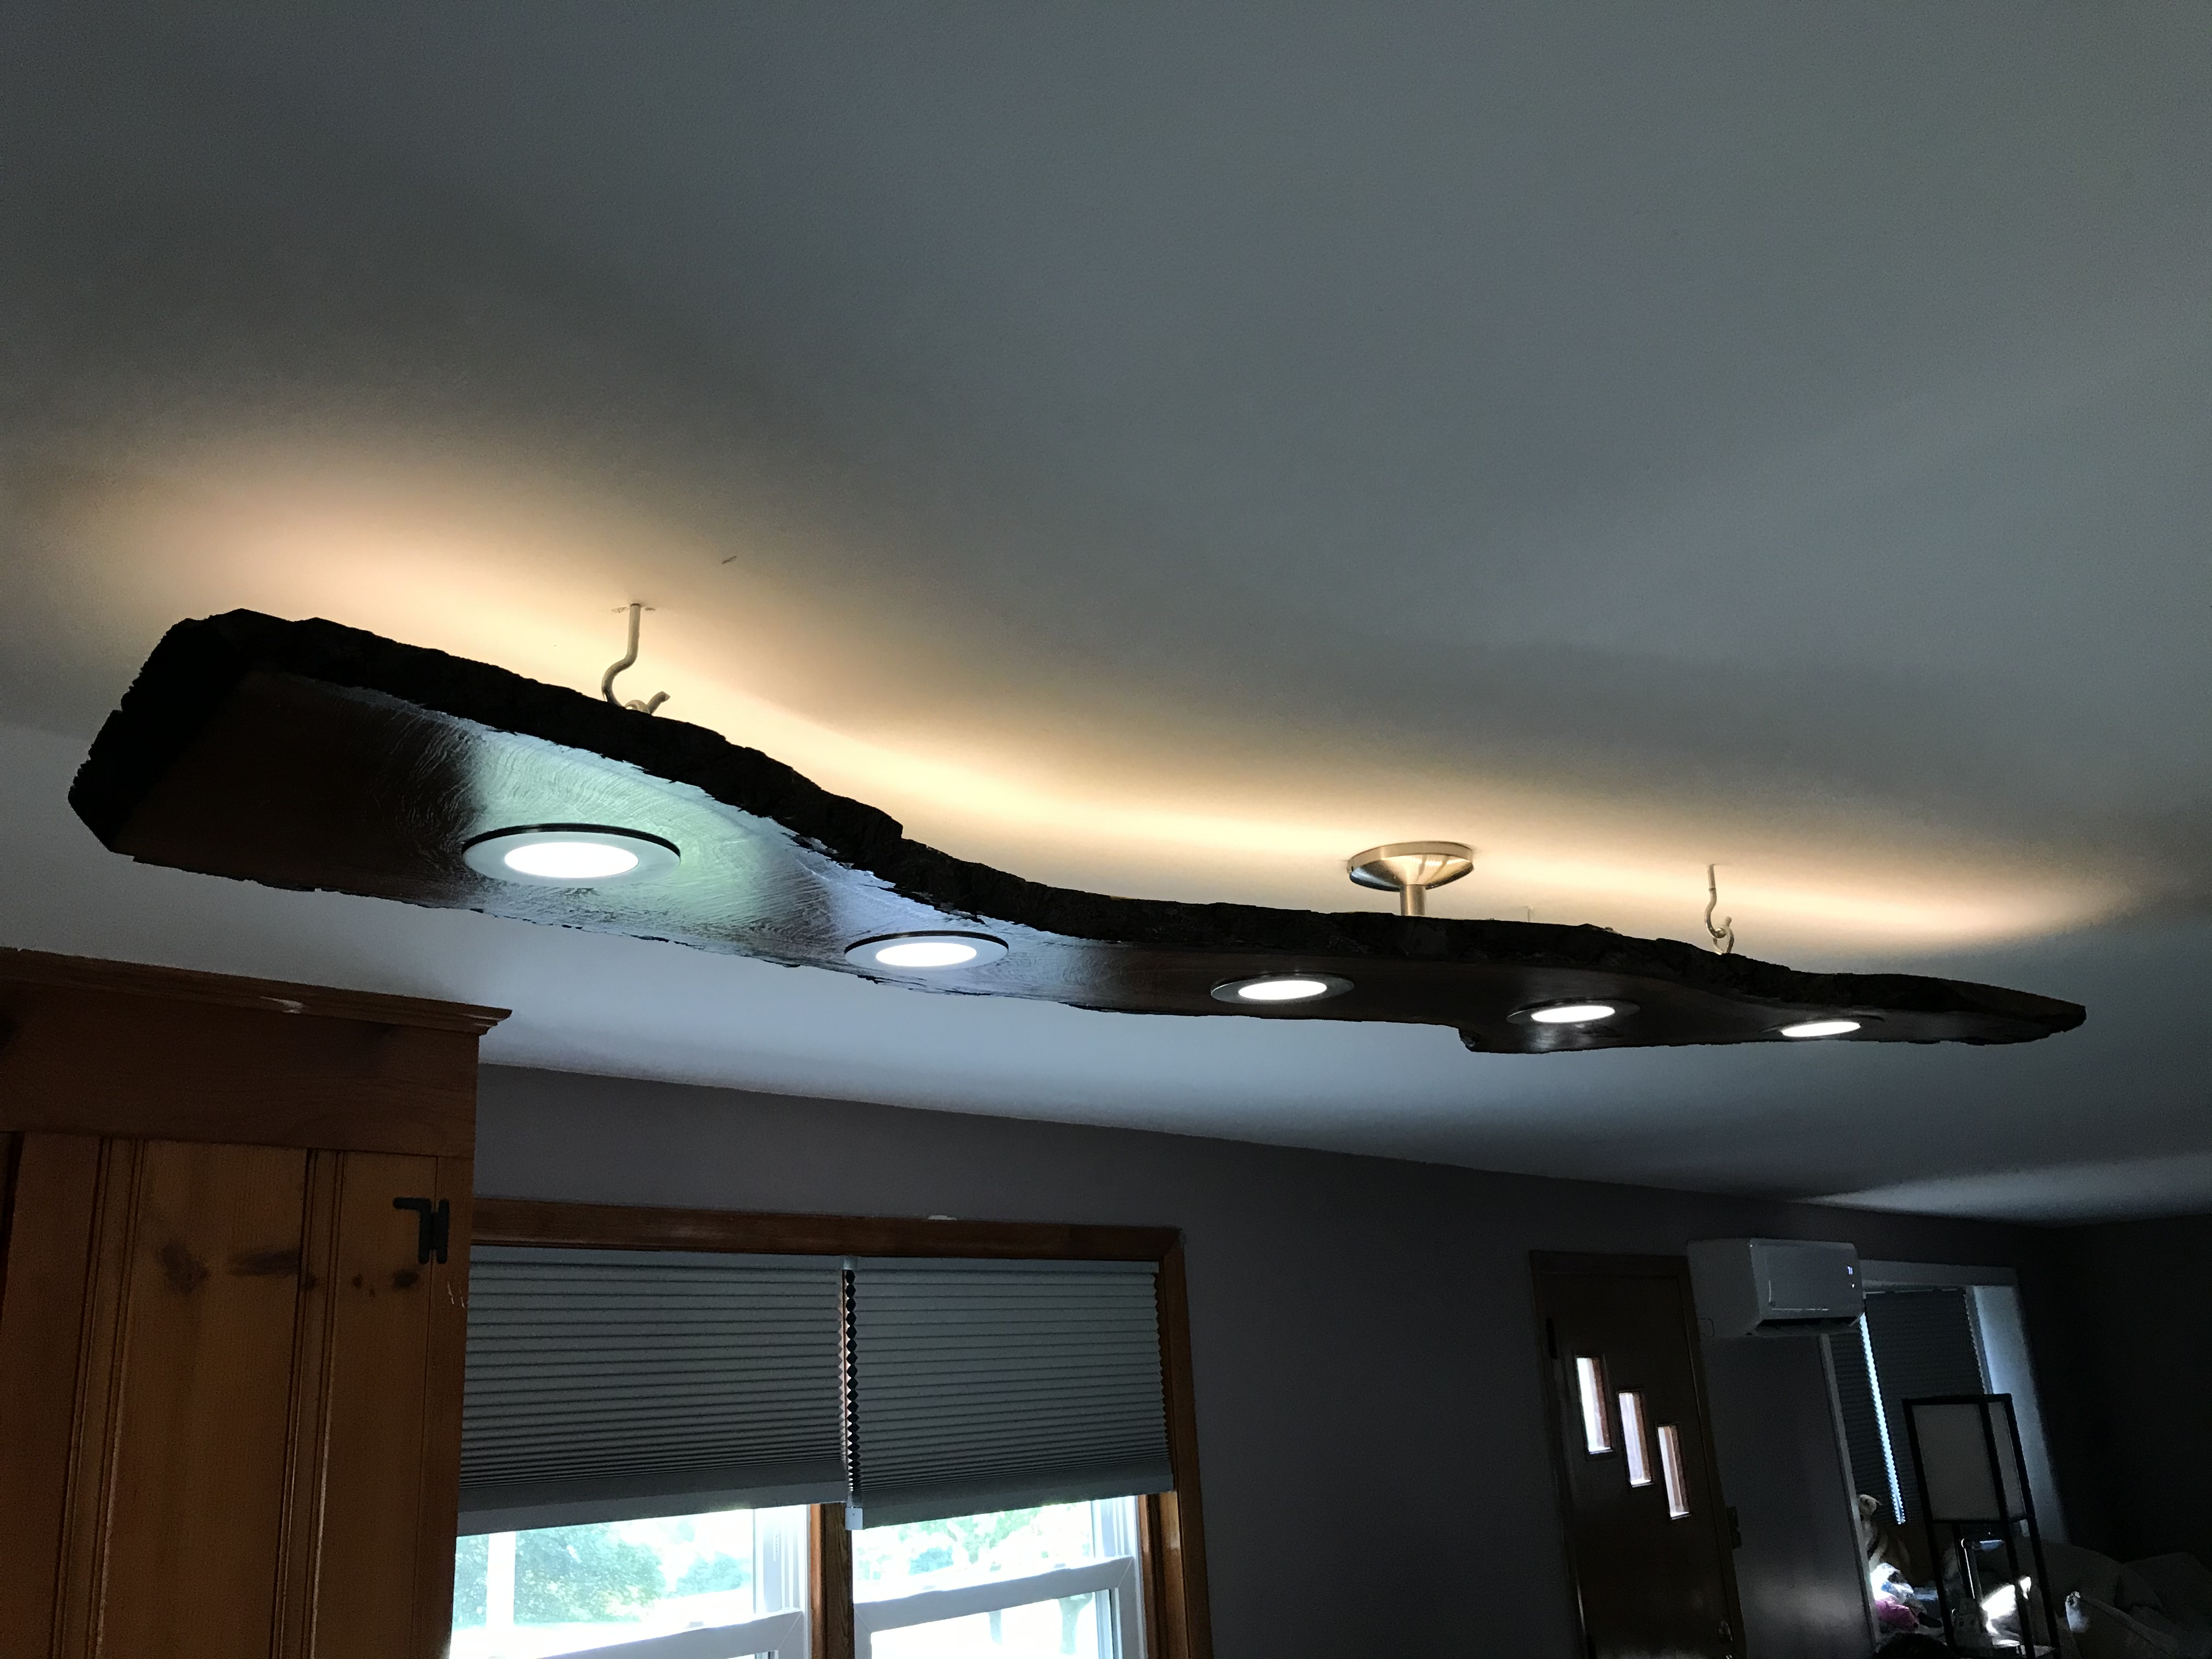
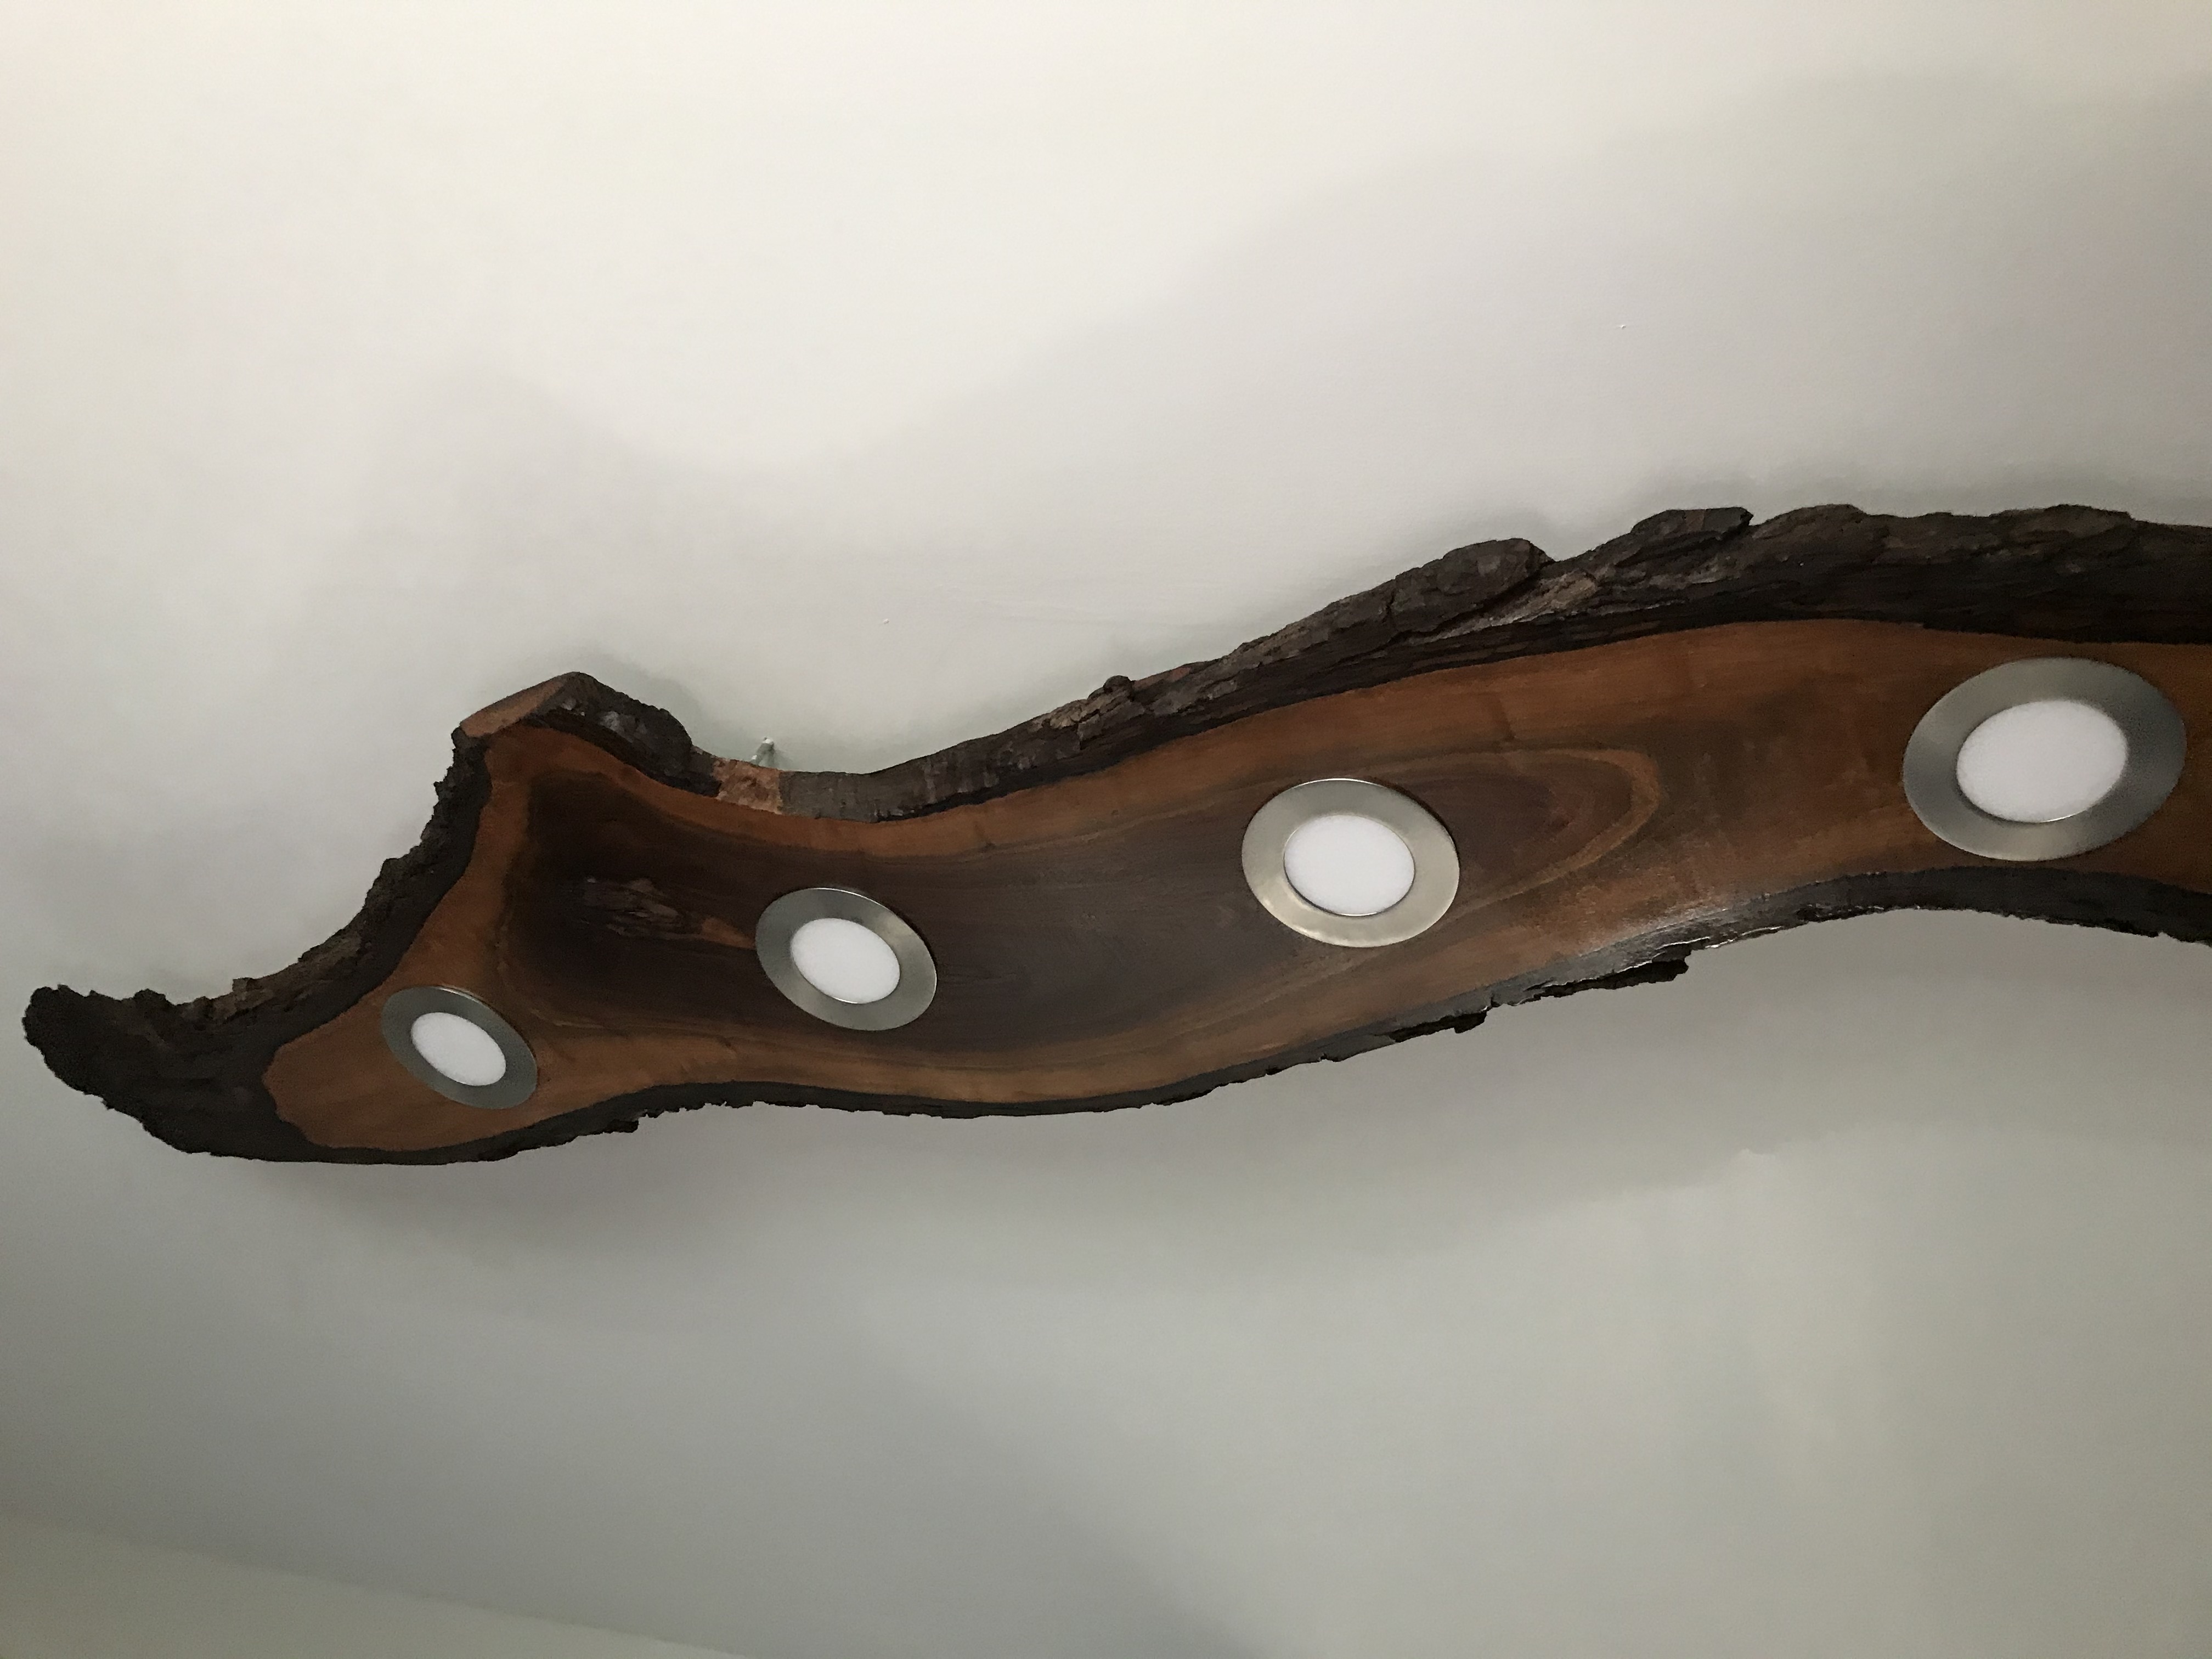
After

Why I did it
Light fell out of ceiling because previous owner did not affix it to studs or use anchors. Needed stylish replacement.
How I did it
- Measure location for lights
- Evenly space horizontally (wider) across the entire slab, mark the location. On each of those marks, take the measuring tape and mark the absolute center vertically (thinner). This will give you a perfect center for the holes - measuring tape and pencil
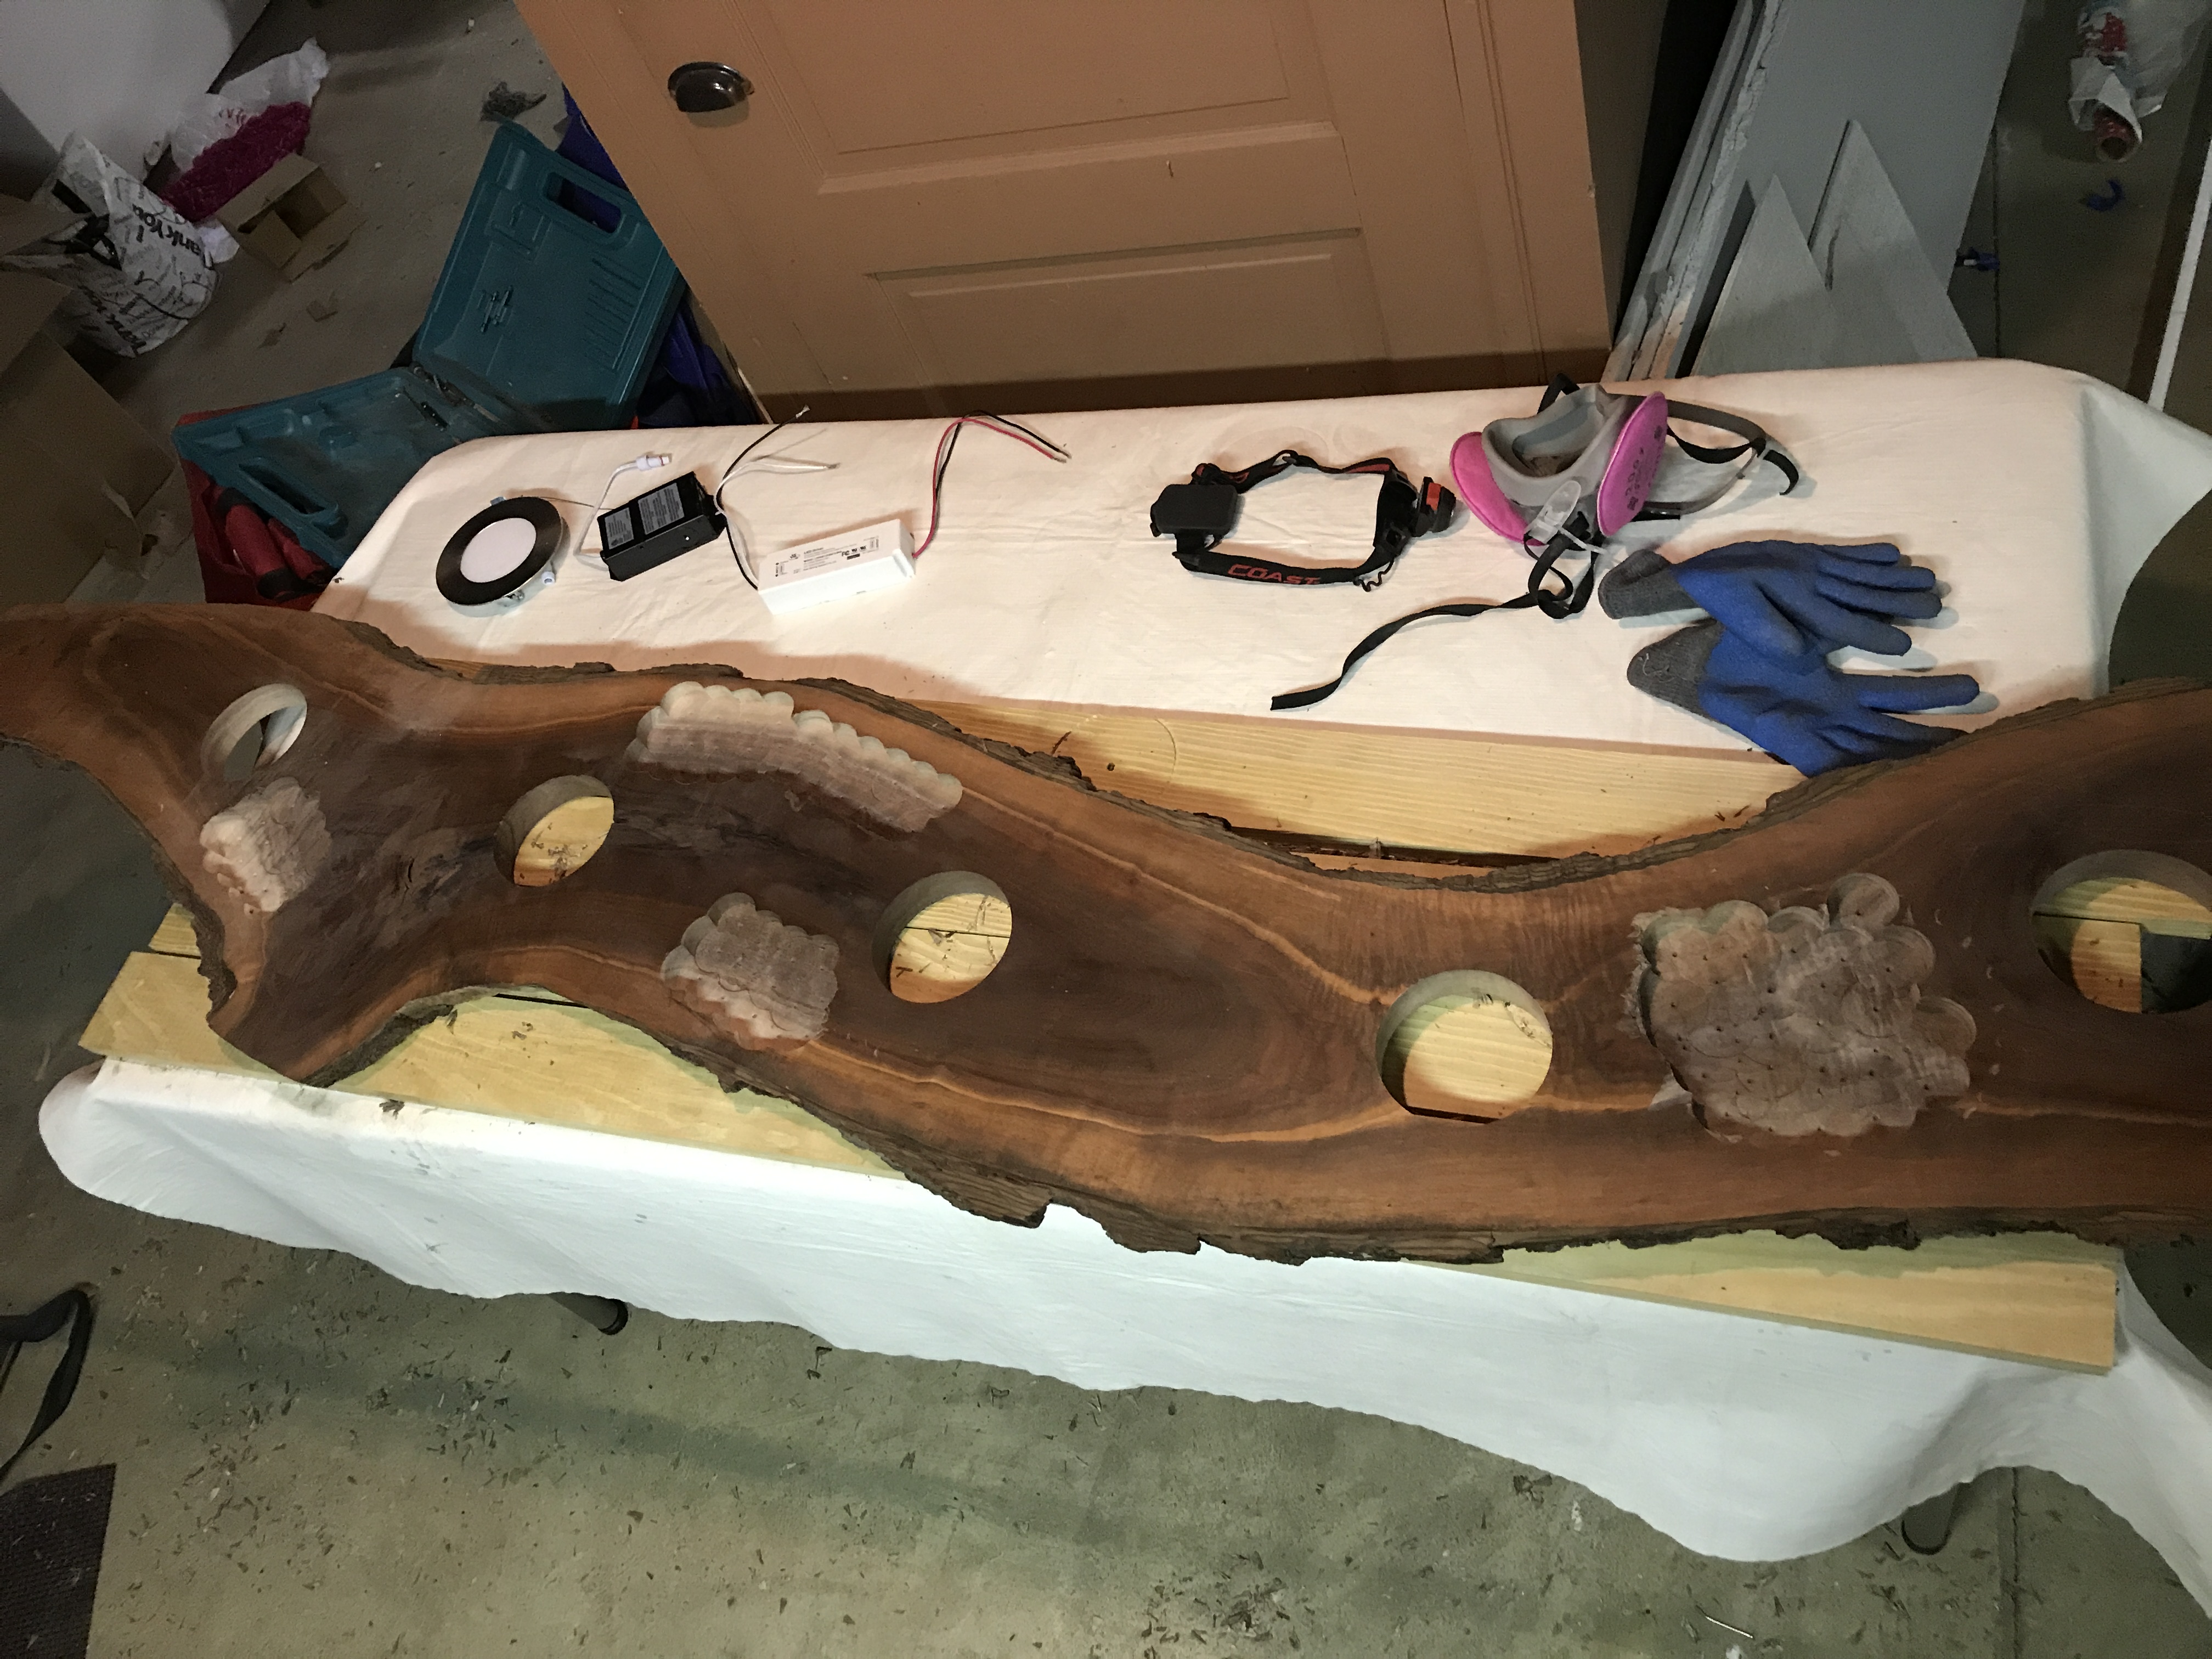
- Cut holes for lights - 4.25 inch hole saw (specification of light), drill
- Flip it over, and finish the wood
- Sand with 80 grit until even
- Sand with 120 grit until even
- Sand with 220 grit until even
- Fill holes, and apply a sand dust coating - this will make the surface glossy with varnish
- Sand with 300 + grit until even or until desired smoothness
- Stain if desired, then Polyerathane evenly (3 coats)
- If you mess up like I do with everything in my life, varnish stripper will take off the varnish. Then you’ll have to start over the whole process. from 120 grit.
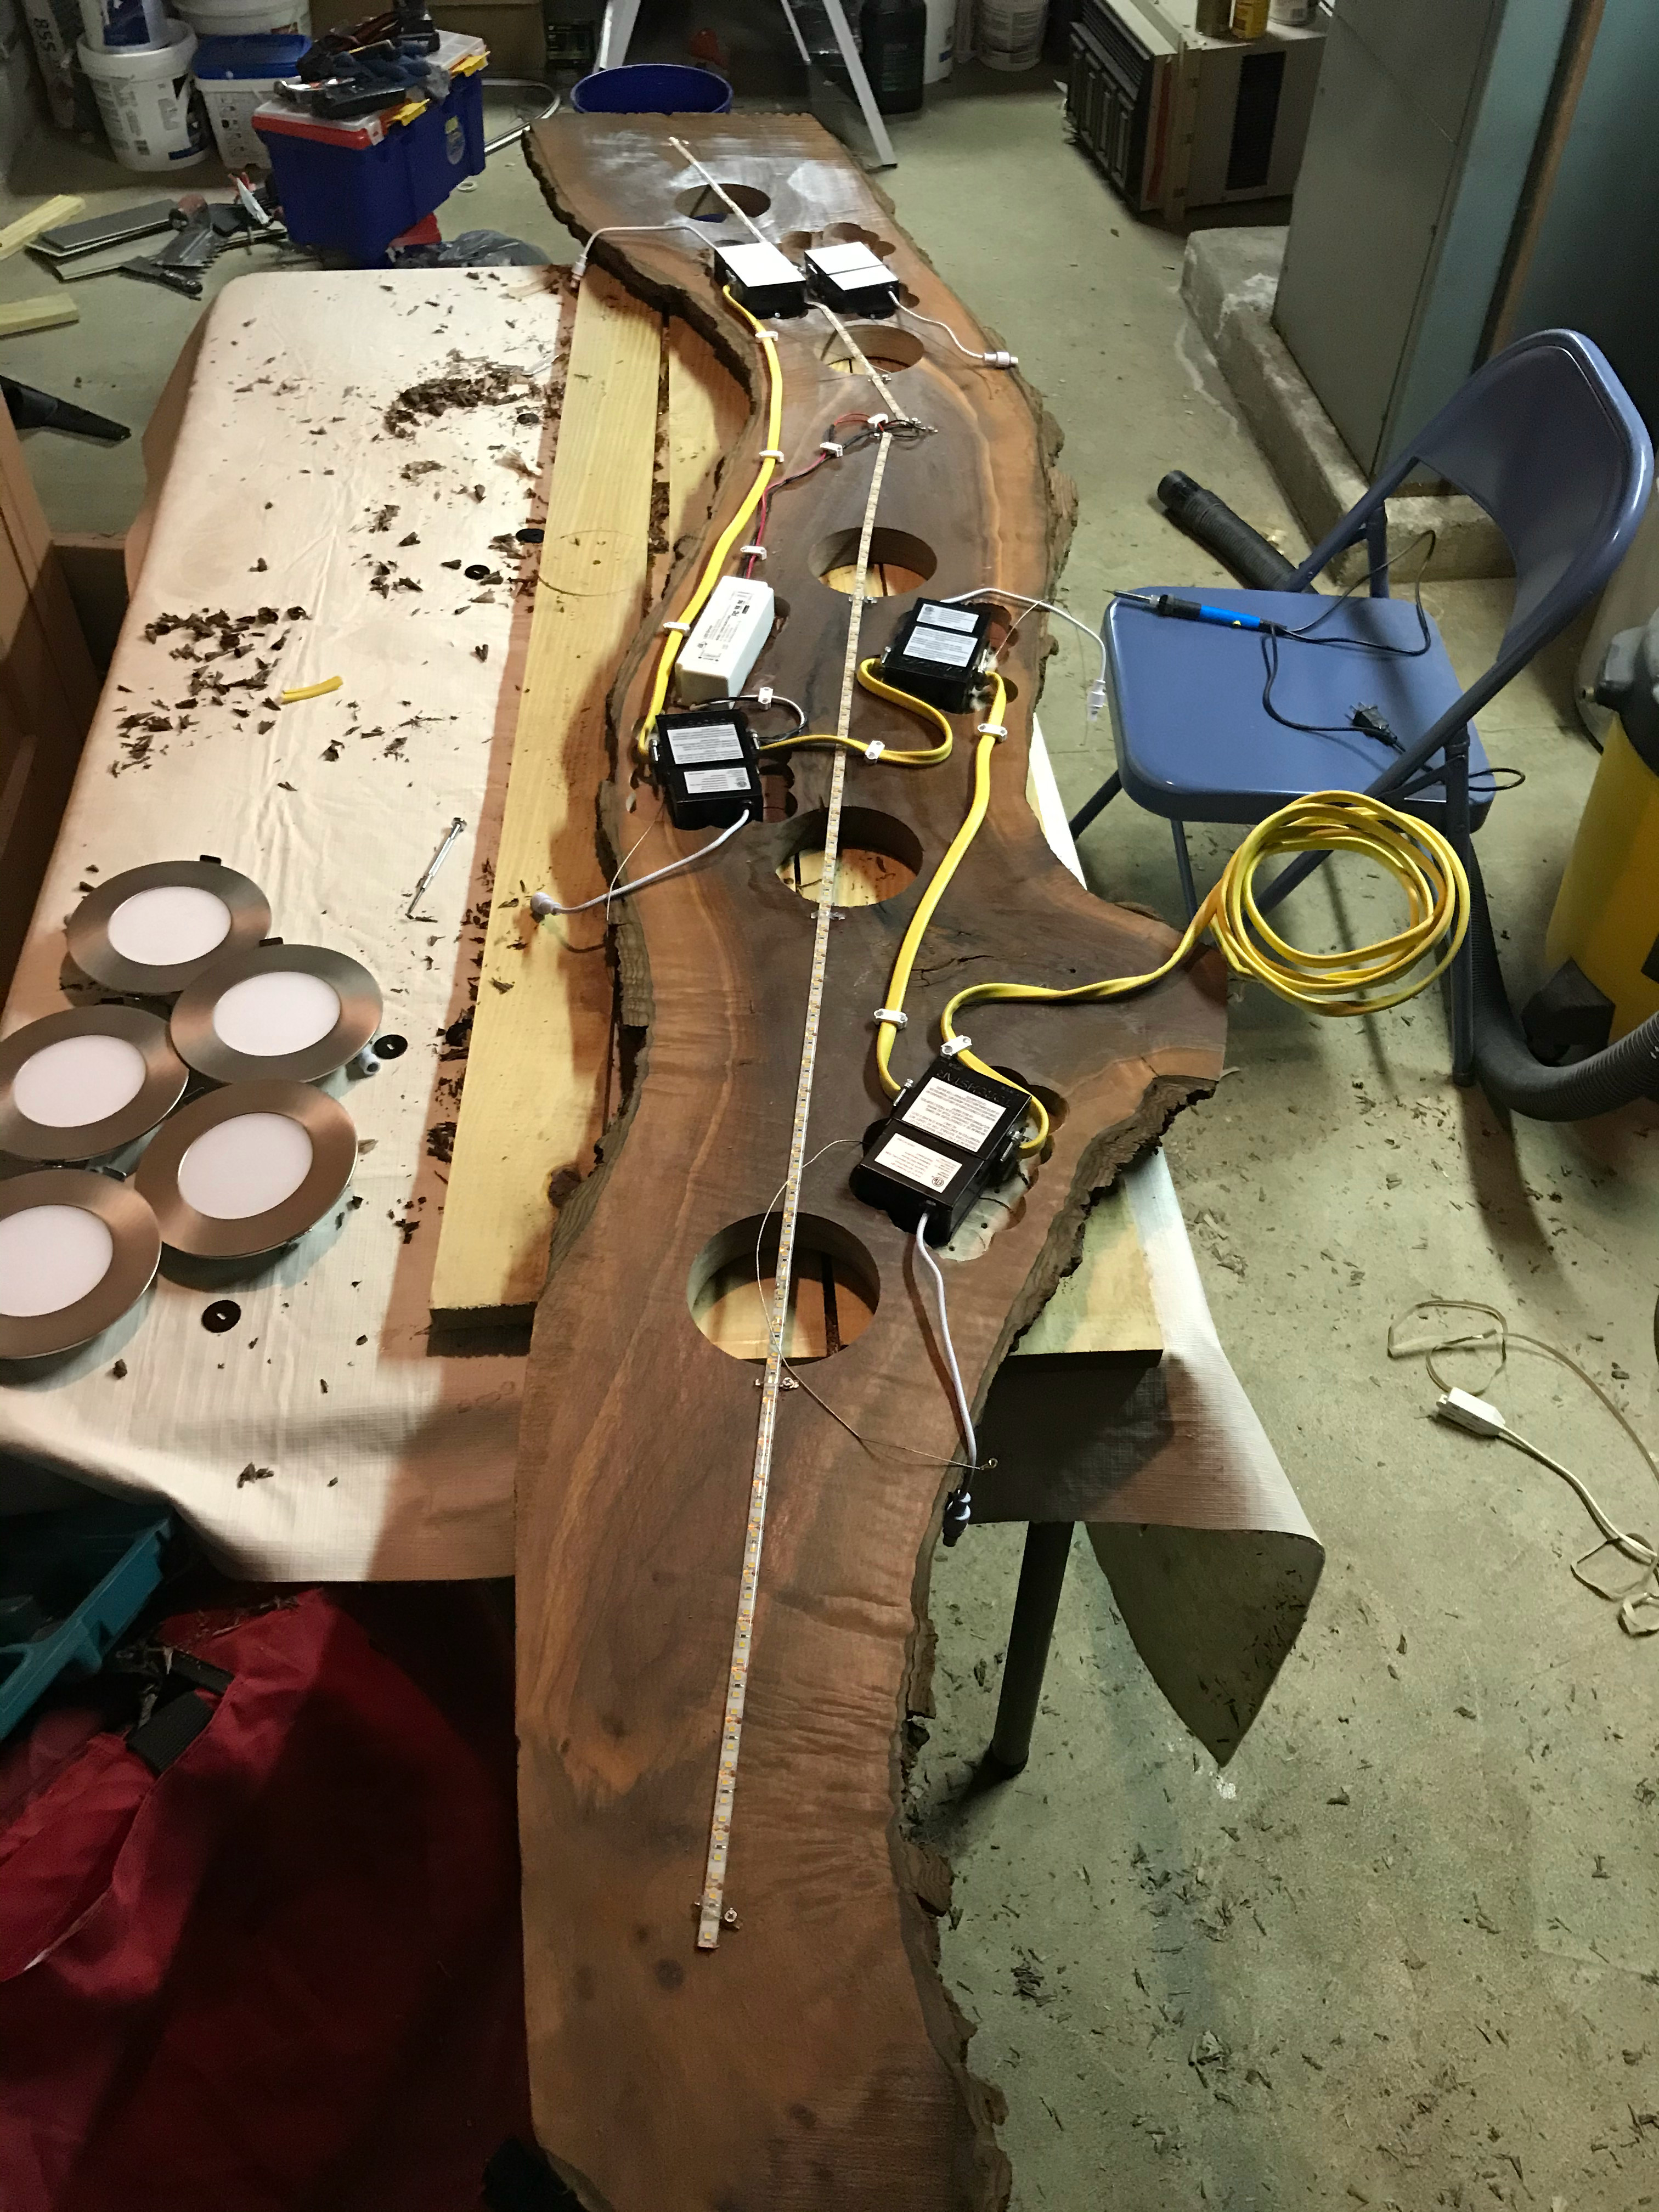
- Flip it back over. Decide where the junction boxes where go so they will be hidden - keep them away from the absolute center, your led strip will go here
- Use a forstner bit (or more properly a router, but if you’re cheap like me a forstner bit) to go about half way down for the junction boxes in the wood, this will make them invisible when your slab floats from the wall. - forstner bit, drill, screws
- After junction box secure, run the wire through all of the junction boxes in parallel, the center most box will be the point of entry from your ceiling junction - wire secures, 14/2 awg wire.
- Install dimmer the same way you did the junction boxes, give extra space for the wire runs. - forstner bit, drill, screws
- Put the LED strips vertically centered across the wood. If your wood is curved like me, divide it into multiple strips, and link together with a small 20awg wire, solder and hot glue. - hot glue, 20 awg wire, soldering iron, solder
- Test that there are no shorts - multimeter
- Anchor to the ceiling: get 4 hook & eye anchors, and find the studs in your ceiling. Take many measurements to get everything perfectly lined up.
- if you’re measuring correctly, this should take a while, remember your wood is not completely flat, so the anchor locations will be staggered.
- required - stud finder, pencil, measuring tape
- Use a small drill bit, drill into the studs on your marked locations, this will give the anchors an easier time, put the hooks in the ceiling
- Use a small drill bit (recommend drill press for this) drill half way down into your wood, then mark half way down on the eye with a sharpie, screw it by hand half way into the wood.
- Get another person to help you mount it to the ceiling, you don’t want your project to smash on the floor.
- For the junction connection, you can buy a “fan extender kit” from lowes or the depot. About 15$. Then cut the metal line on the extender kit. To get it to attach
to the ceiling, i had to buy some pieces of metal, and bend it into shape with pliers, then attach with a self drill screw, but this was because i was being cheap and had metal laying around.
- Remember that no weight is barring on the decorative kit, just the wire is running through it to your junction box ingress.
Spicy Construction Photos
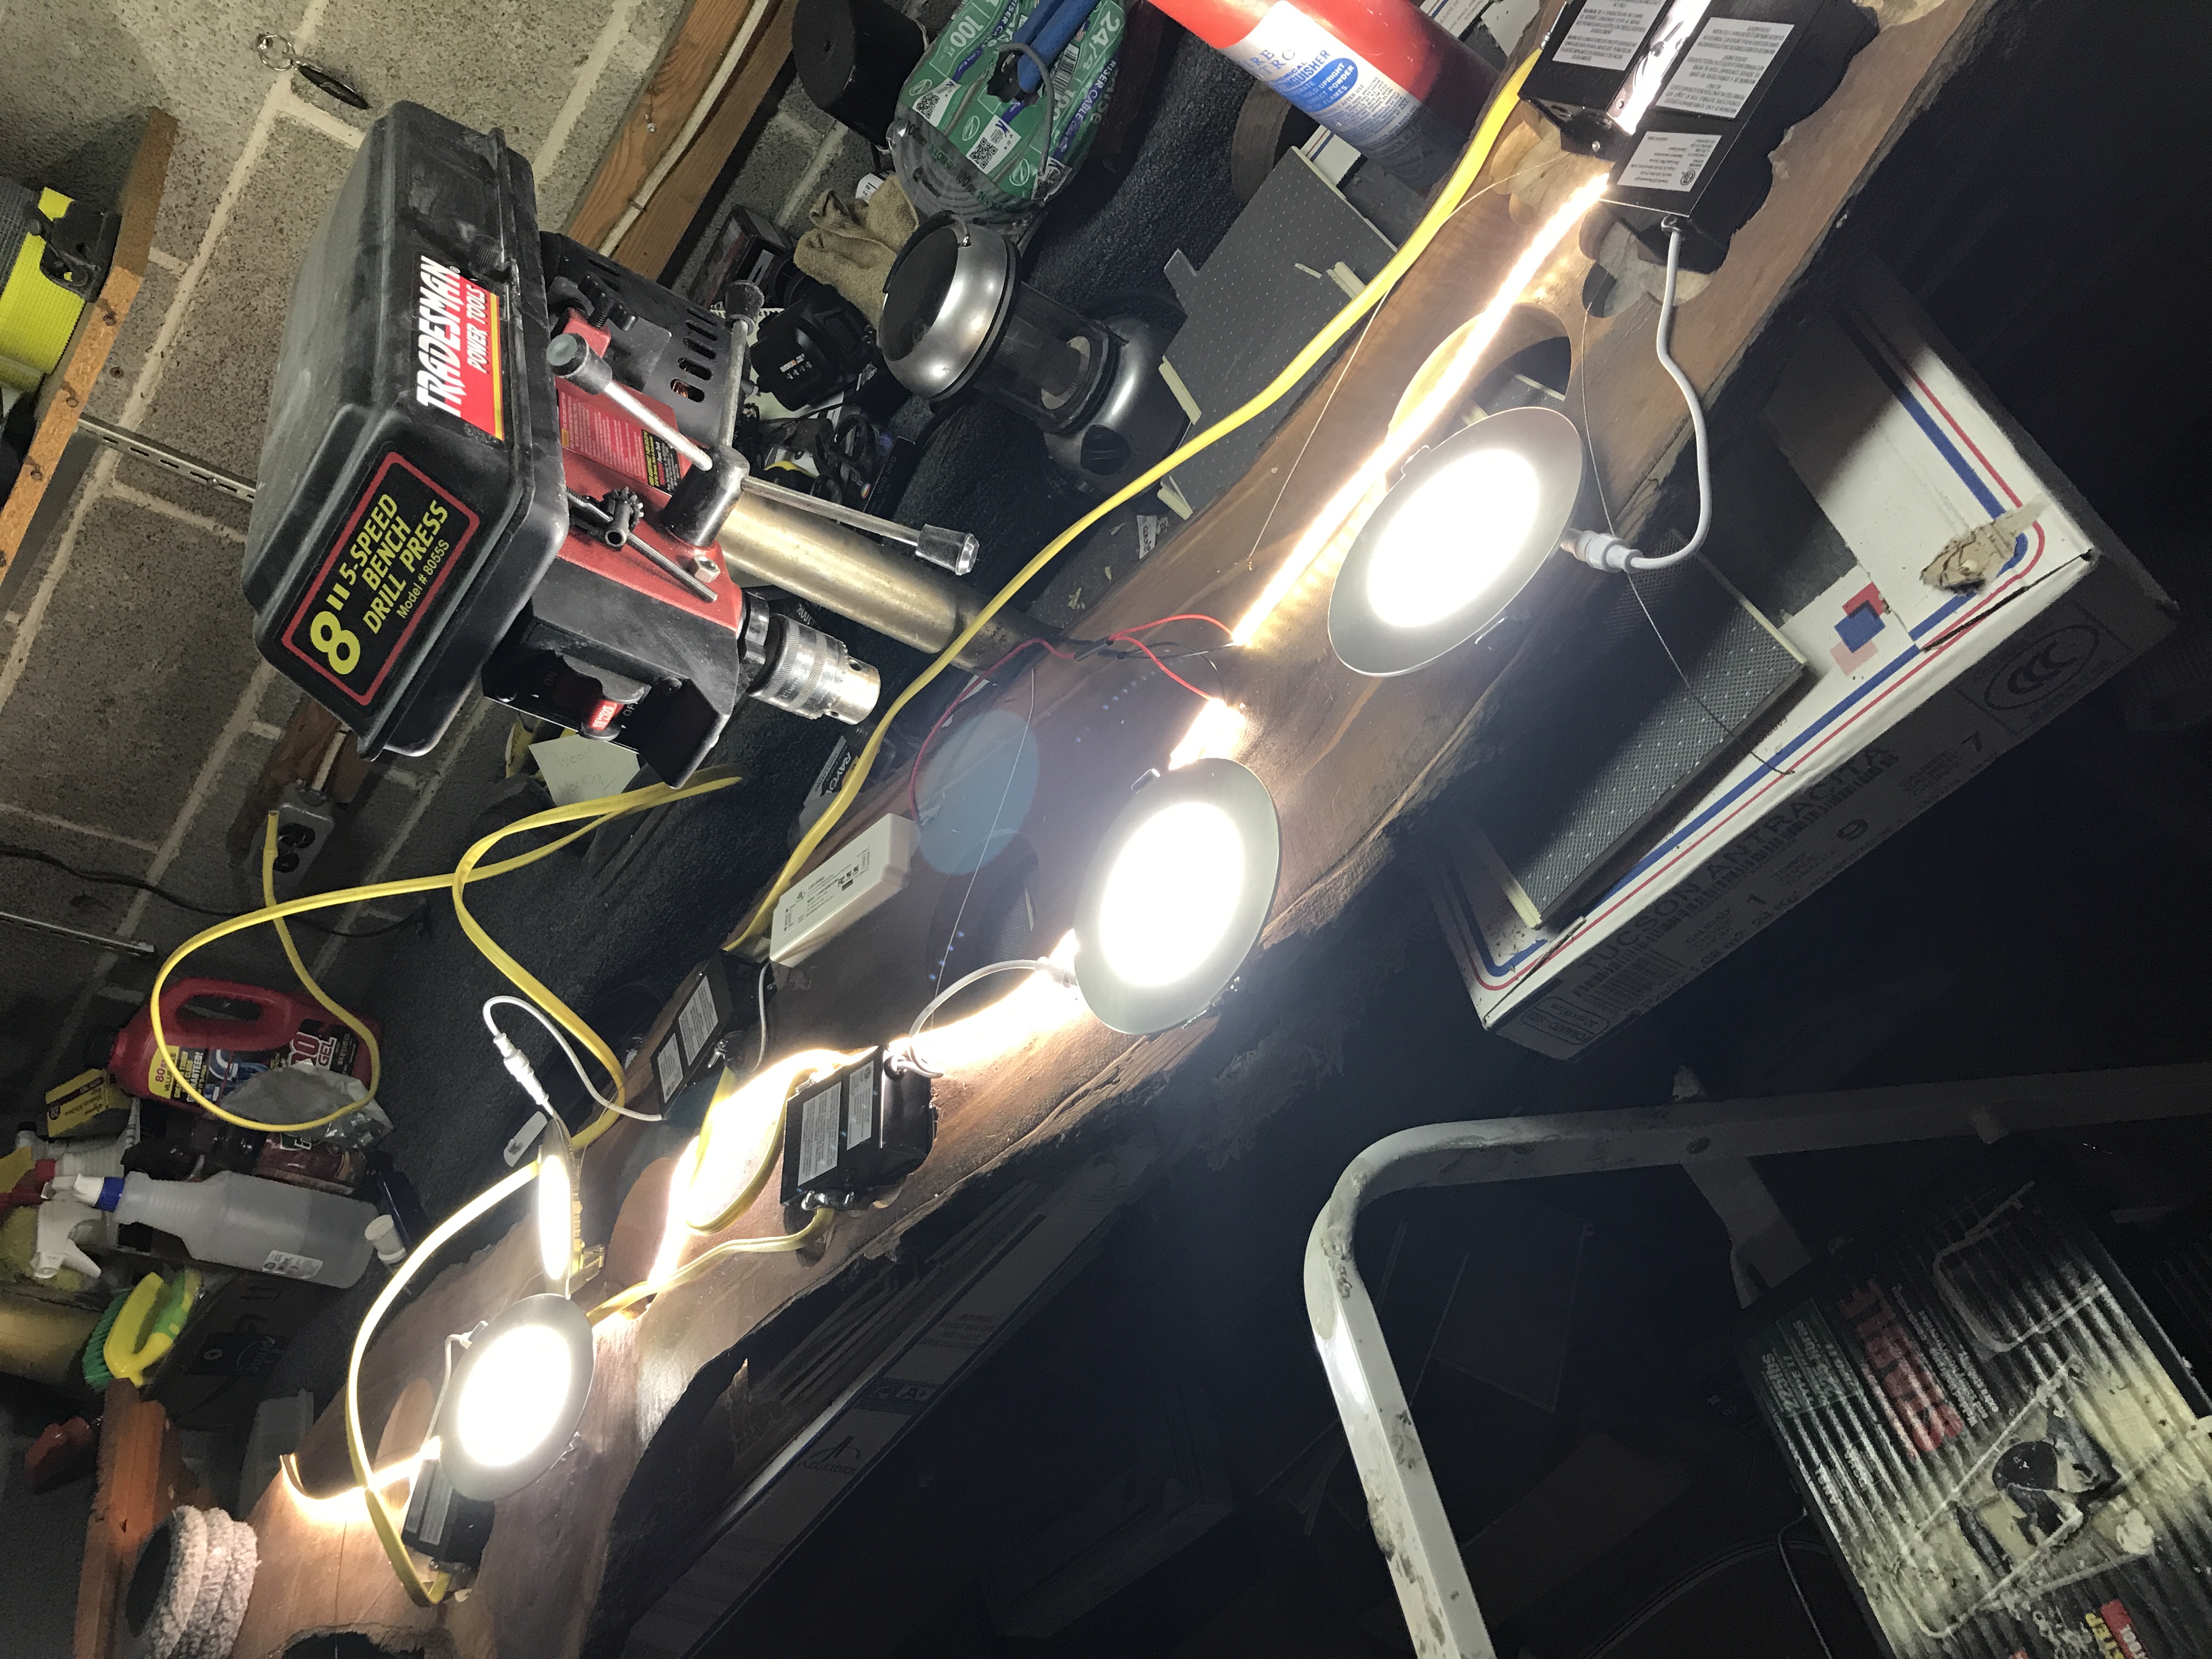
All Photos
To view the entire process of building the light, go to the drive.
Comments