DIY Window Capping
Been entirely inactive for a long time on every social media platform. Just wanted to start posting about stuff i’ve been doing since I bought the house. Here we’ll talk about some window capping.
Total Price: ~80$
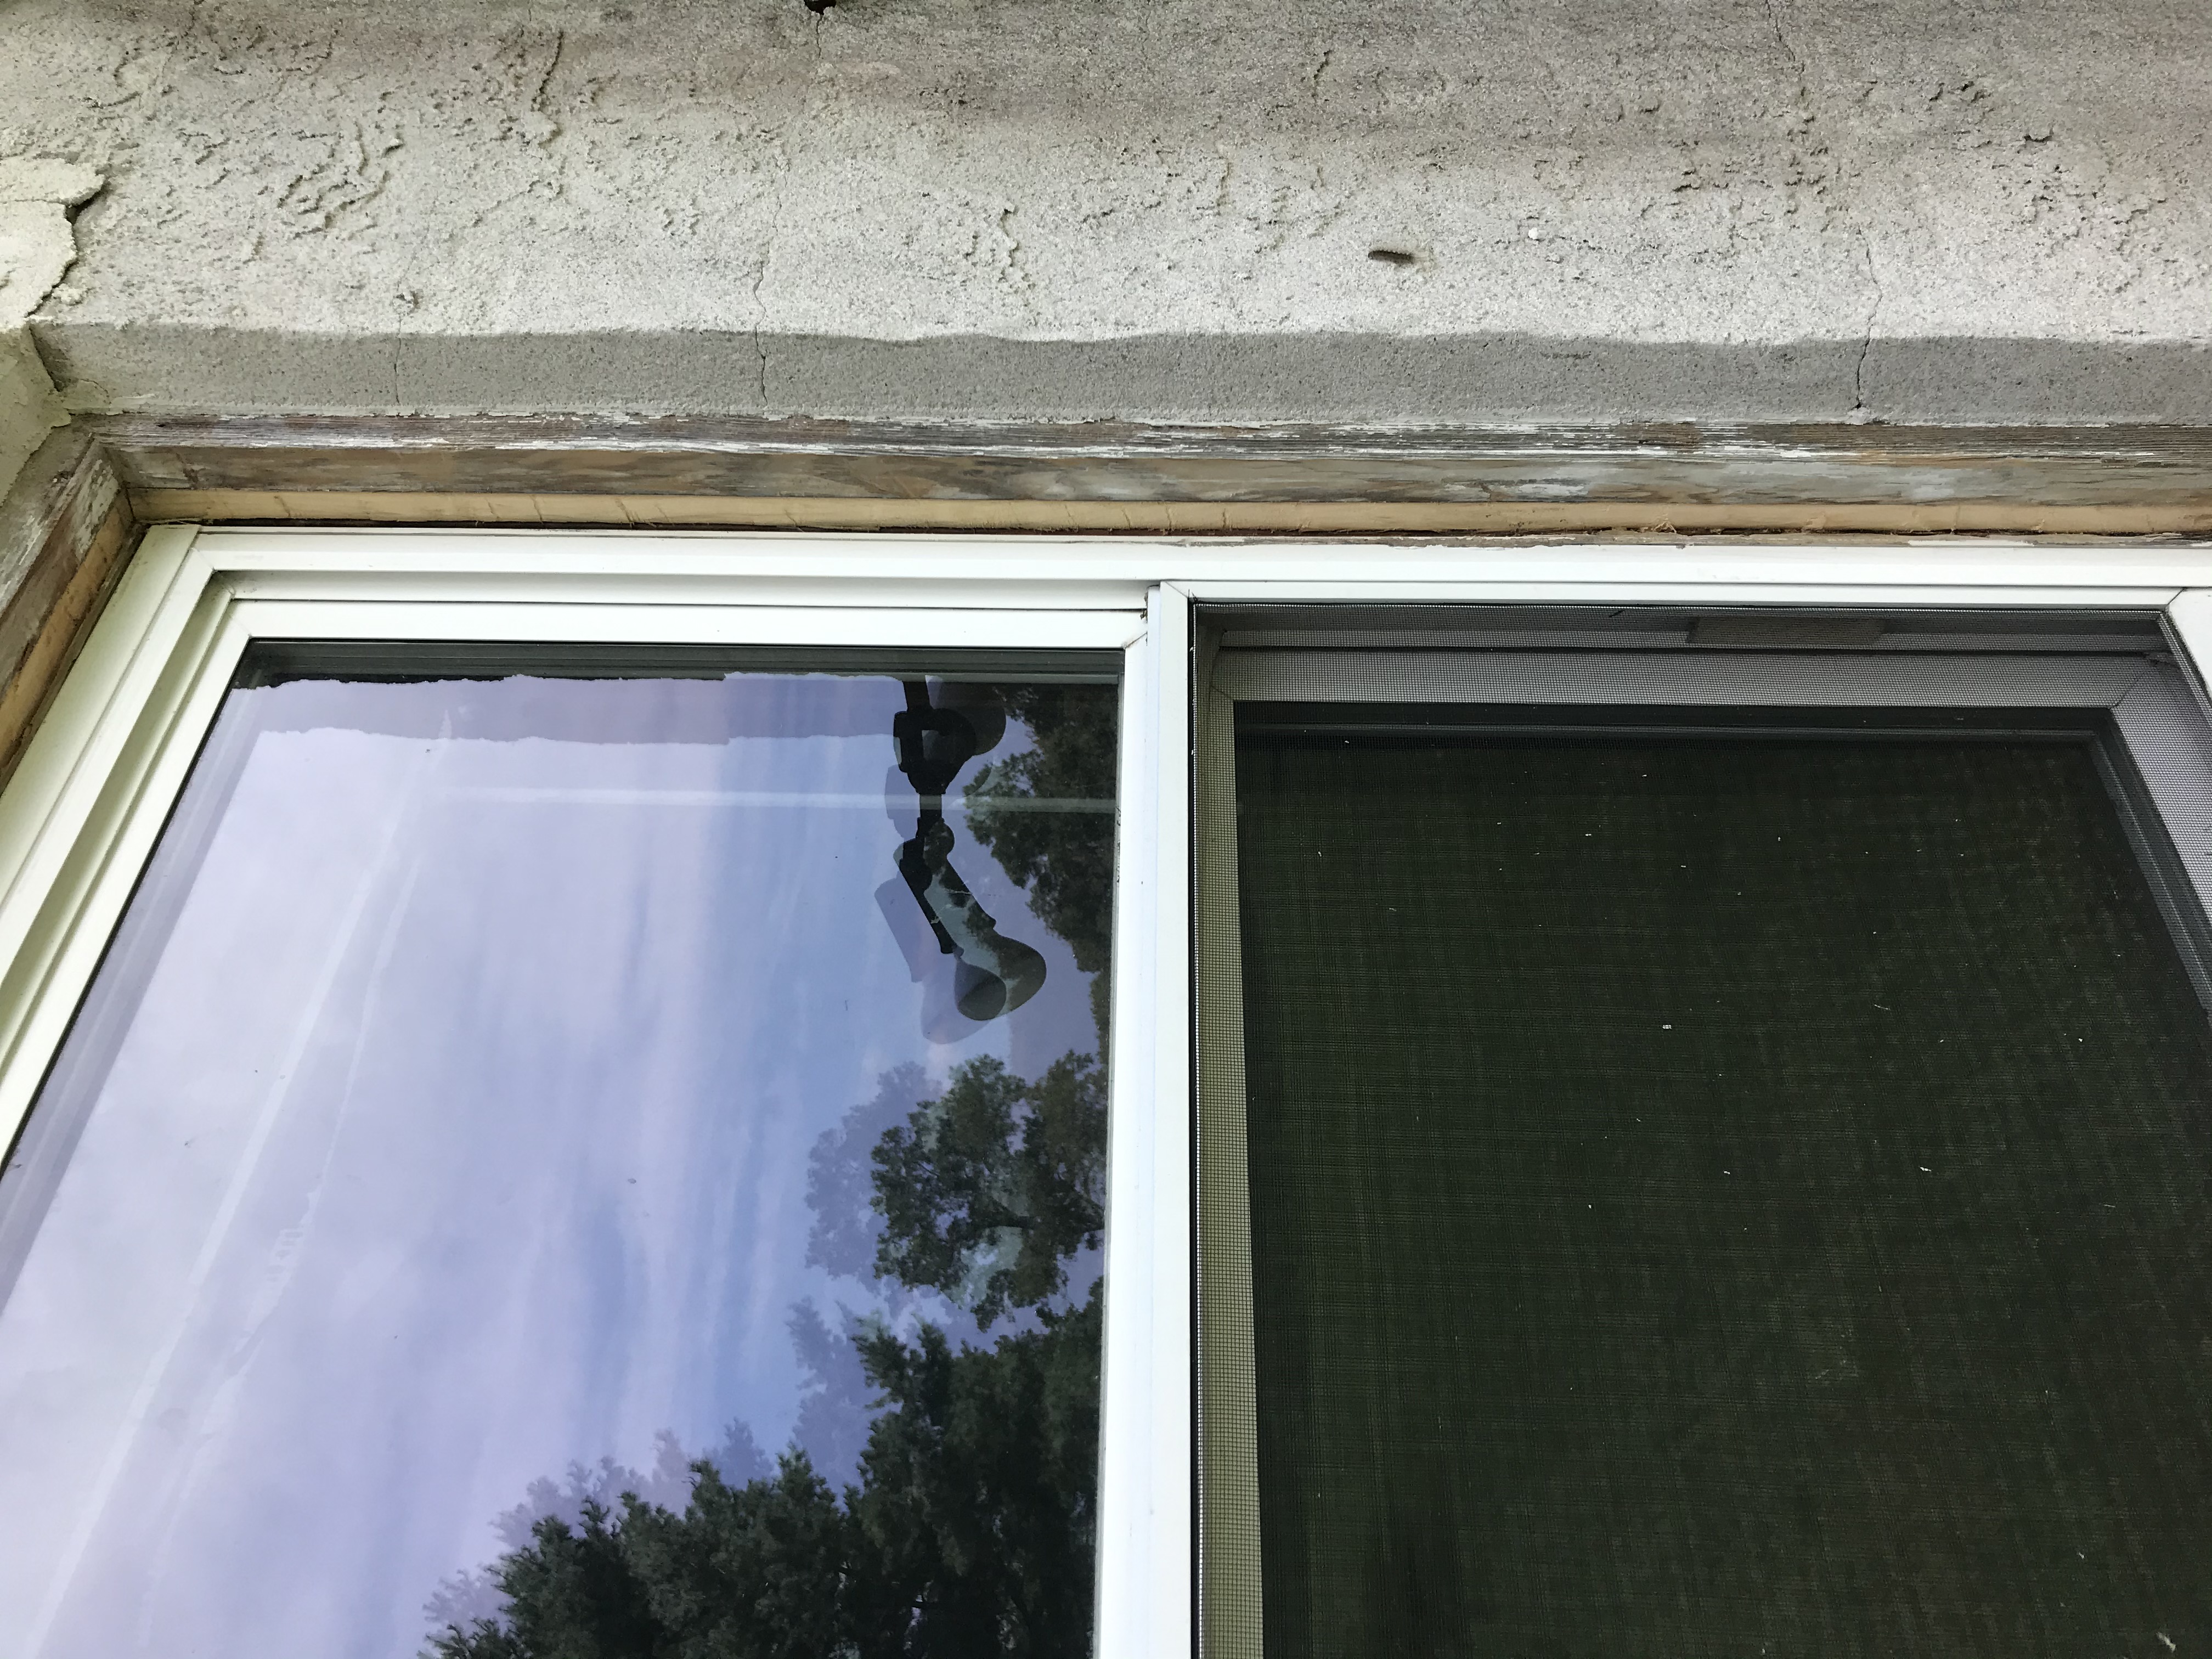
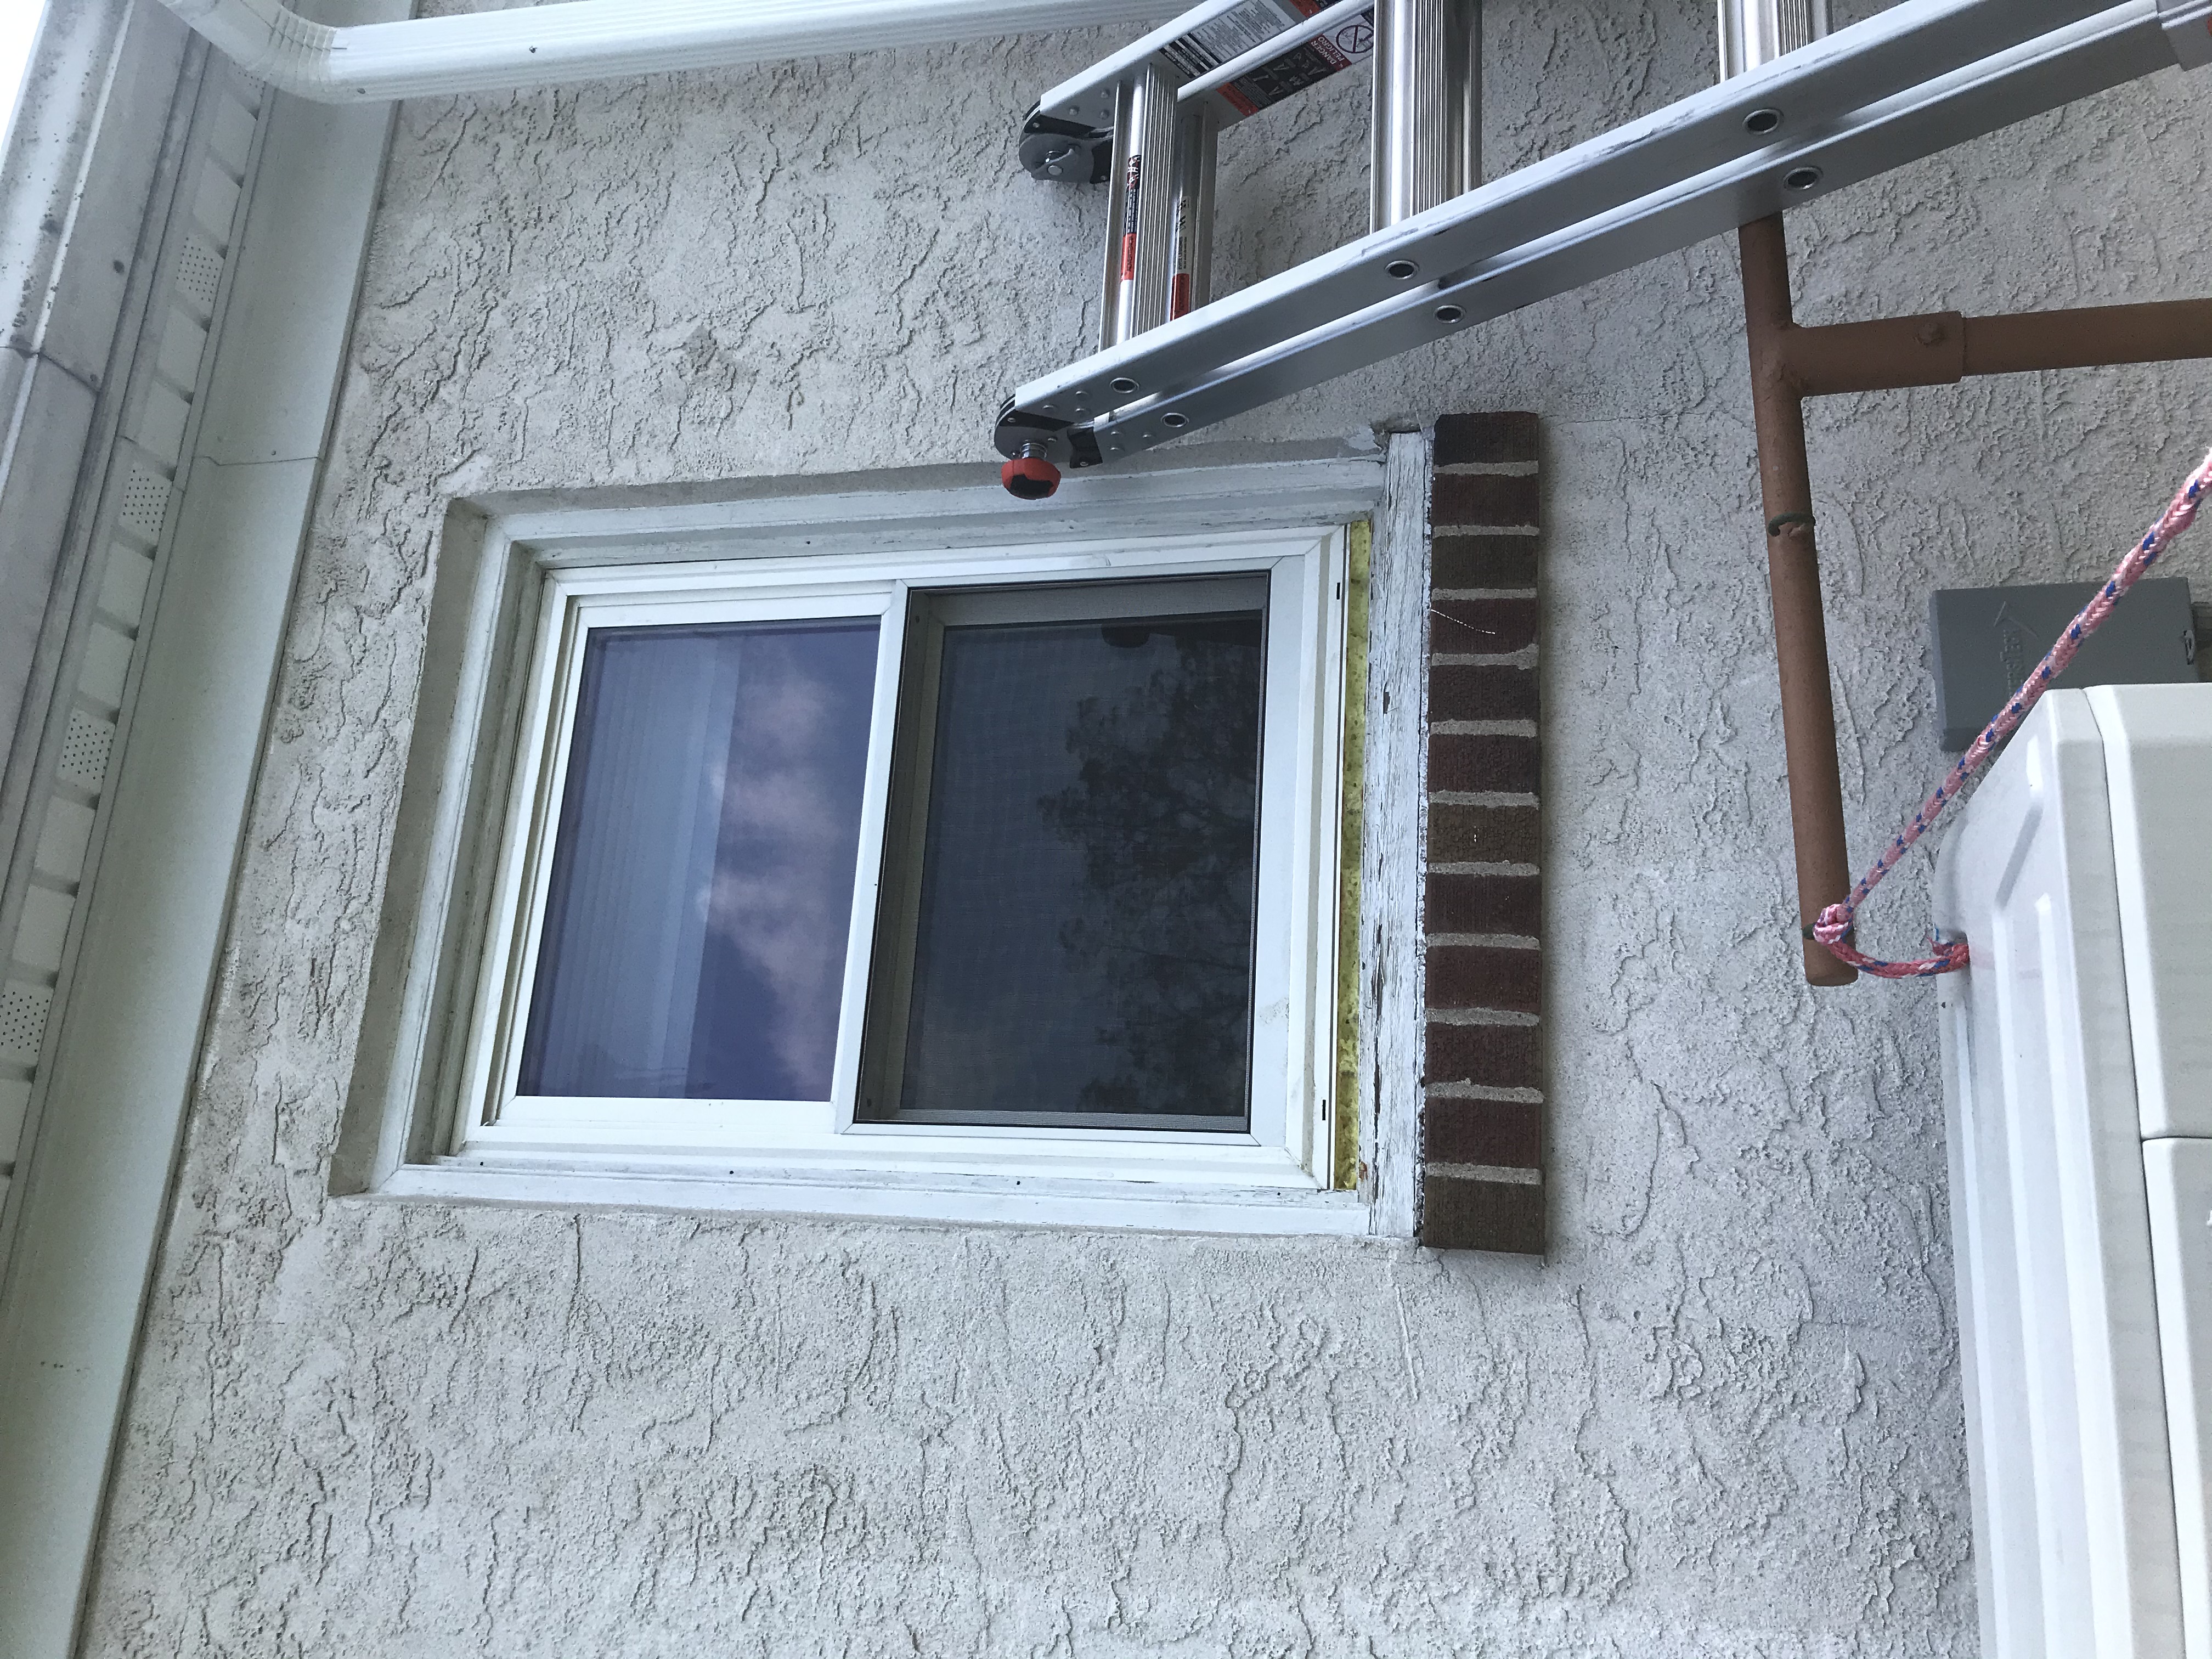
Before
Sorry for potato quality on before photos, i took some of them half way through.

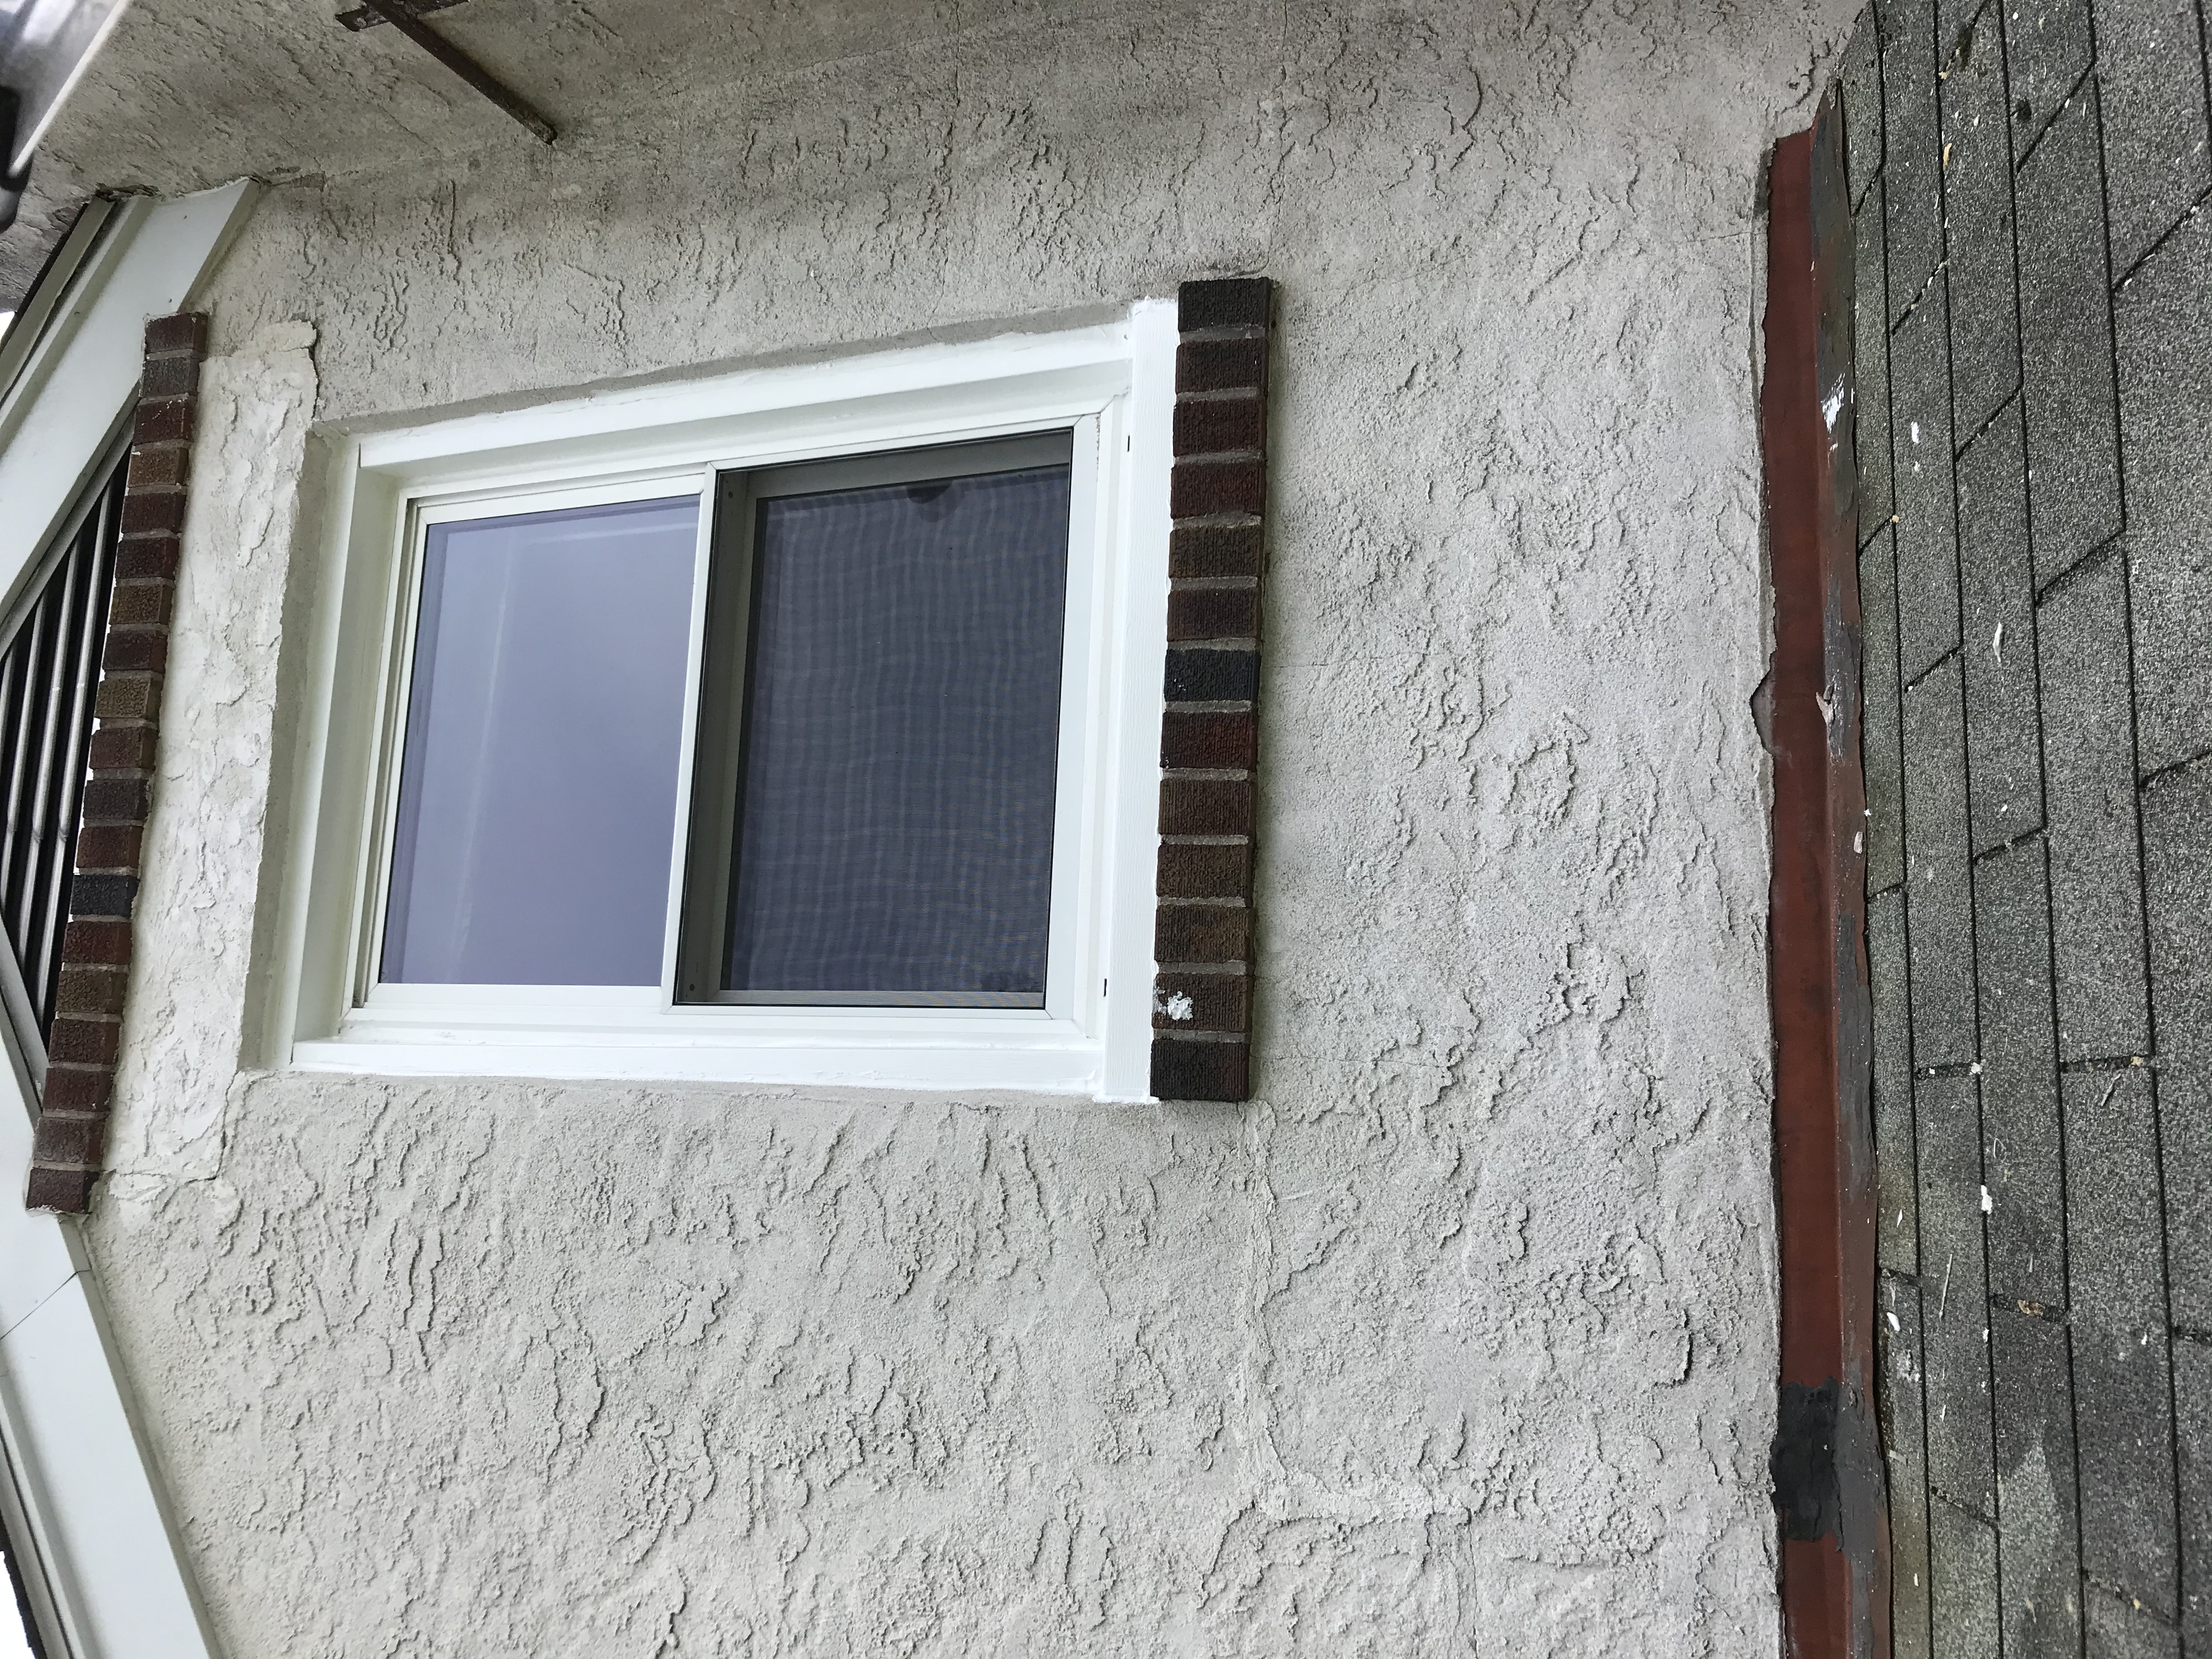
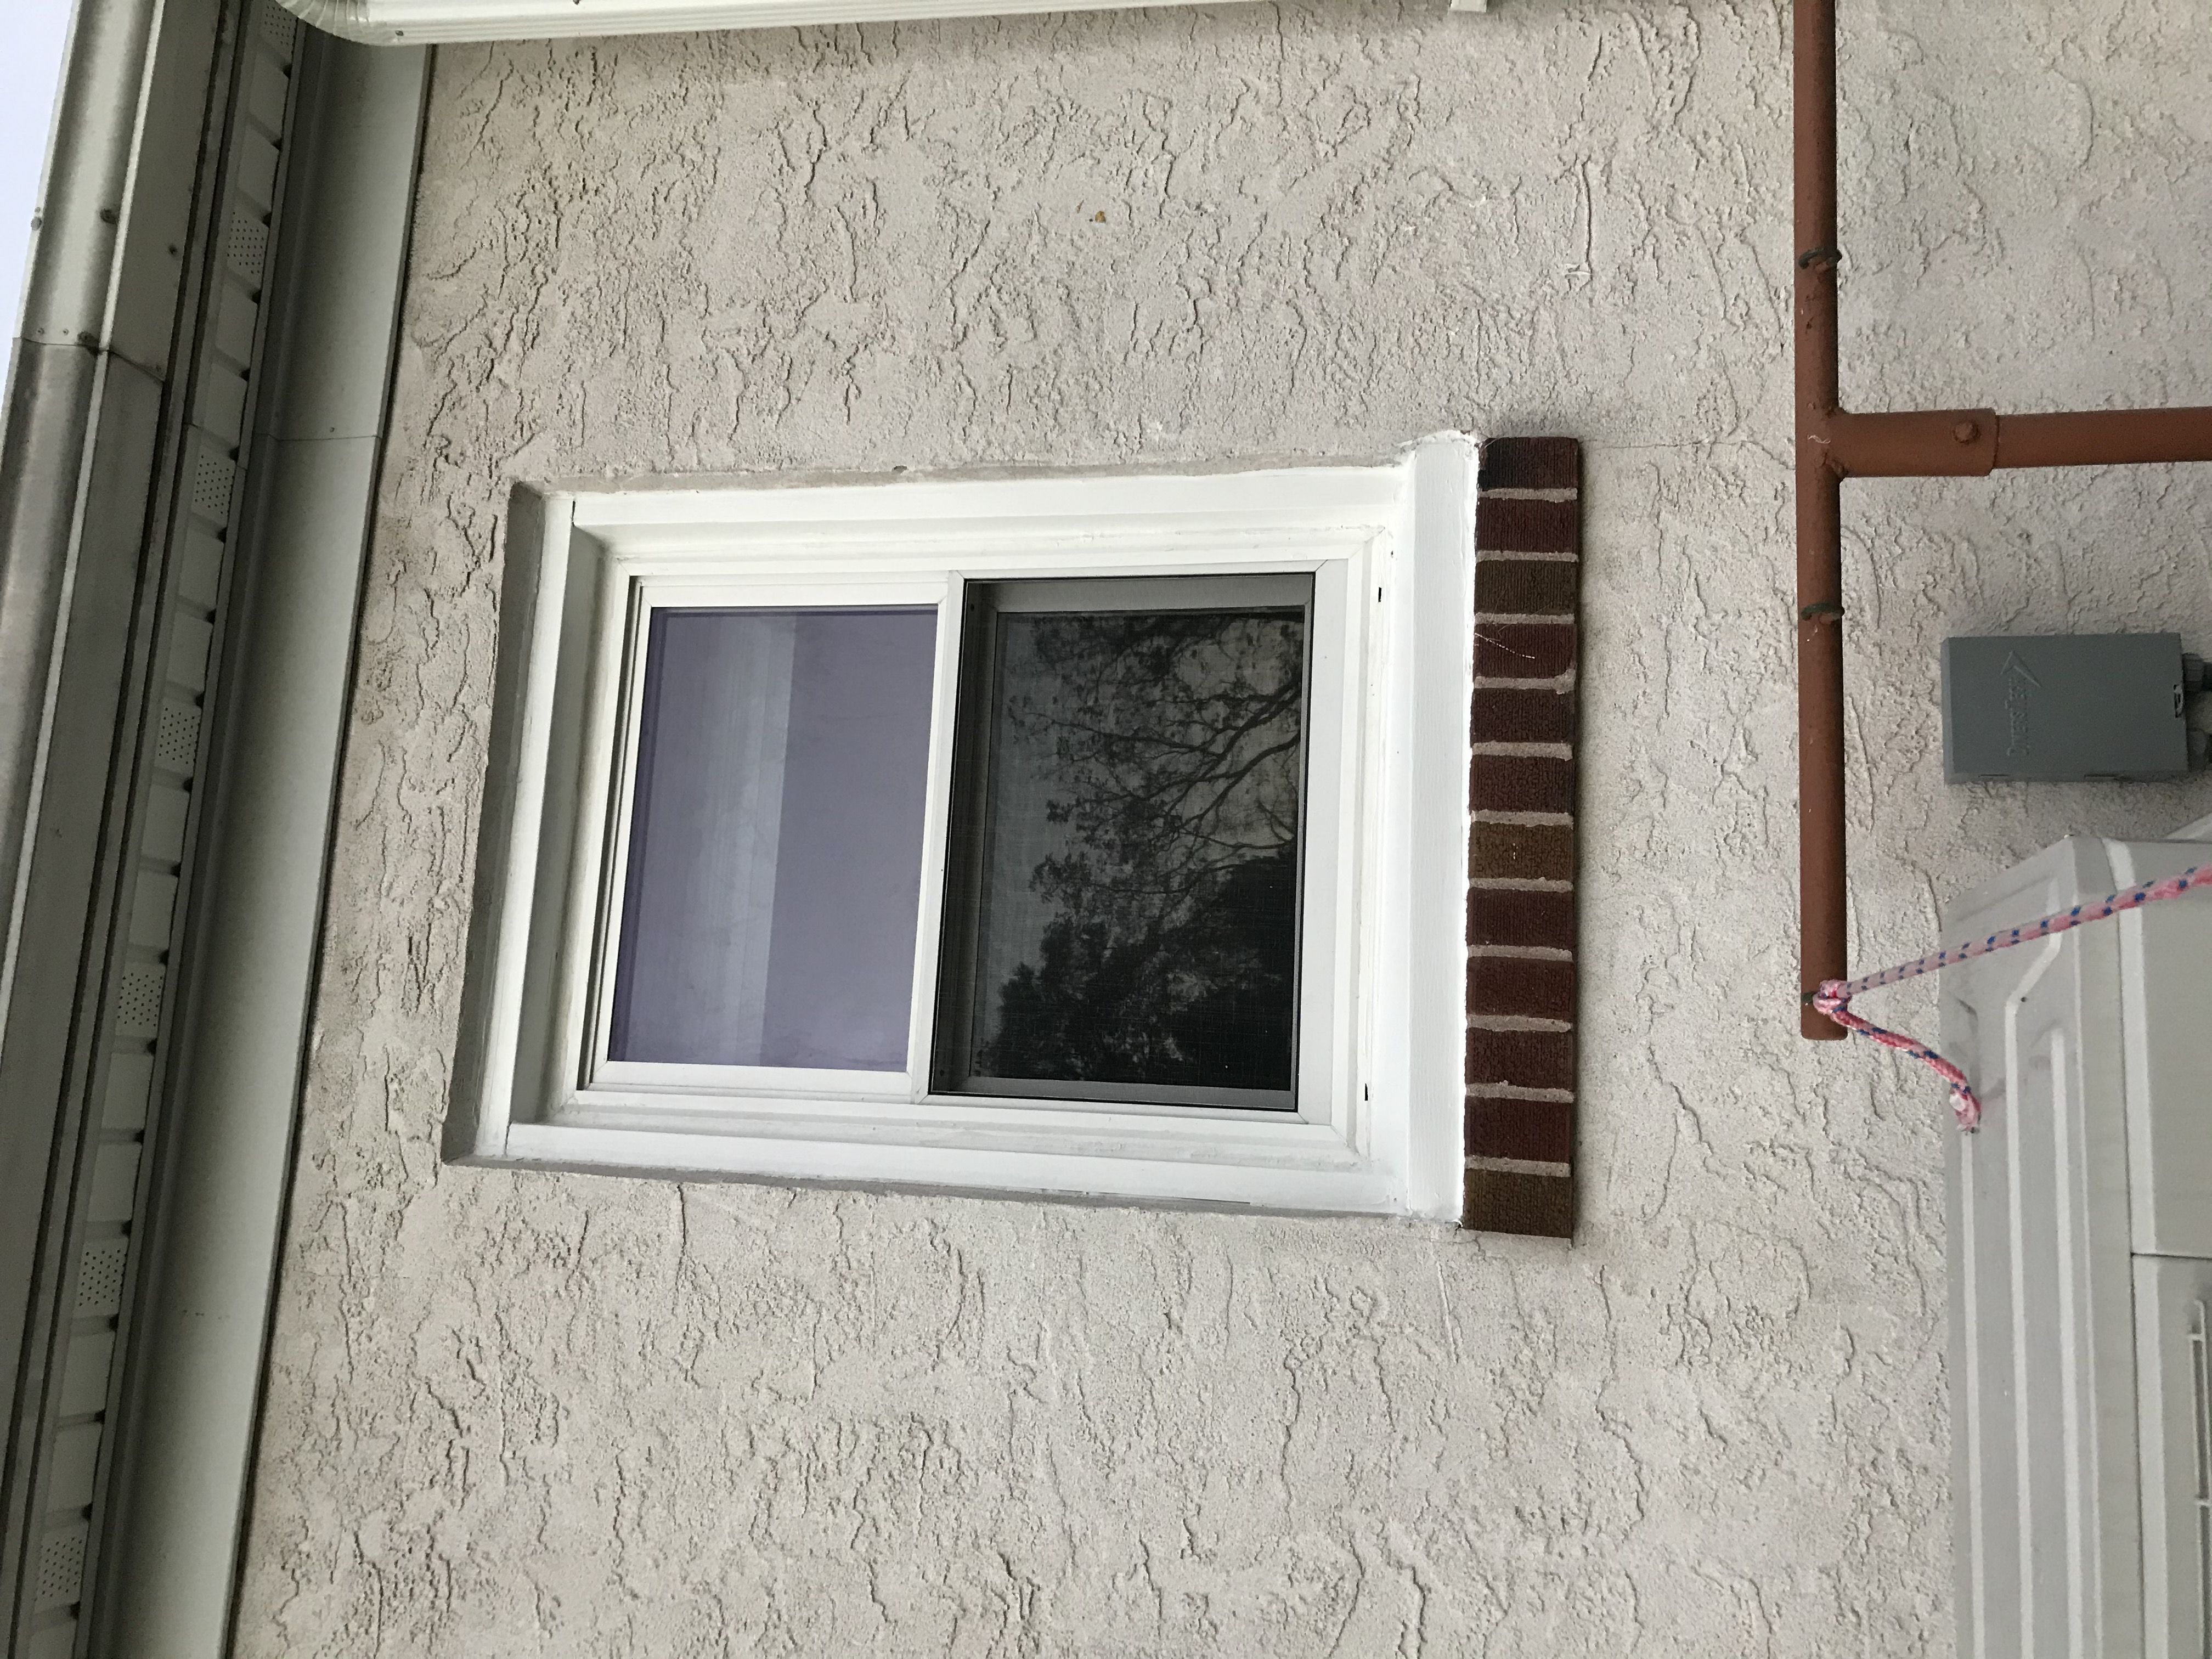
After

How I did it
The exterior of your house does not matter for capping windows. You cap windows for aesthetics and to make it so you don’t have to paint anymore. With it comes a risk of trapping moisture which could end up rotting your wood if water is aloud into the space between your window and the capping material. I’ll probably uncap one in ~5 years to see how well I did. I don’t mind replacing them if they end up rotting.
- Remove caulking around window - utility knife and caulk scraper
- Remove Old trim of the window that does not match the new windows and any rotted wood - hammer, ugly stick, multitool with wood cutter attachment
- Sand down window - multitool with sander attachment
- Paint the wood - paint/brush
- Fill the area around the window with some spray insulation - apparently the previous installer did not.
- To get it to match the other windows, i measured the other windows the capping to match in “height” - the area of the capping that faces you; then Lots more measurements:
- “Height” for every window as mentioned before - this is where you will bend
- Inner length, the part that faces the window - this + height is the total “width” of the piece to cut
- Length - from where the stucco meats the window (or whatever material you have) - my windows have a small jutt out from the bottom, no measurement is a perfect square, so i use the longest for bending the metal, then trim later.
- Score and snap the pieces of metal off the roll with the total width and length
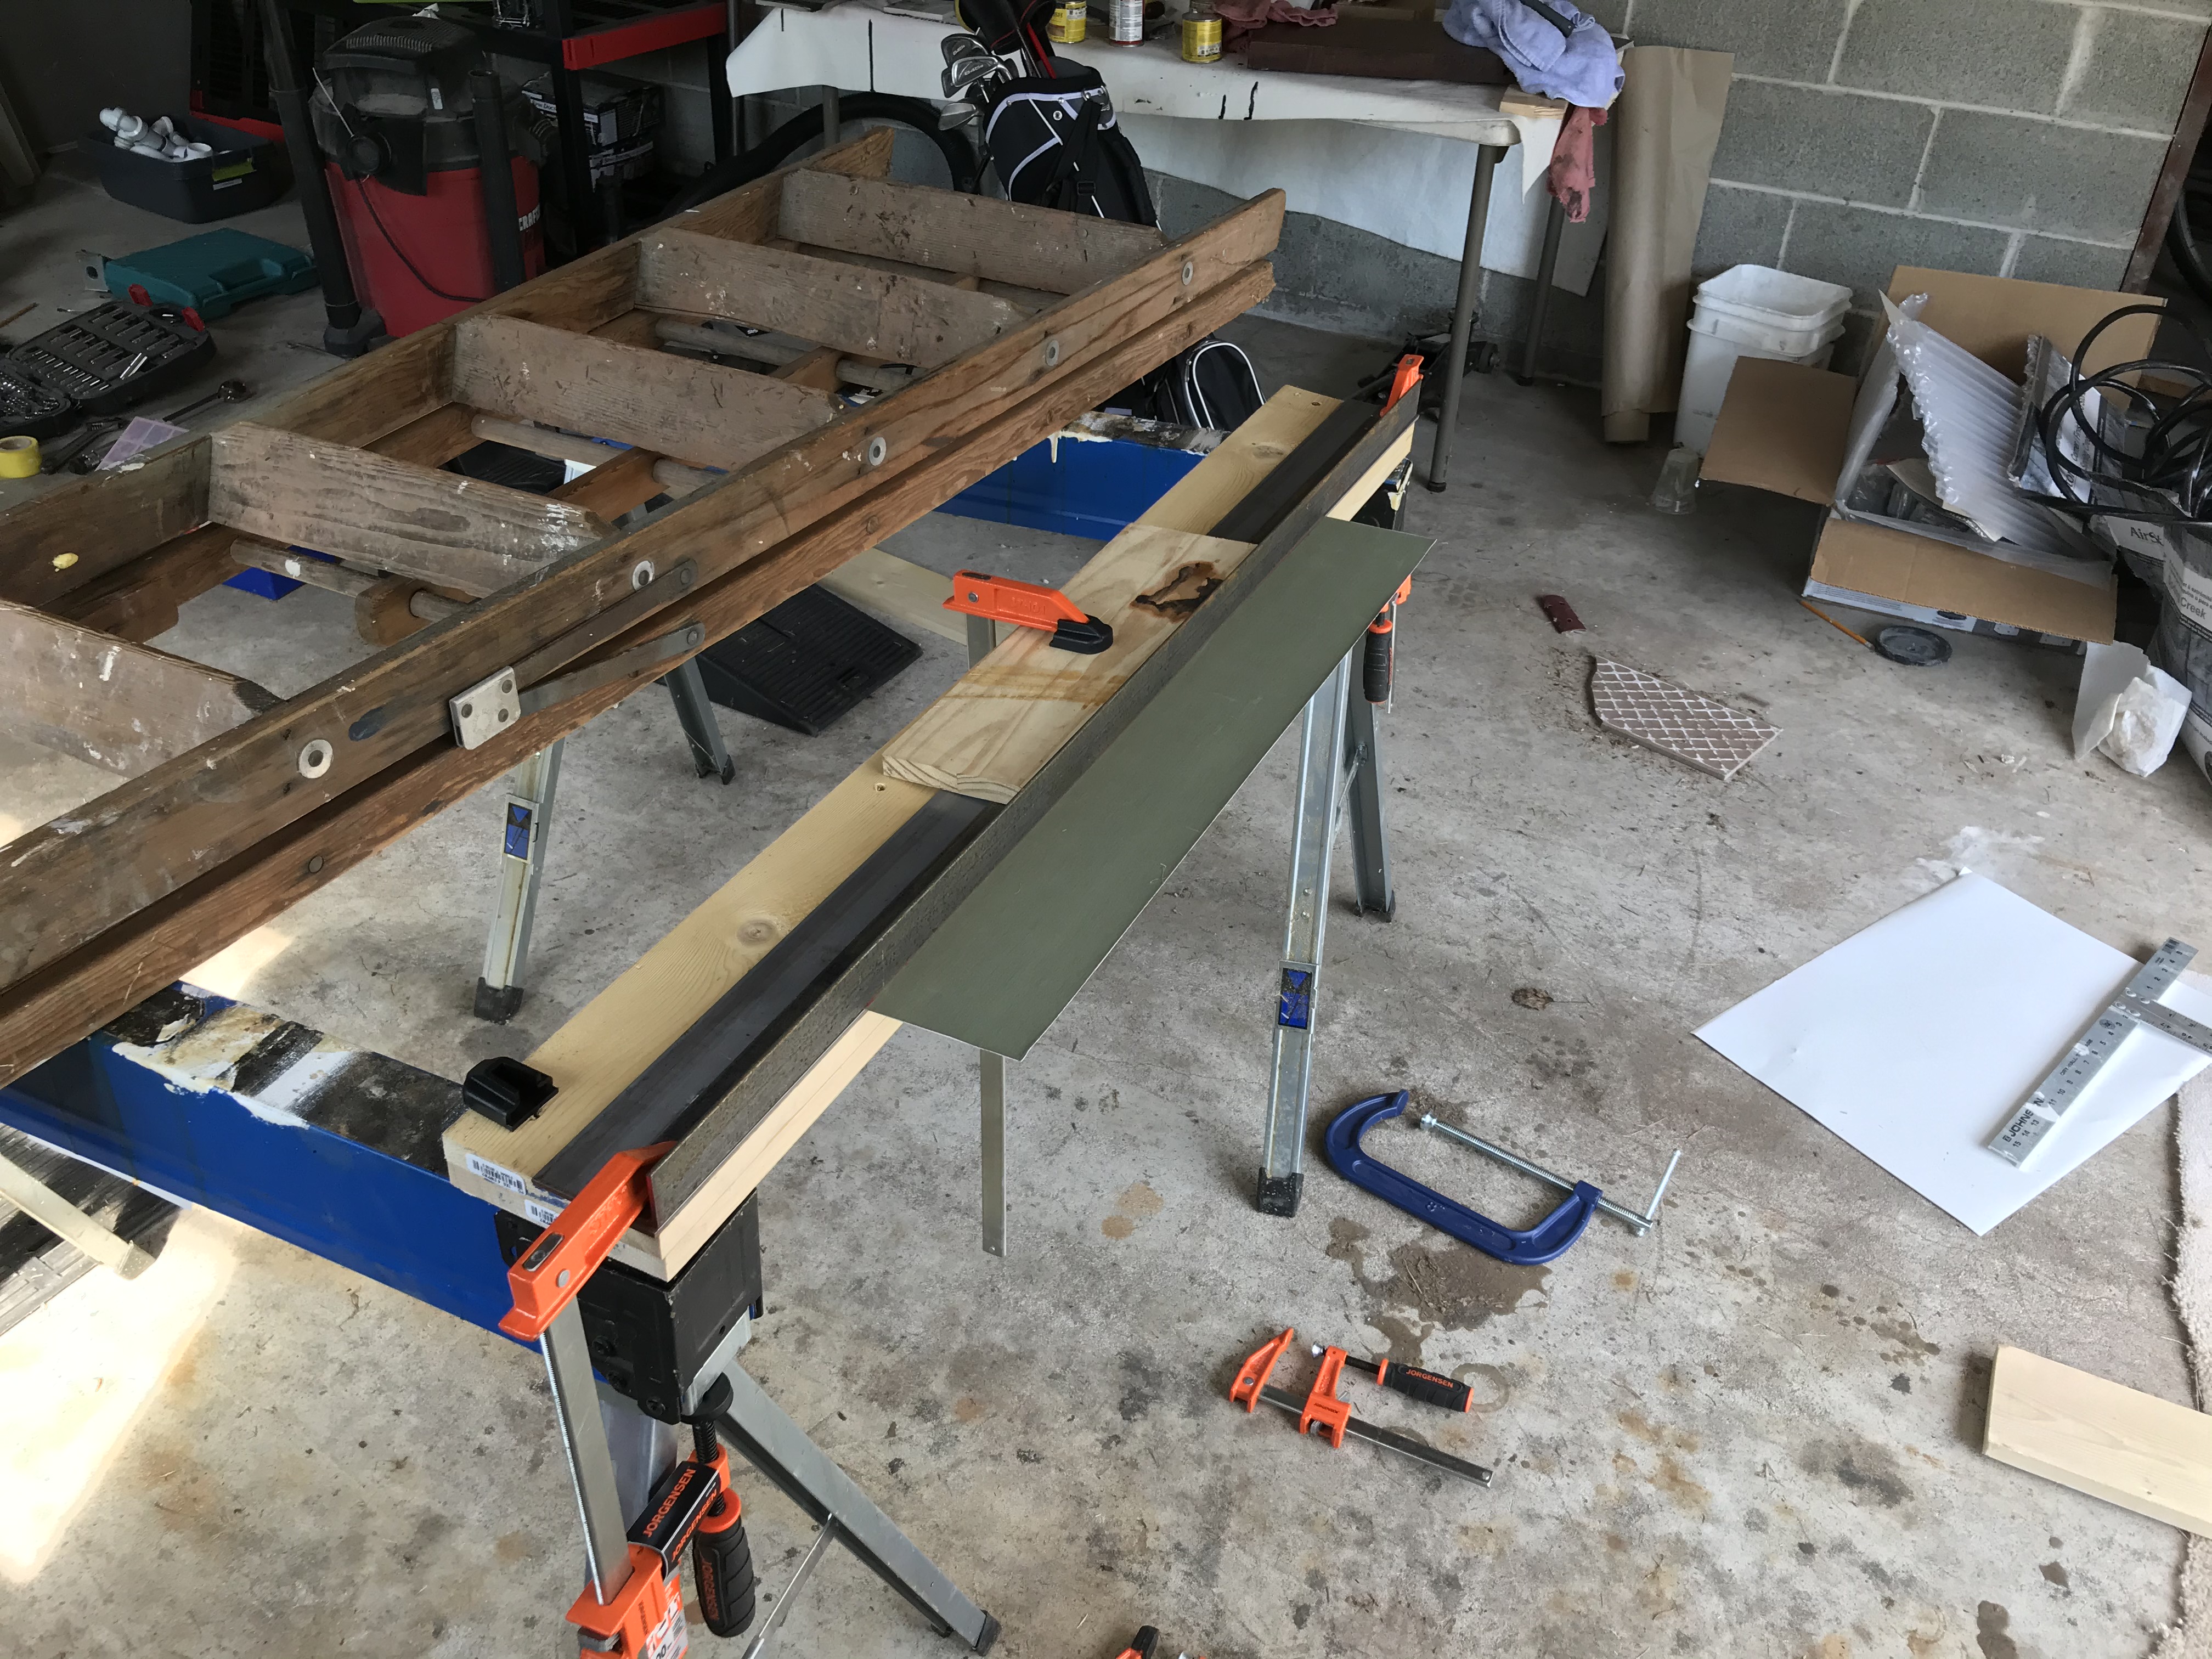
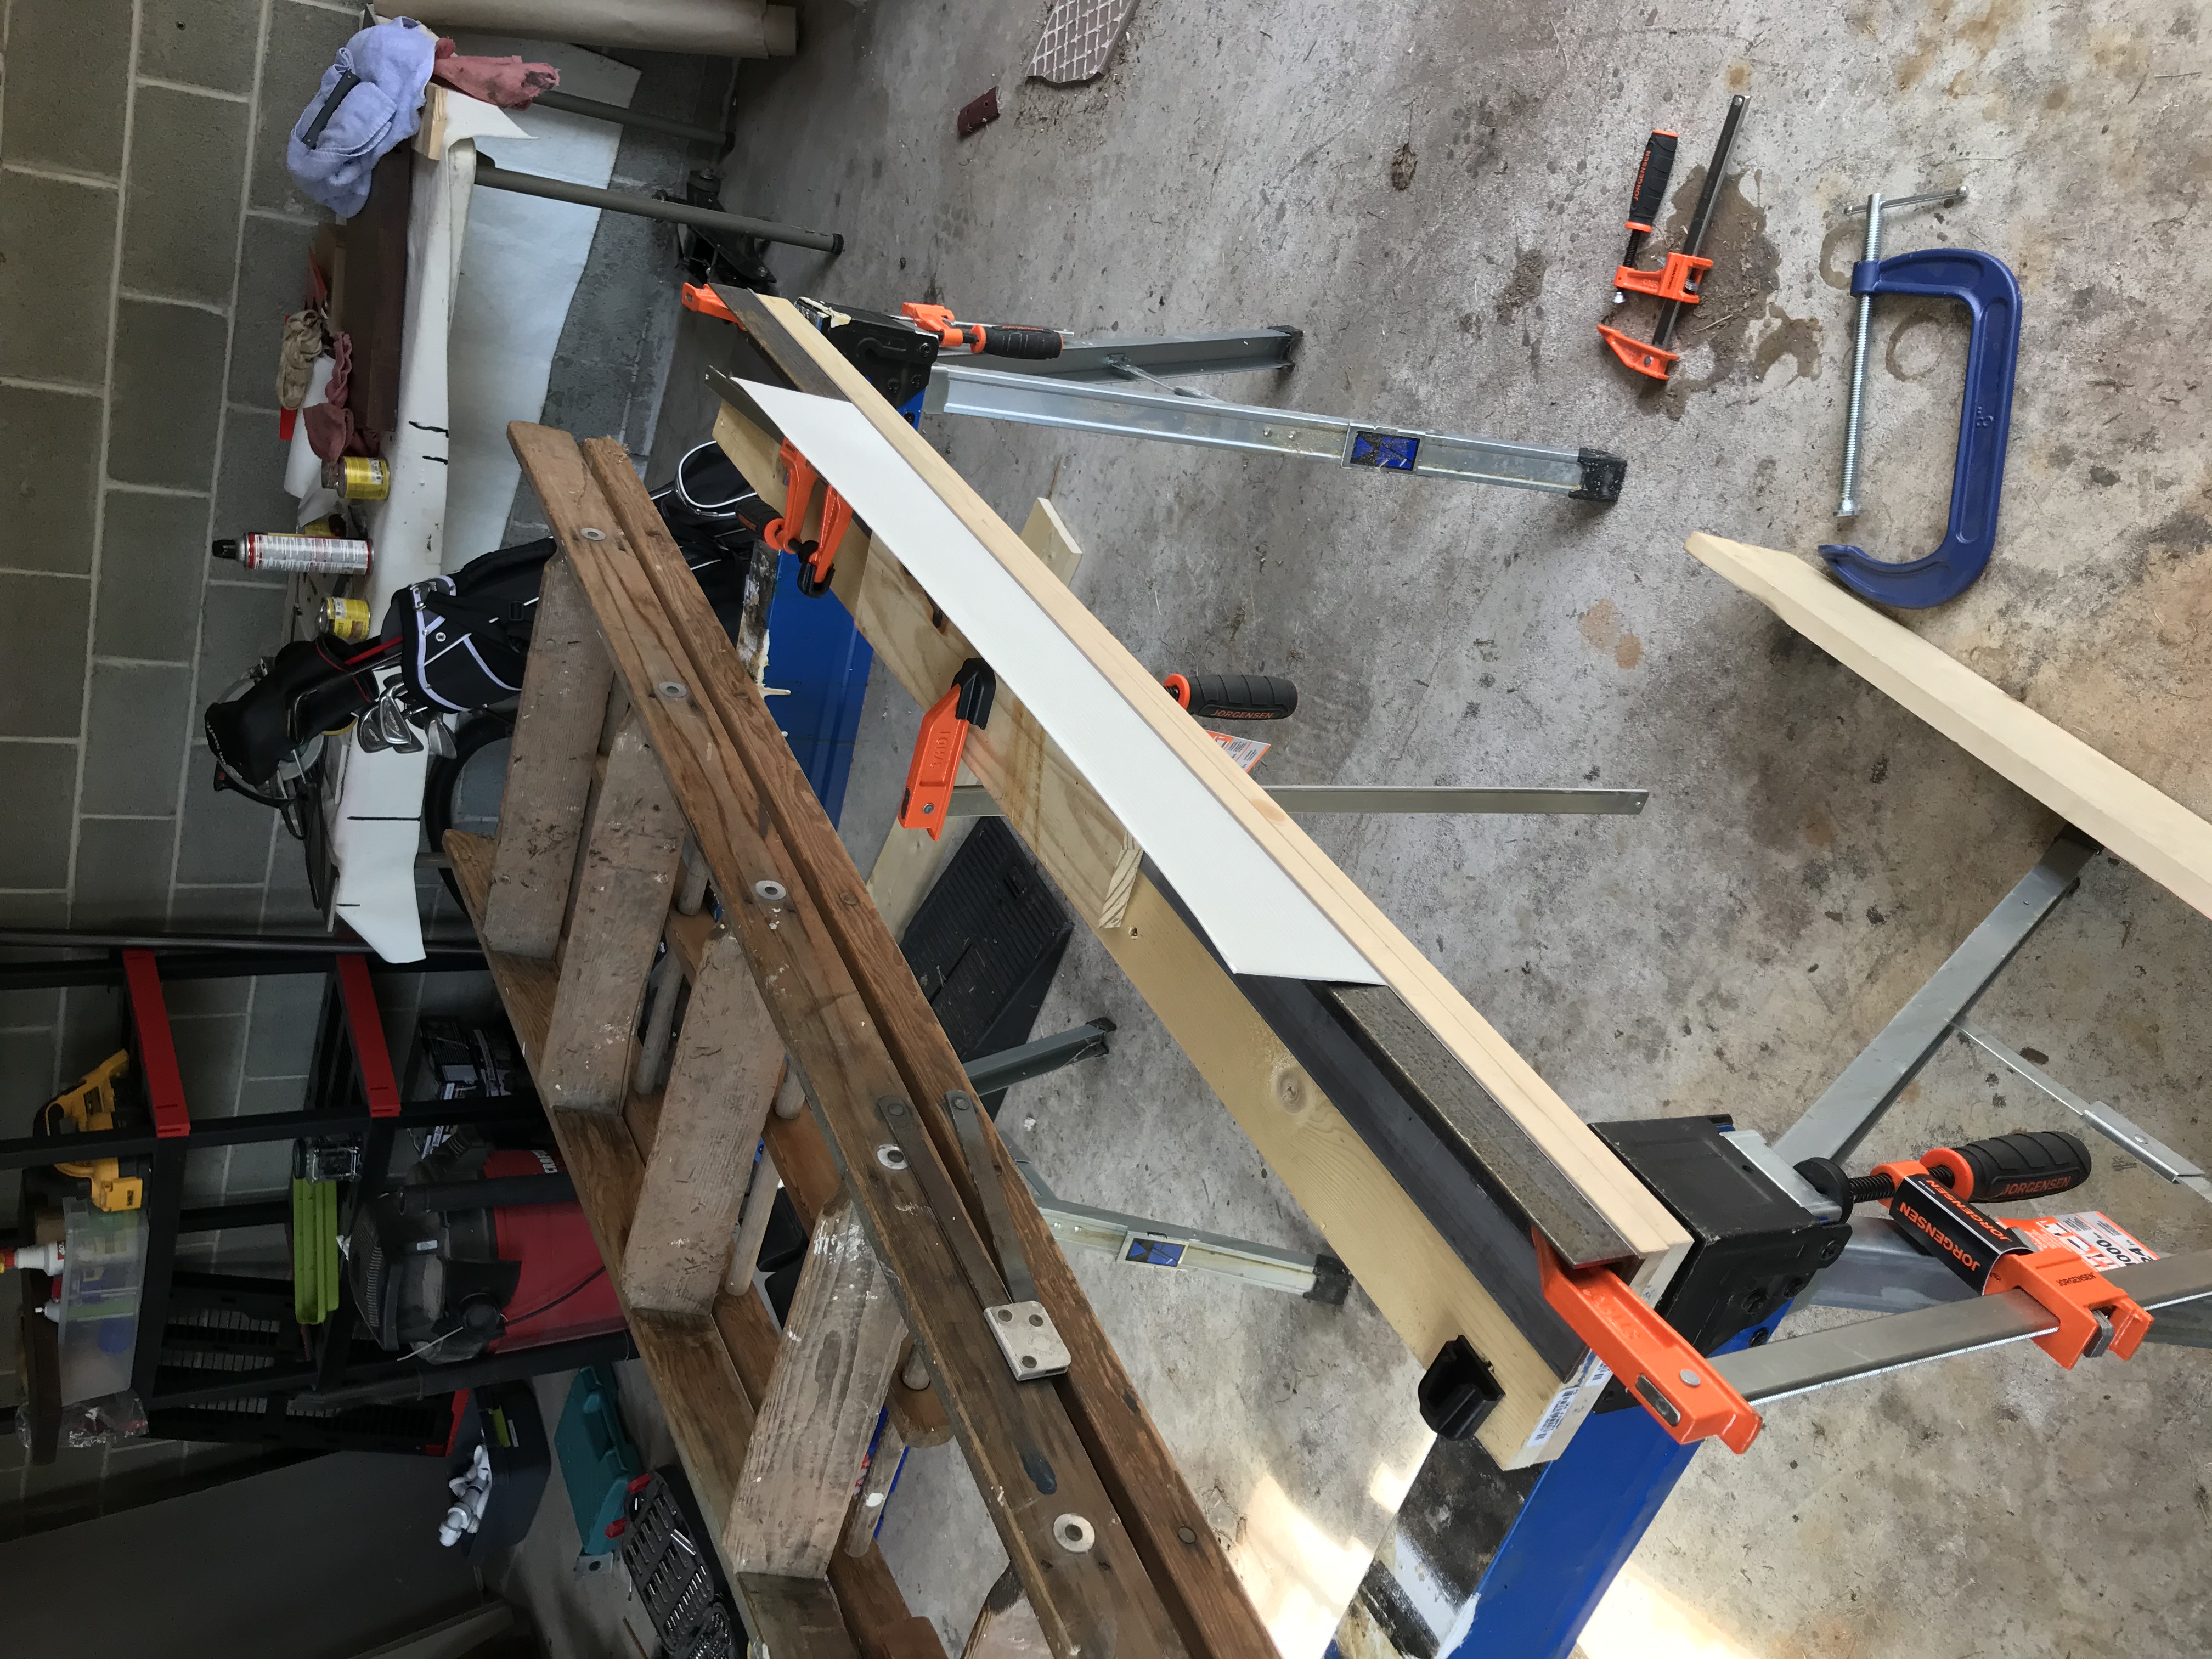
- Bend the metal with the jig - you can google metal brake jig to see one, costs about 40$ to make vs a 1000$+ metal brake. - jig (angle metal, wood, lots of clamps)
- Take the metal to the window, trim to fit, hammer in place with a max of 2 nails, any more and you’ll hurt the metal. Order is bottom first, then sides, then top. the side nails are hidden by that top part (seen in photots). The rest of the nails are hidden by caulk. - hammer, nails, finishing nail tap (so you don’t hurt the capping), tin snips
- Caulk - 2 tubes of caulk per window, seal everything - don’t hit the window weep.
Photo of the Jig
I recommend if you make a jig bending the metal with a long piece of wood so the bend is even and you get no kinks

Comments