
DIY Pantry Remodel
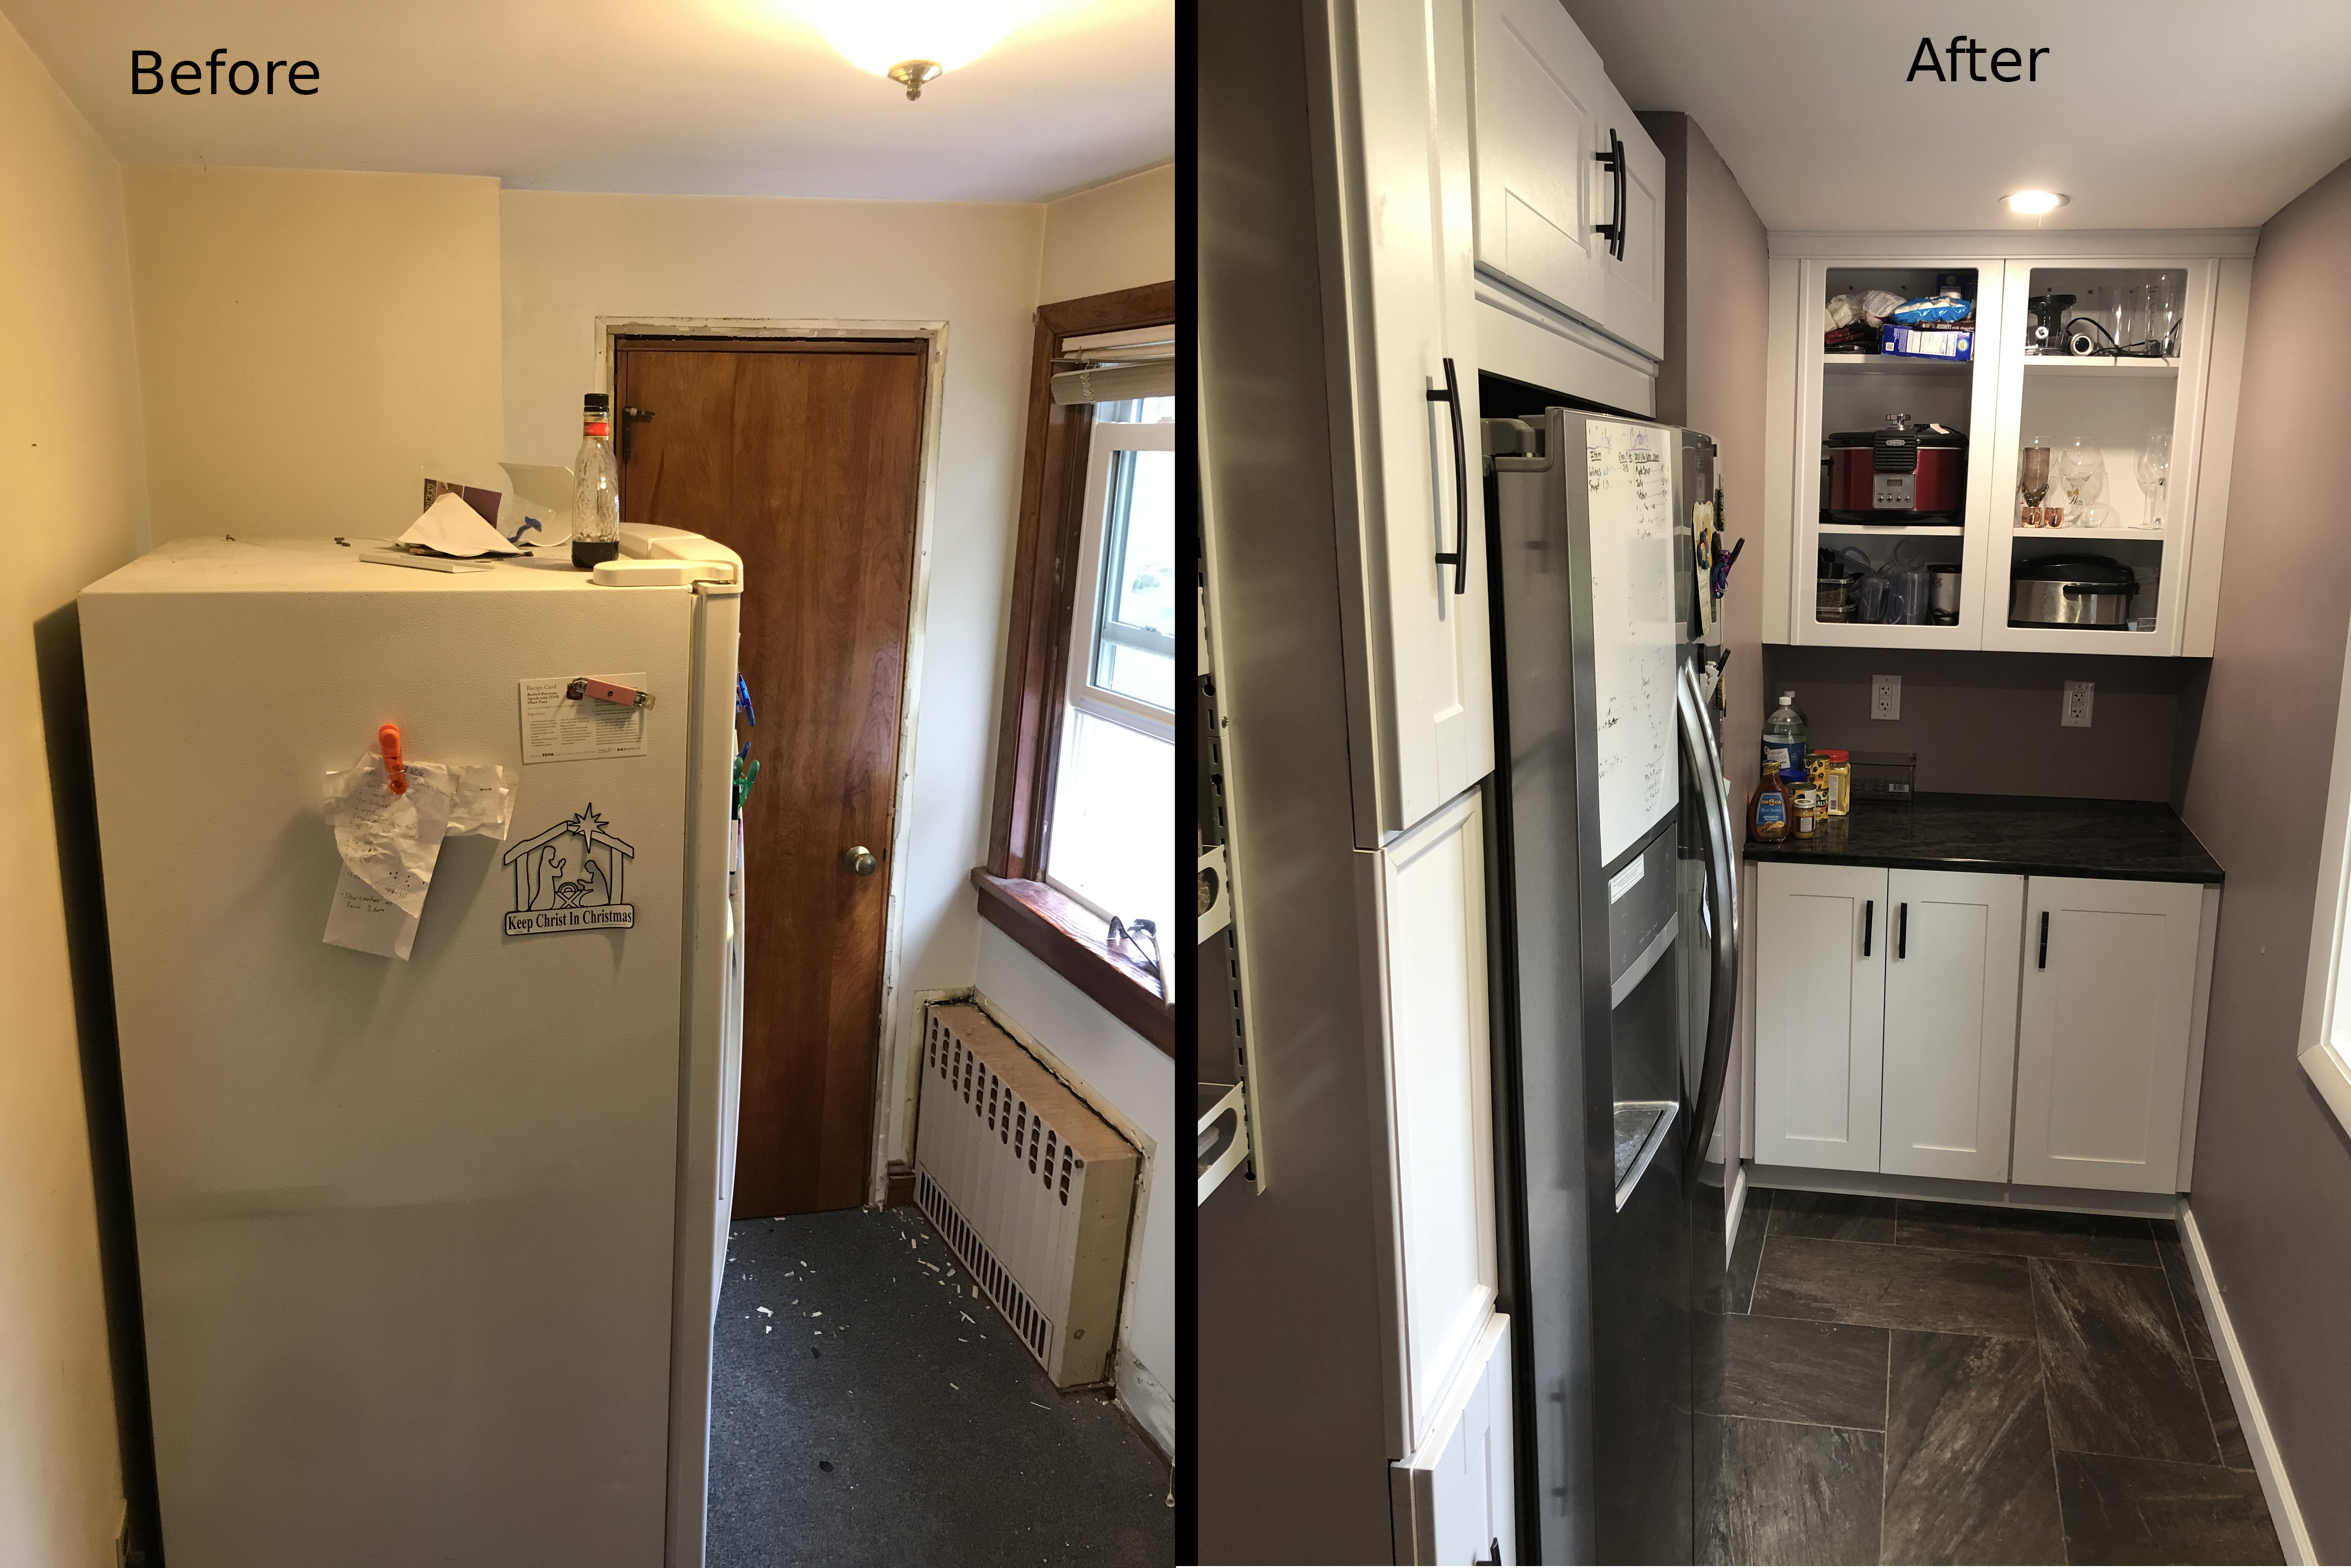
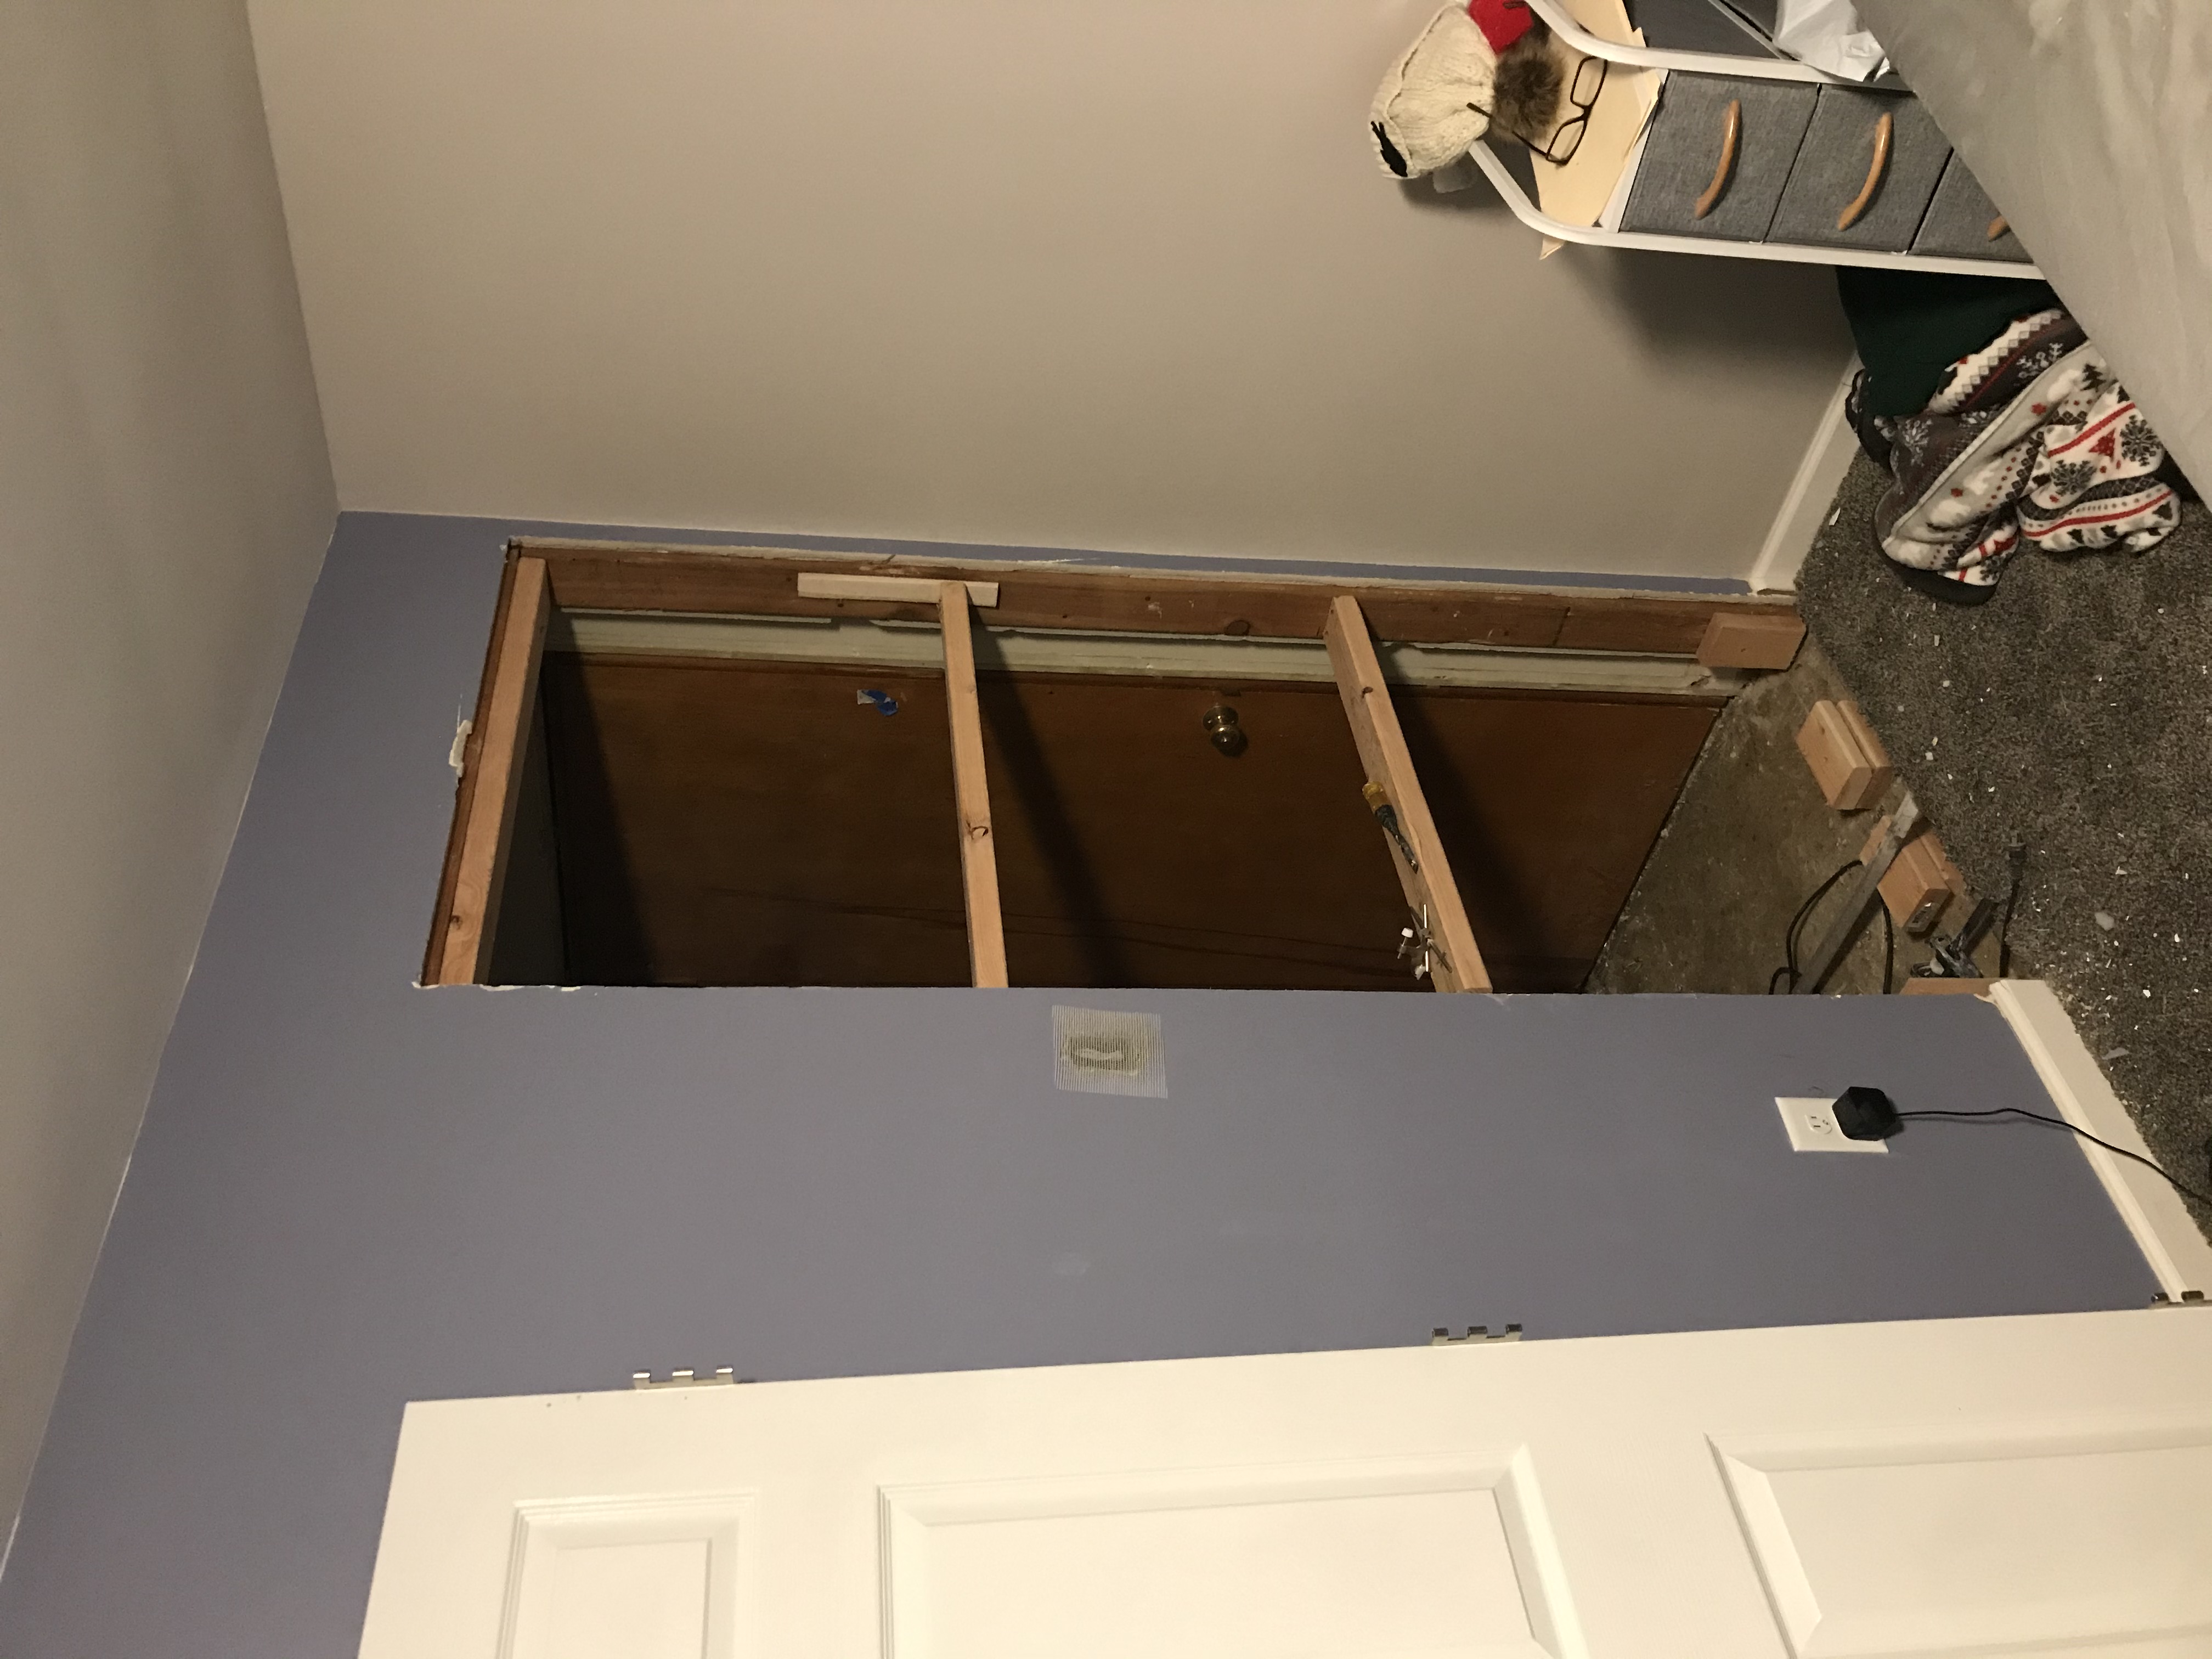
Since I’ve owned the house there has been a small room to the right of our mudroom enterence taking up the corner of the house. The previous owners used this as an office space. It is about 45sqft of space, about 6 feet wide. I ended up using it as space to store food, but there was really no good mechanism of storage in there. I decided to transform it into a complete walk in pantry with our fridge included. This keeps the fridge out of our (smaller) kitchen and makes more dining space.
The whole project took roughly 4 months, mainly wait time for cabinets to arrive, wait time for the tile, wait time for the countertops. Overall it was about 2 weeks worth of actual DIY work, where 1 full week of that work was demo and cleanup.
TLDR Before/After Shot
Before
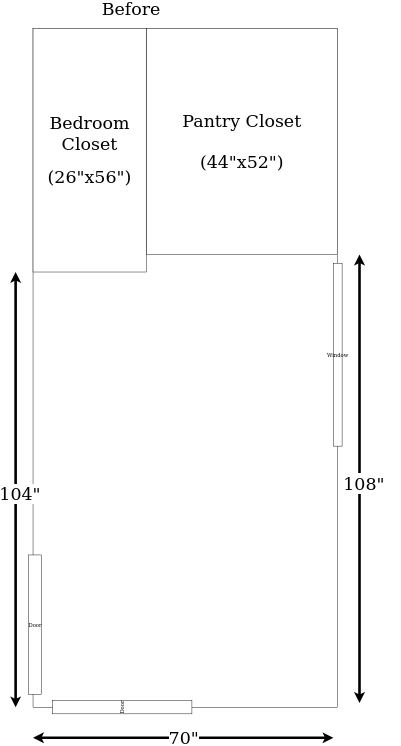
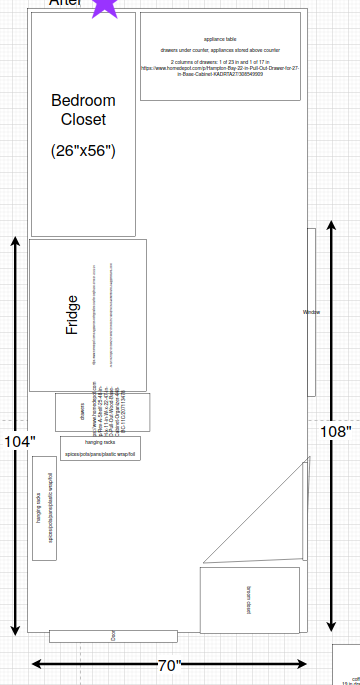
Floor plan
This is the floor plan before.
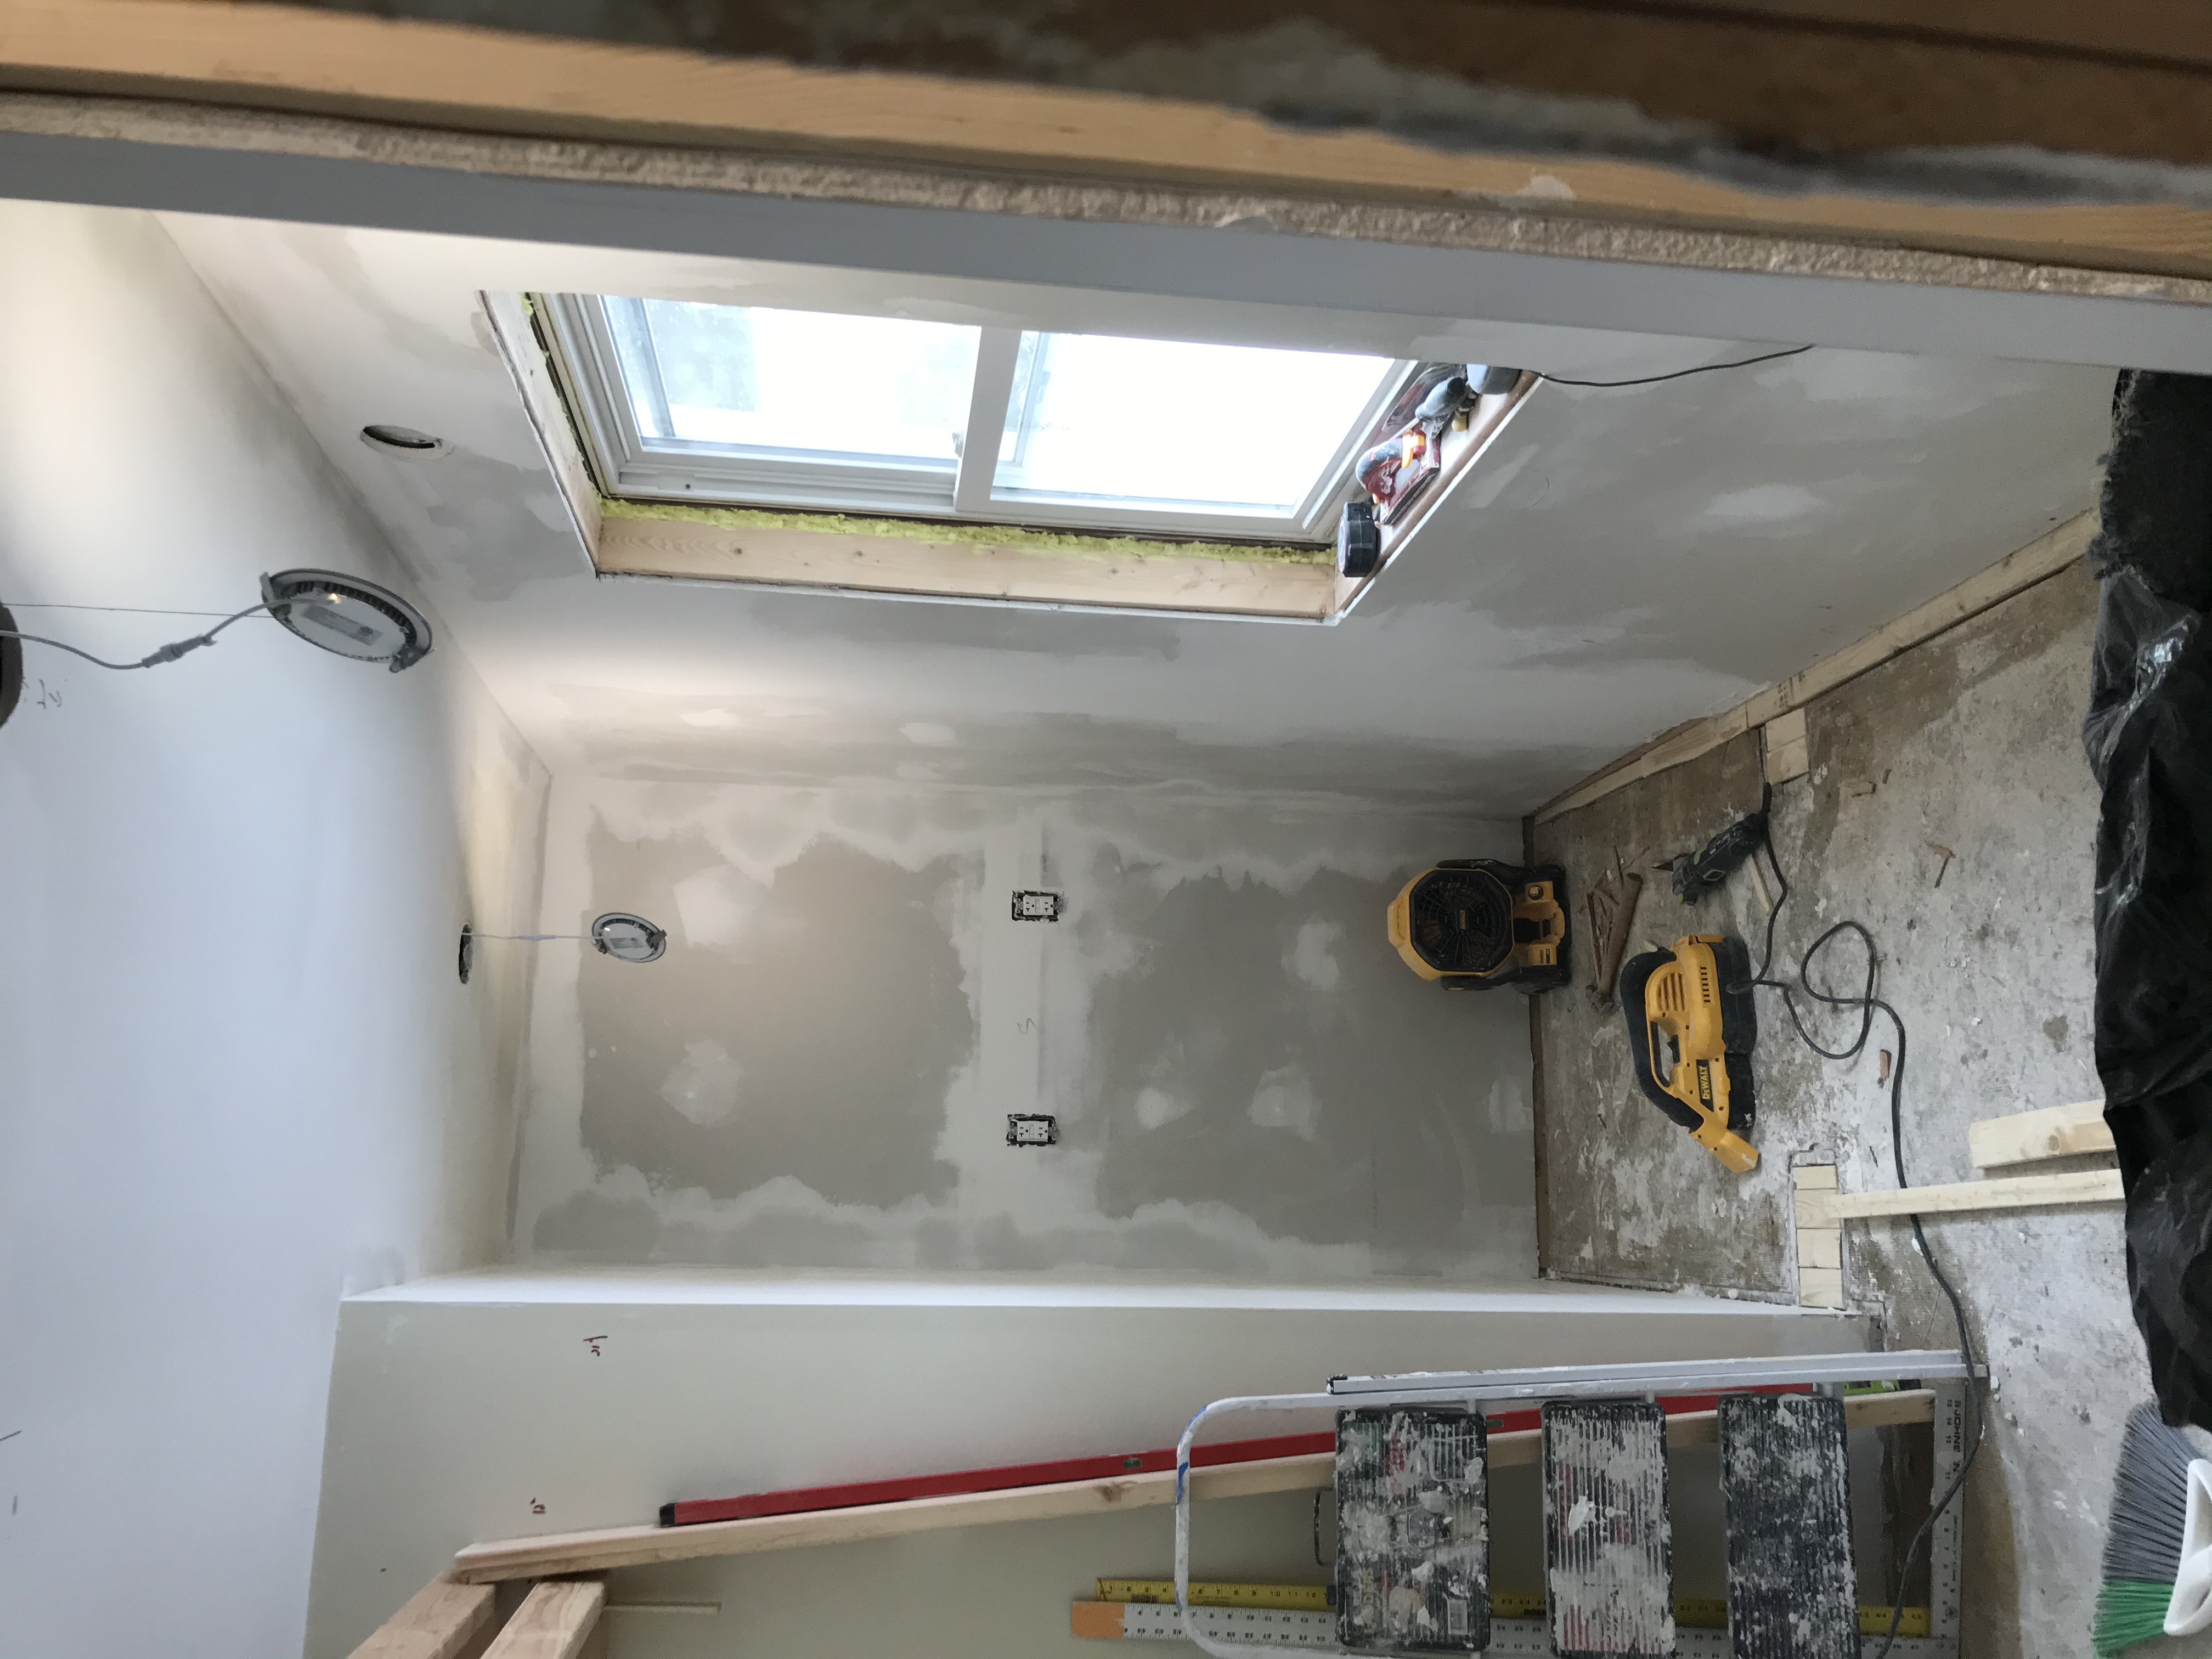
Annoyingly, everything in this house is two 3/8 piece of plaster that i’ll have to remove. Heavy. I will only be removing the walls, and the closet wall. I can work with the ceiling. I’ll be cutting a panel into the ceiling for any electrical work, and i’ll just nail it back up and spackle when done.
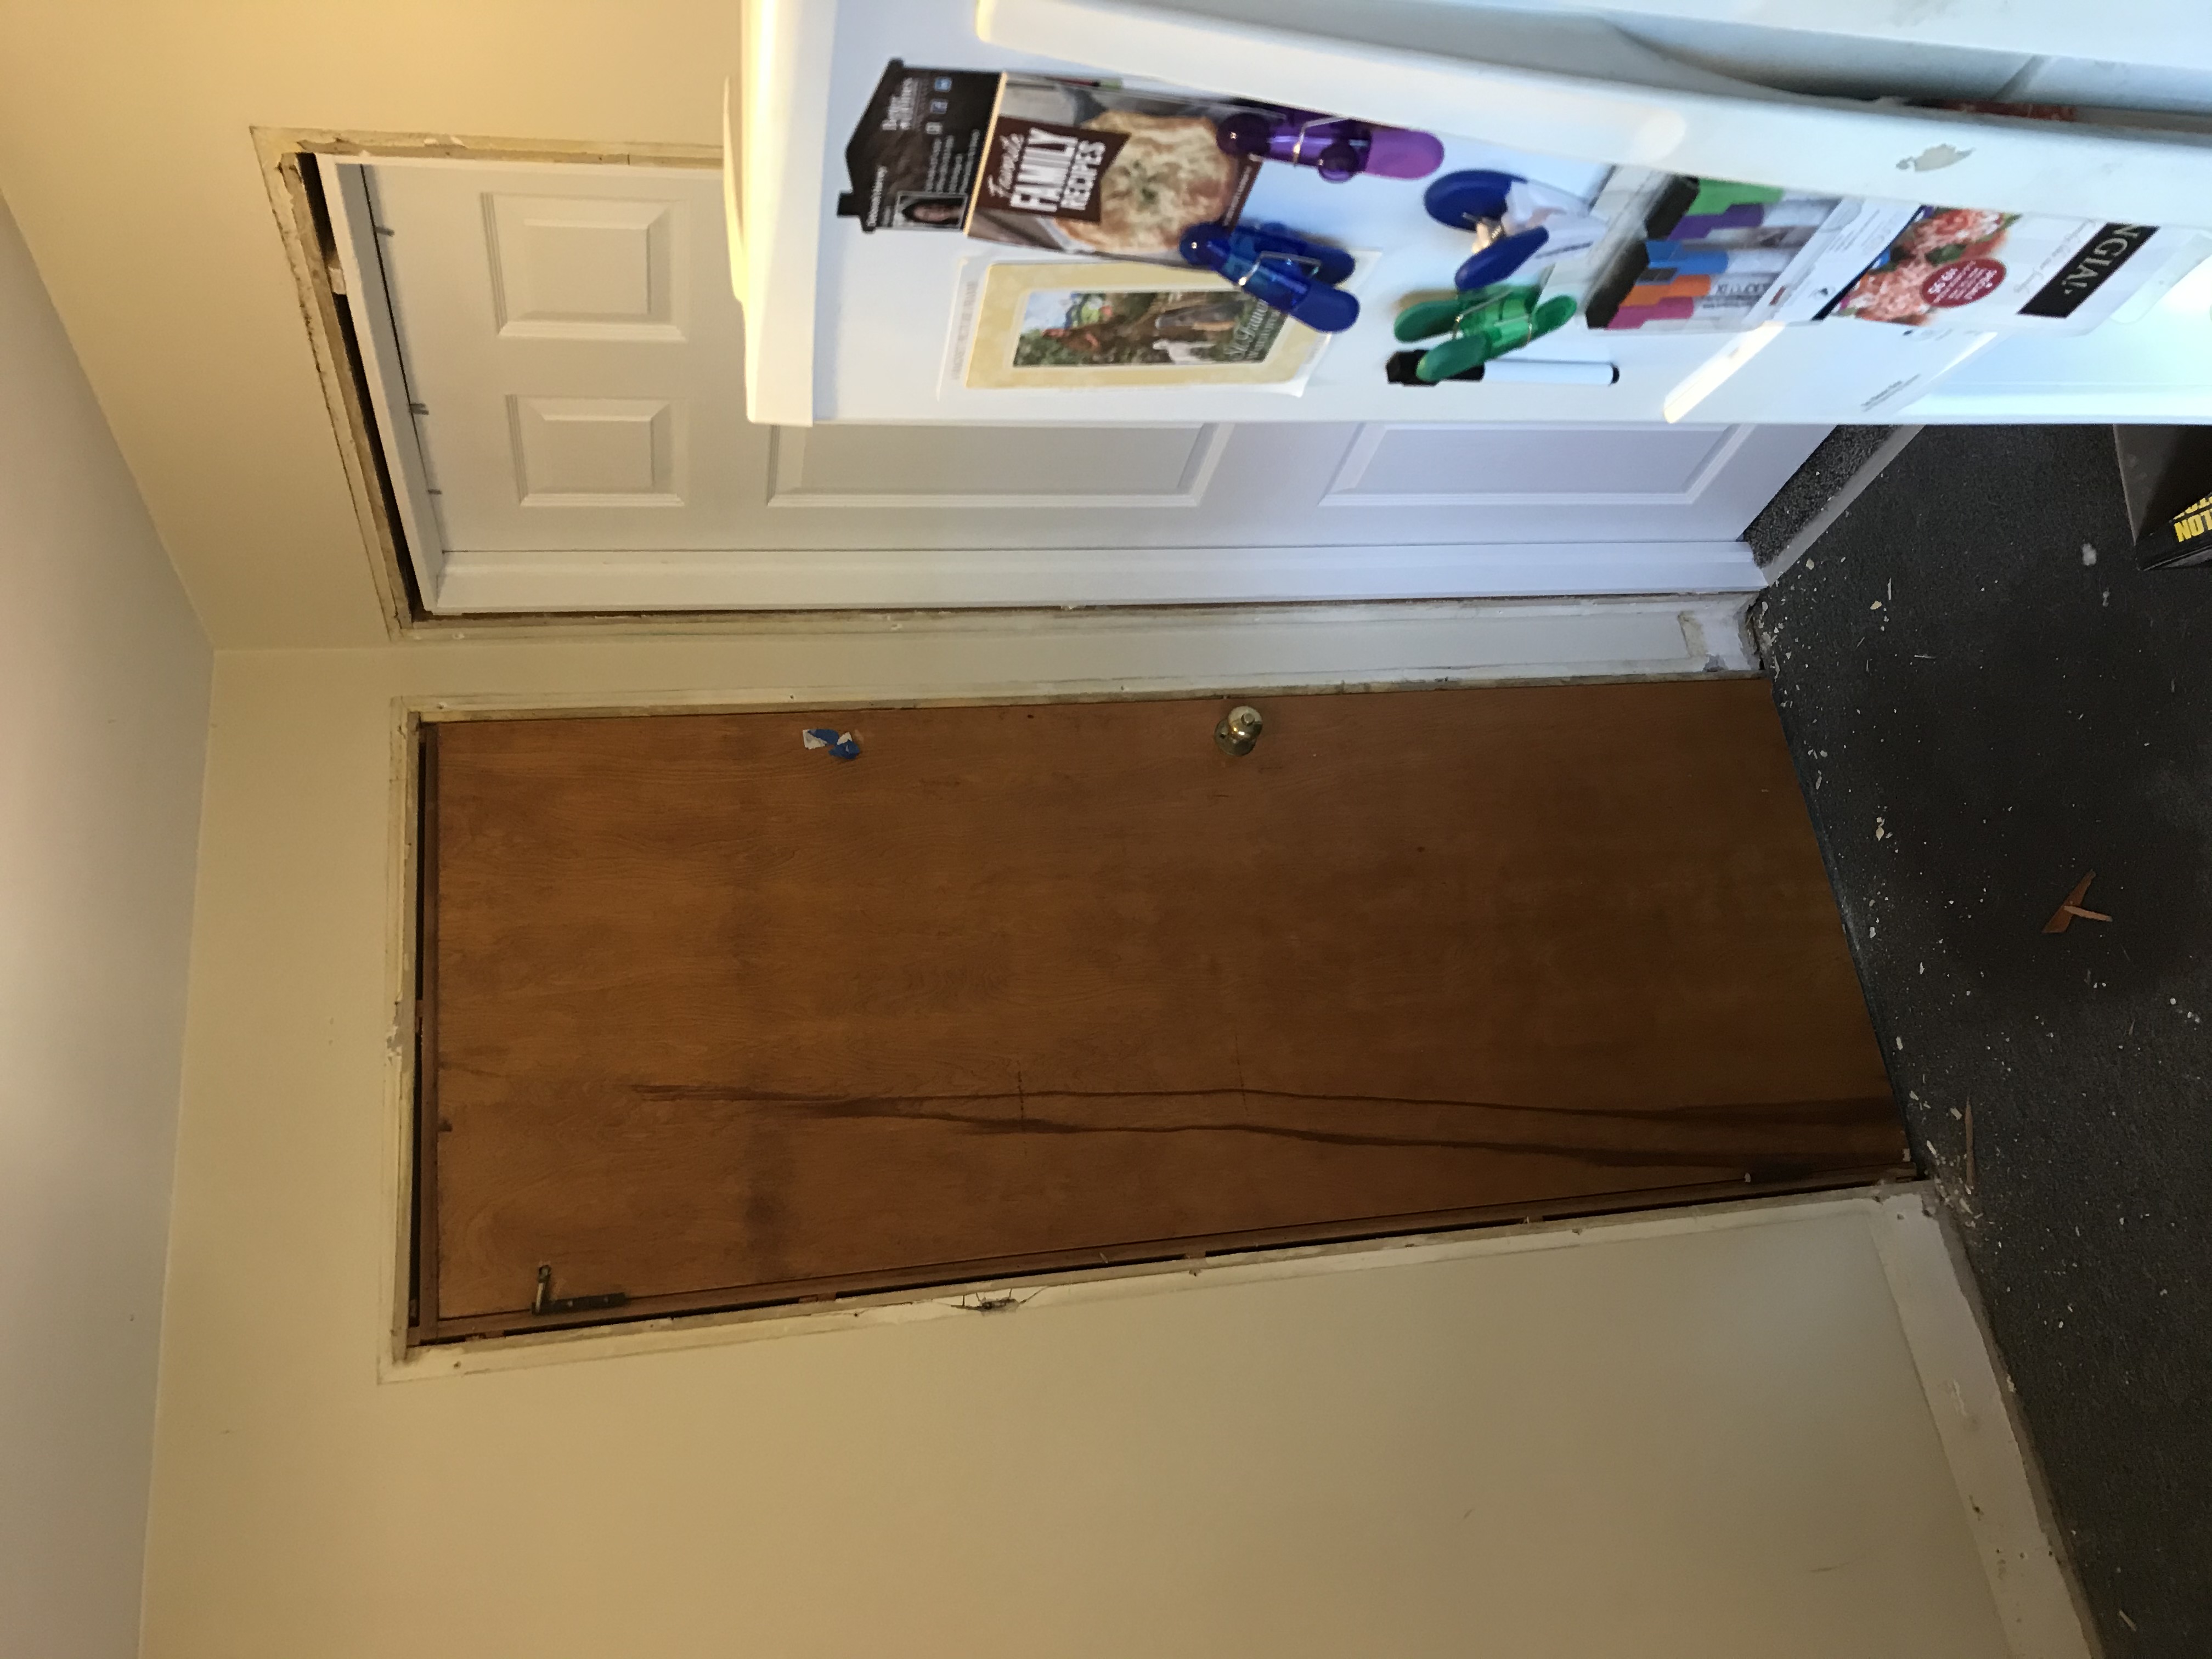
Photos
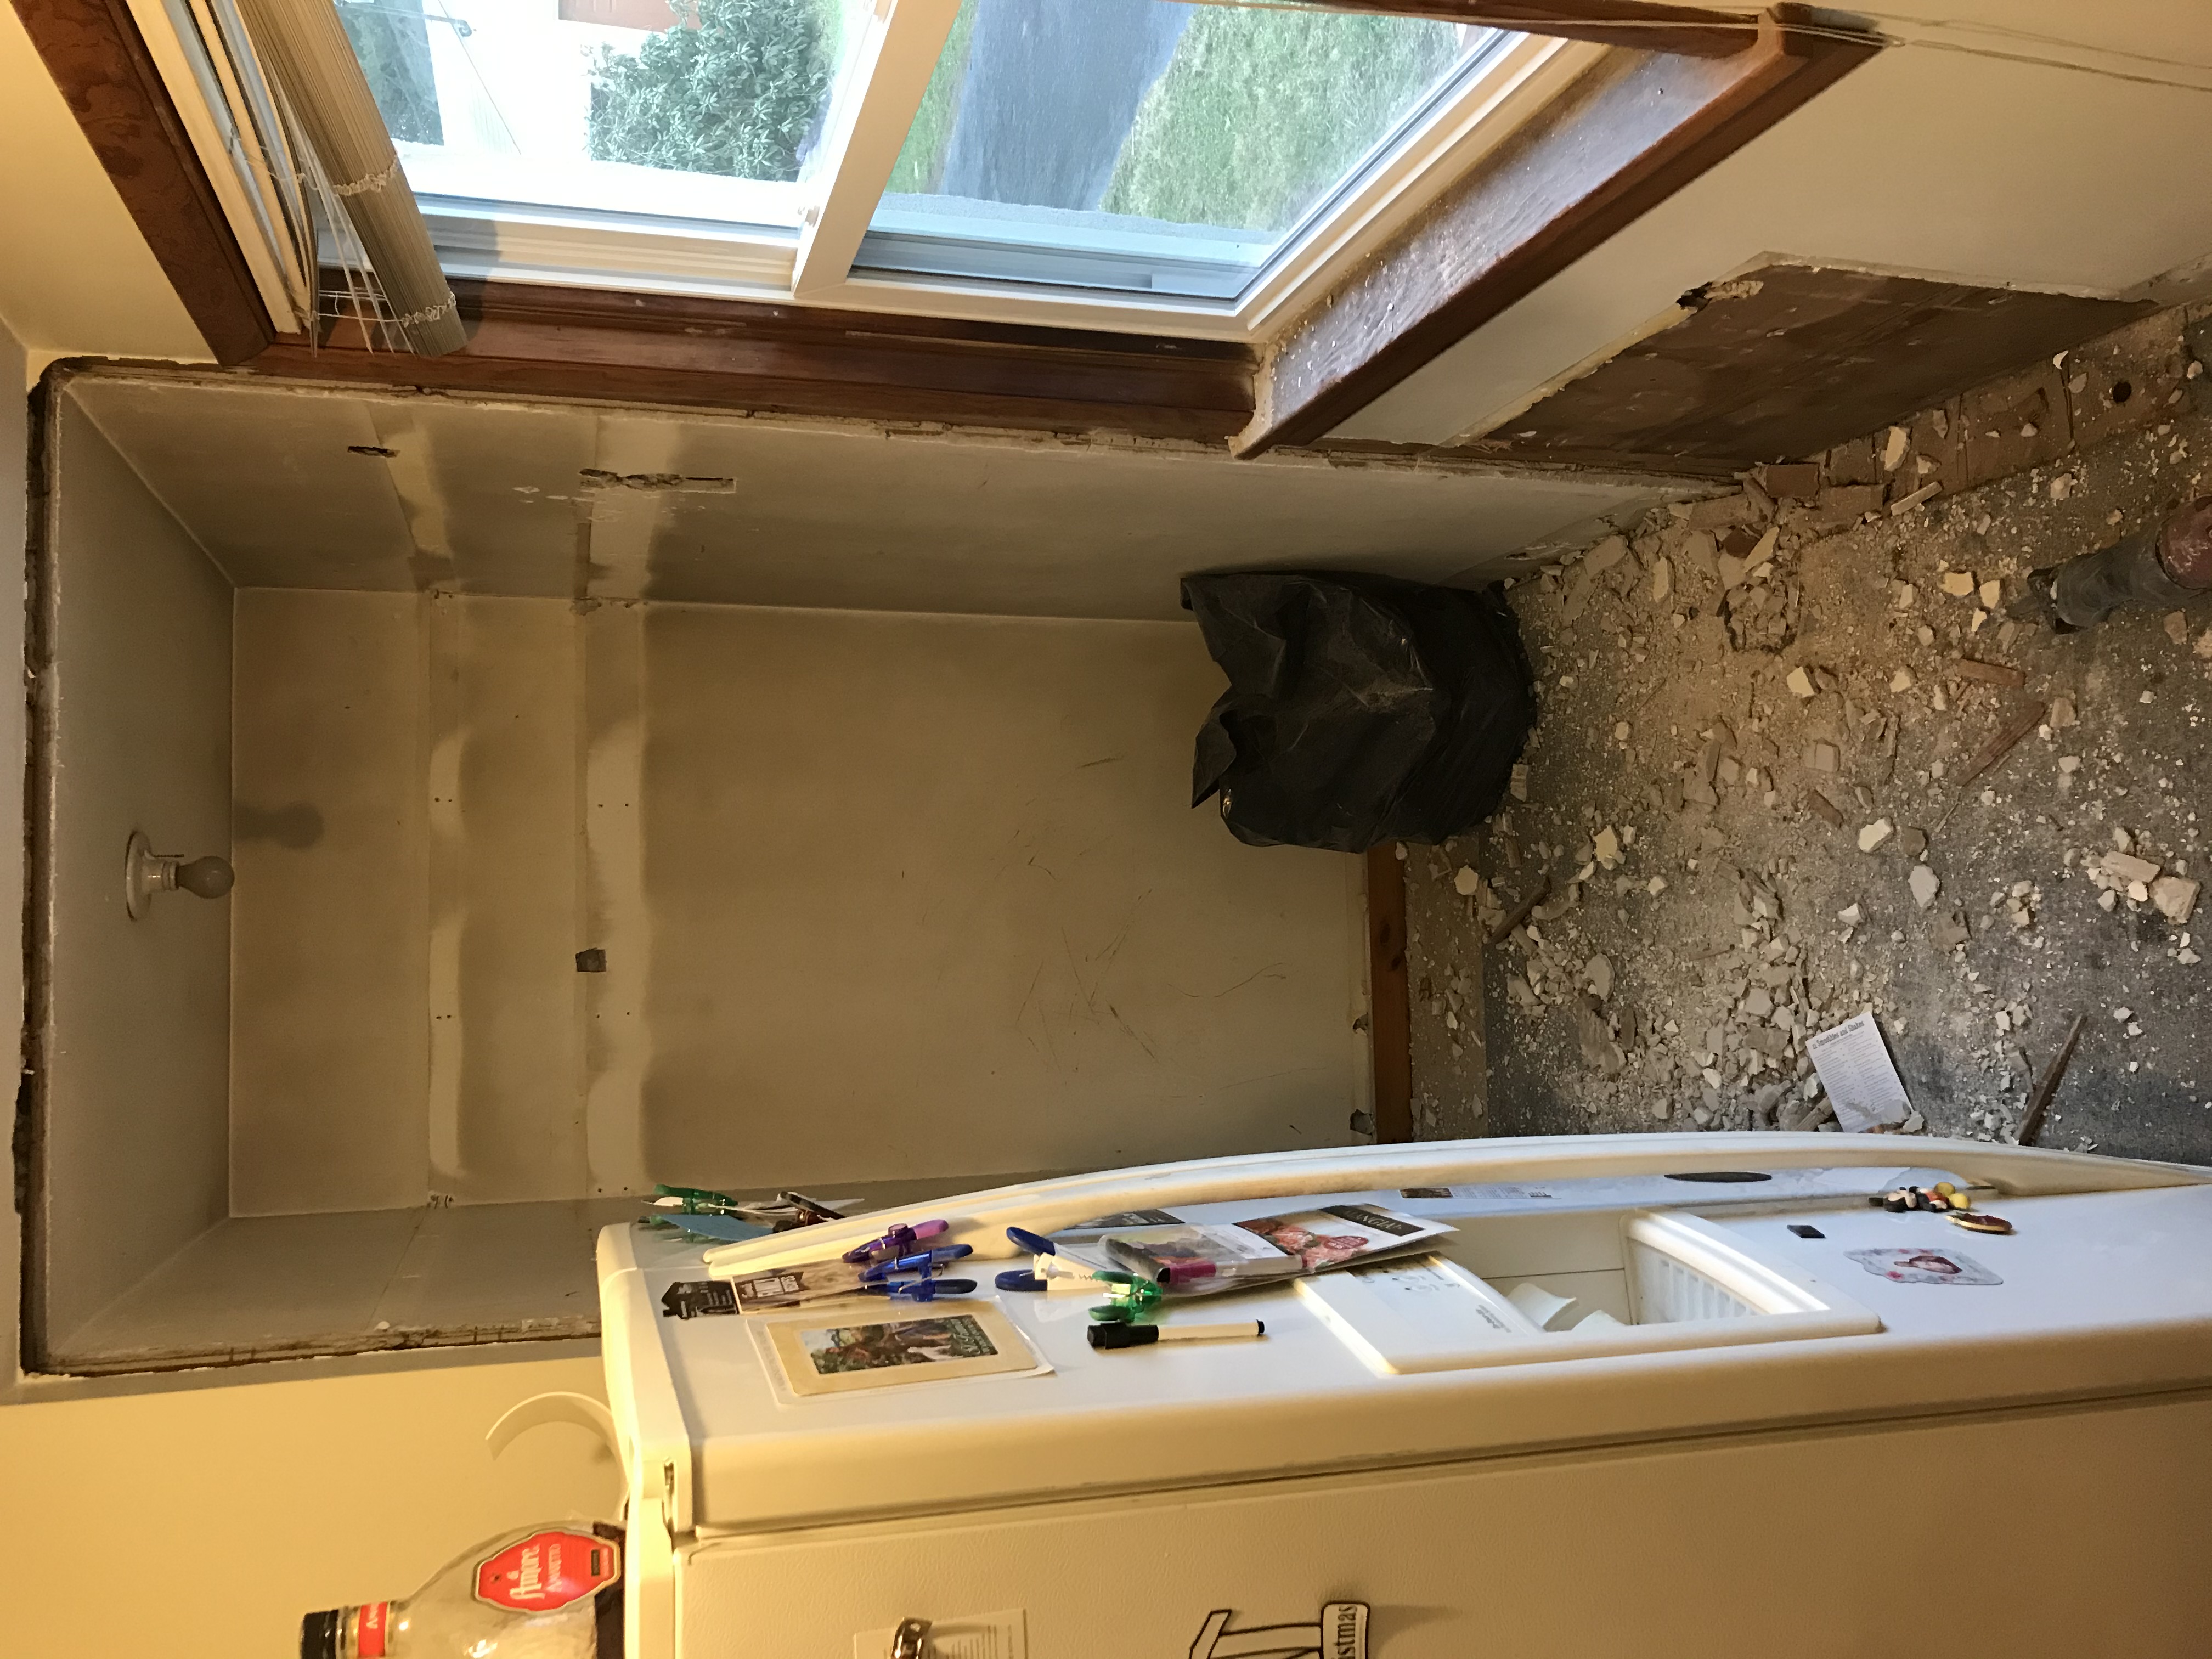
Below are pictures of what I’m working with.
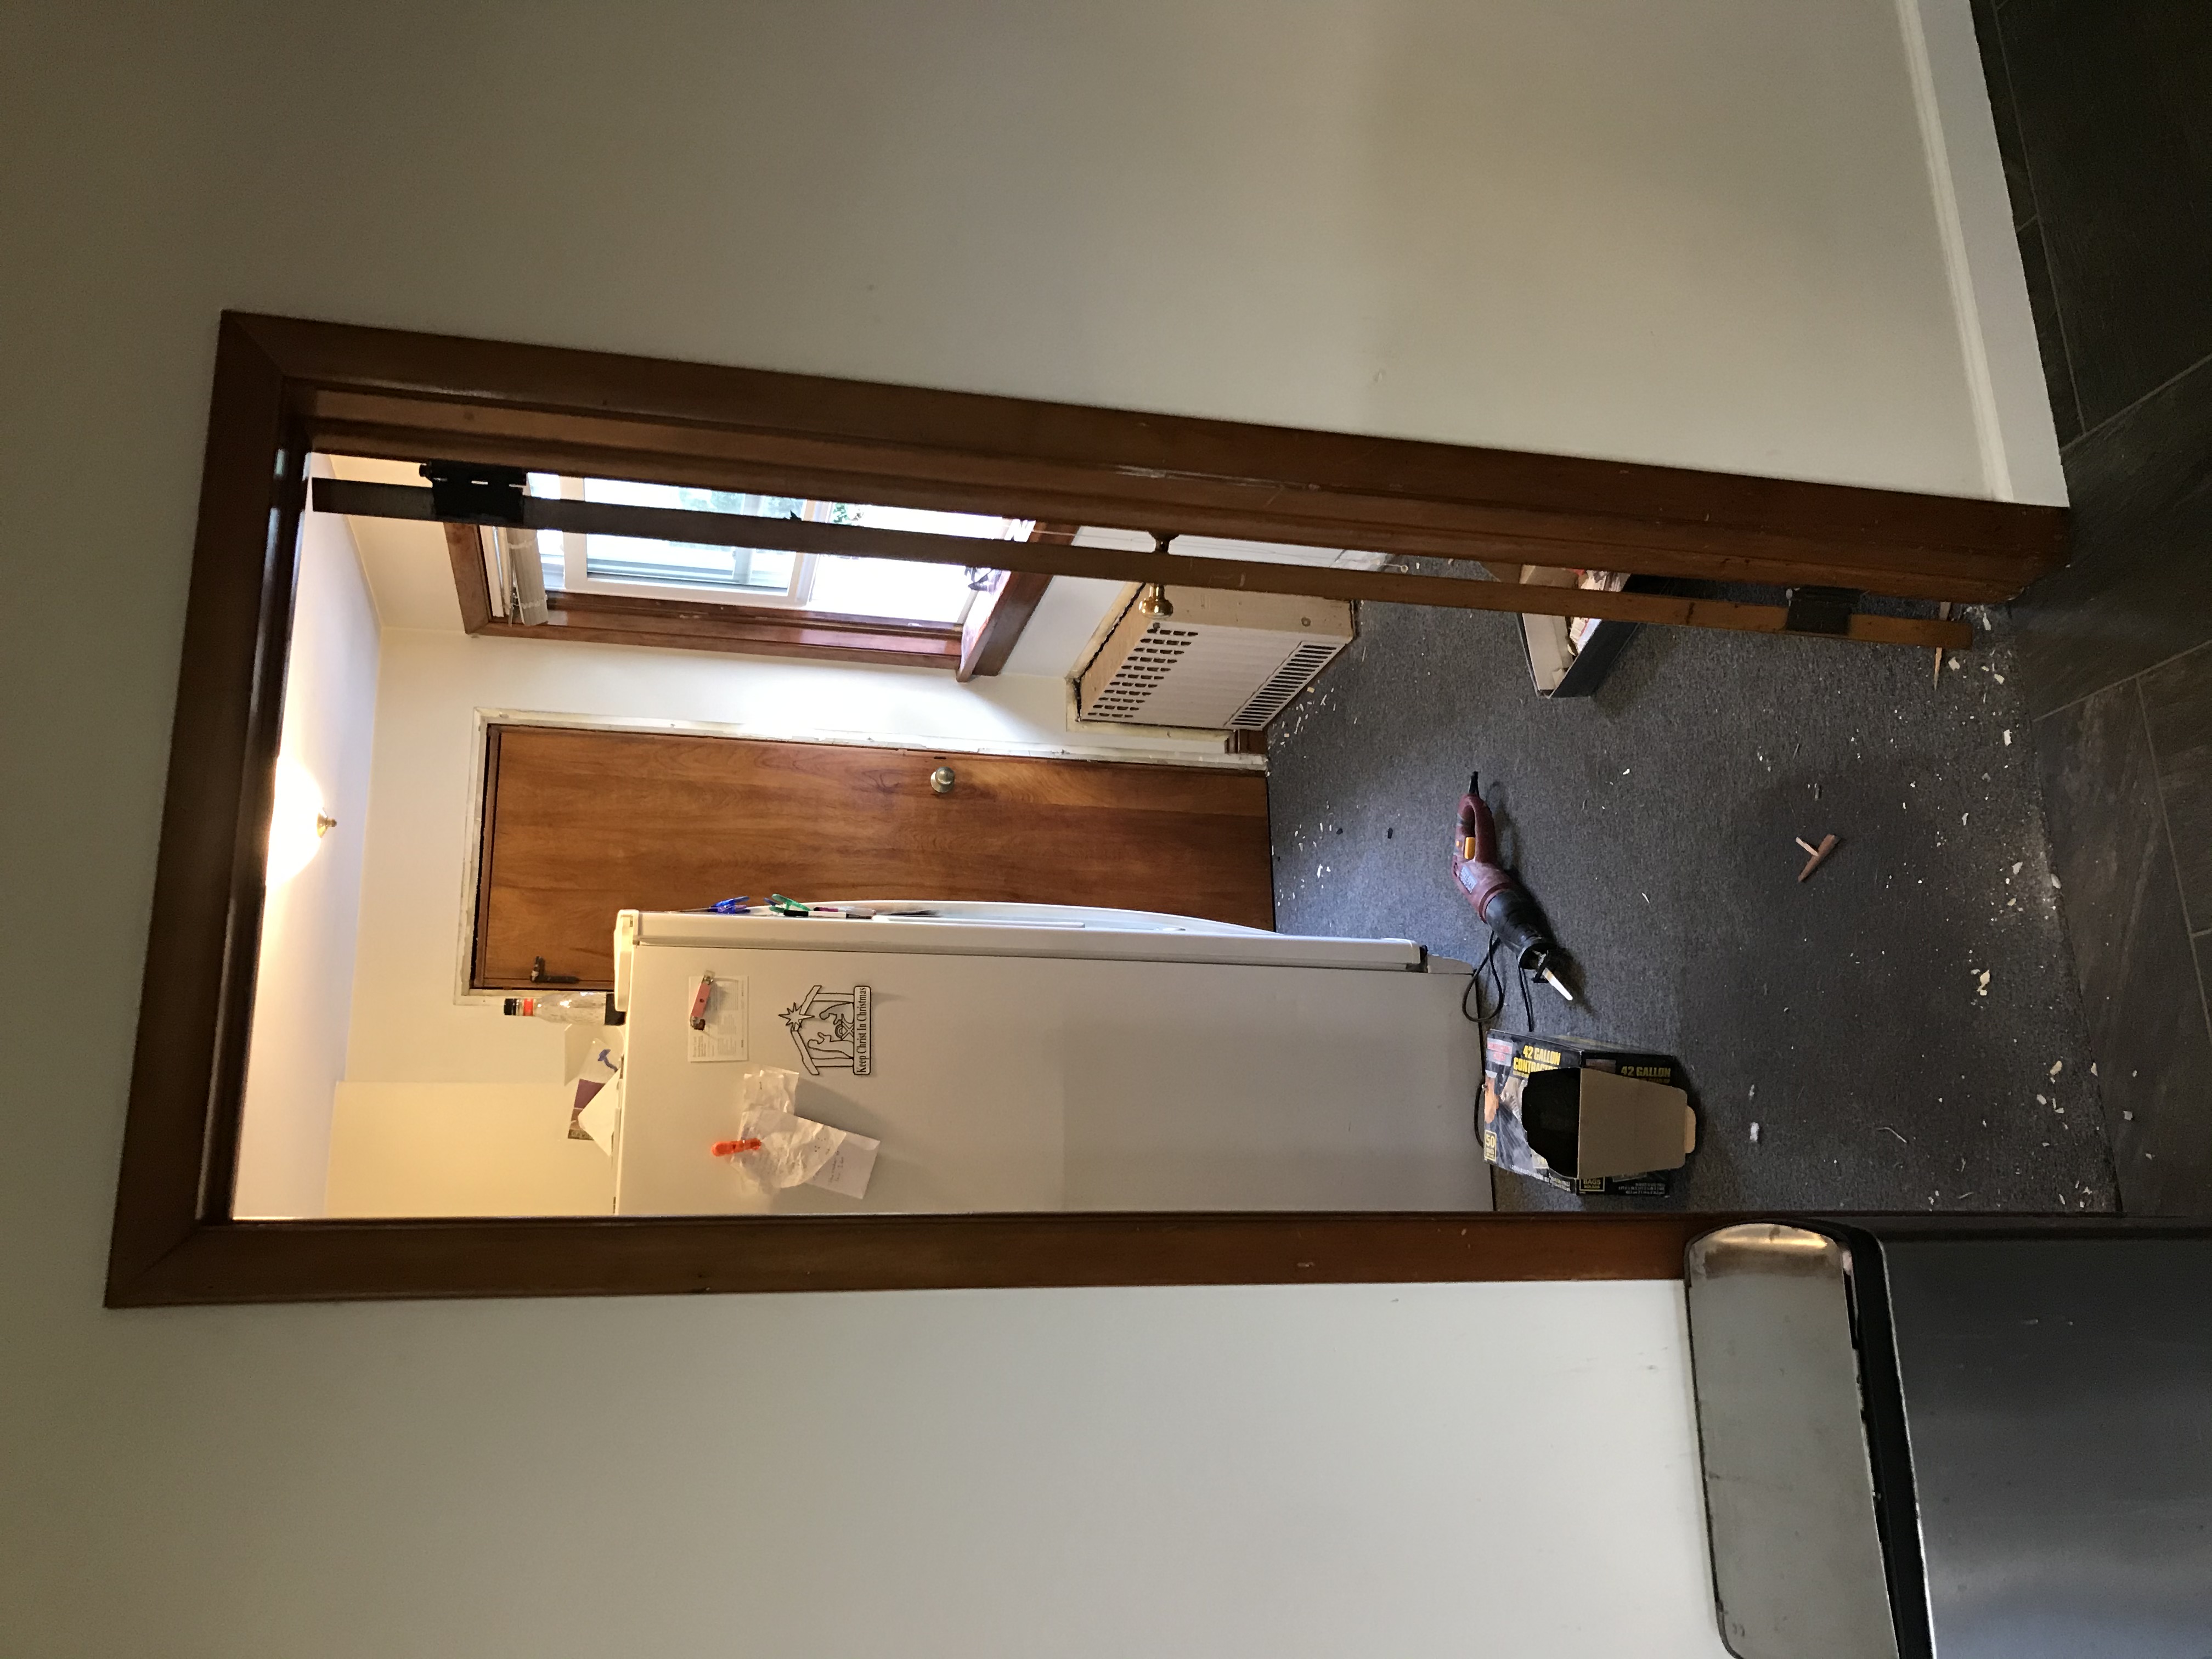
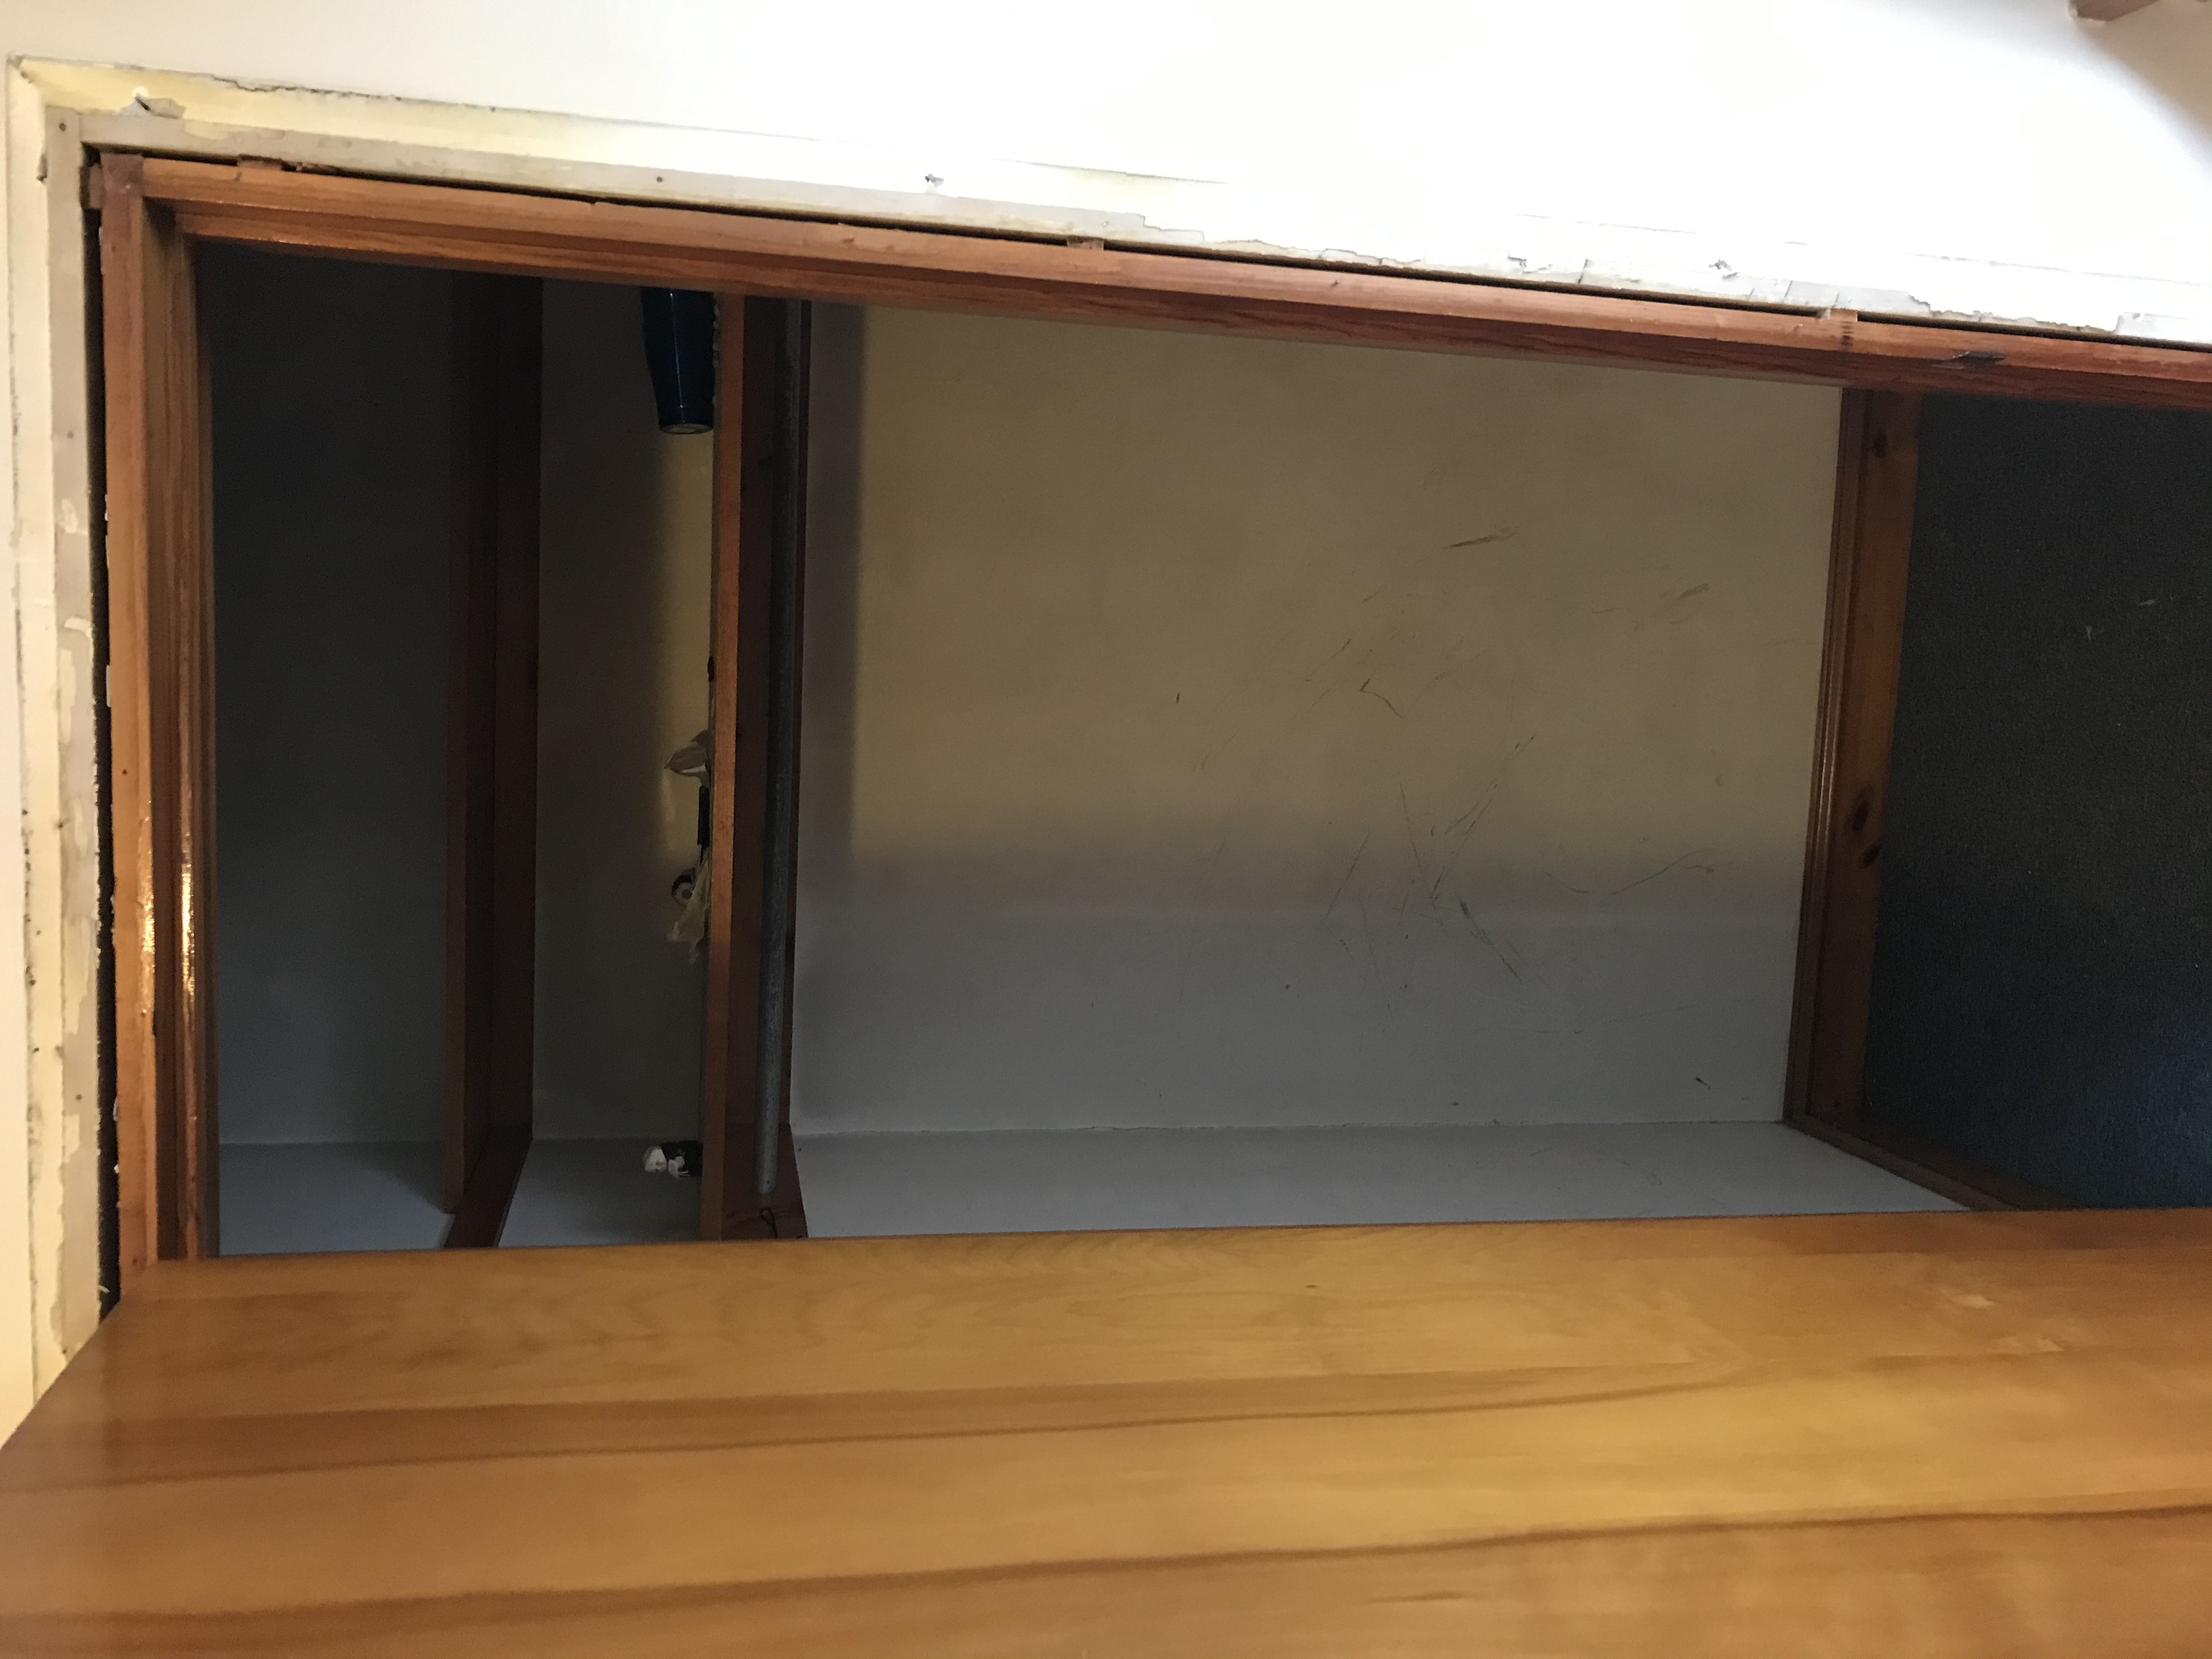
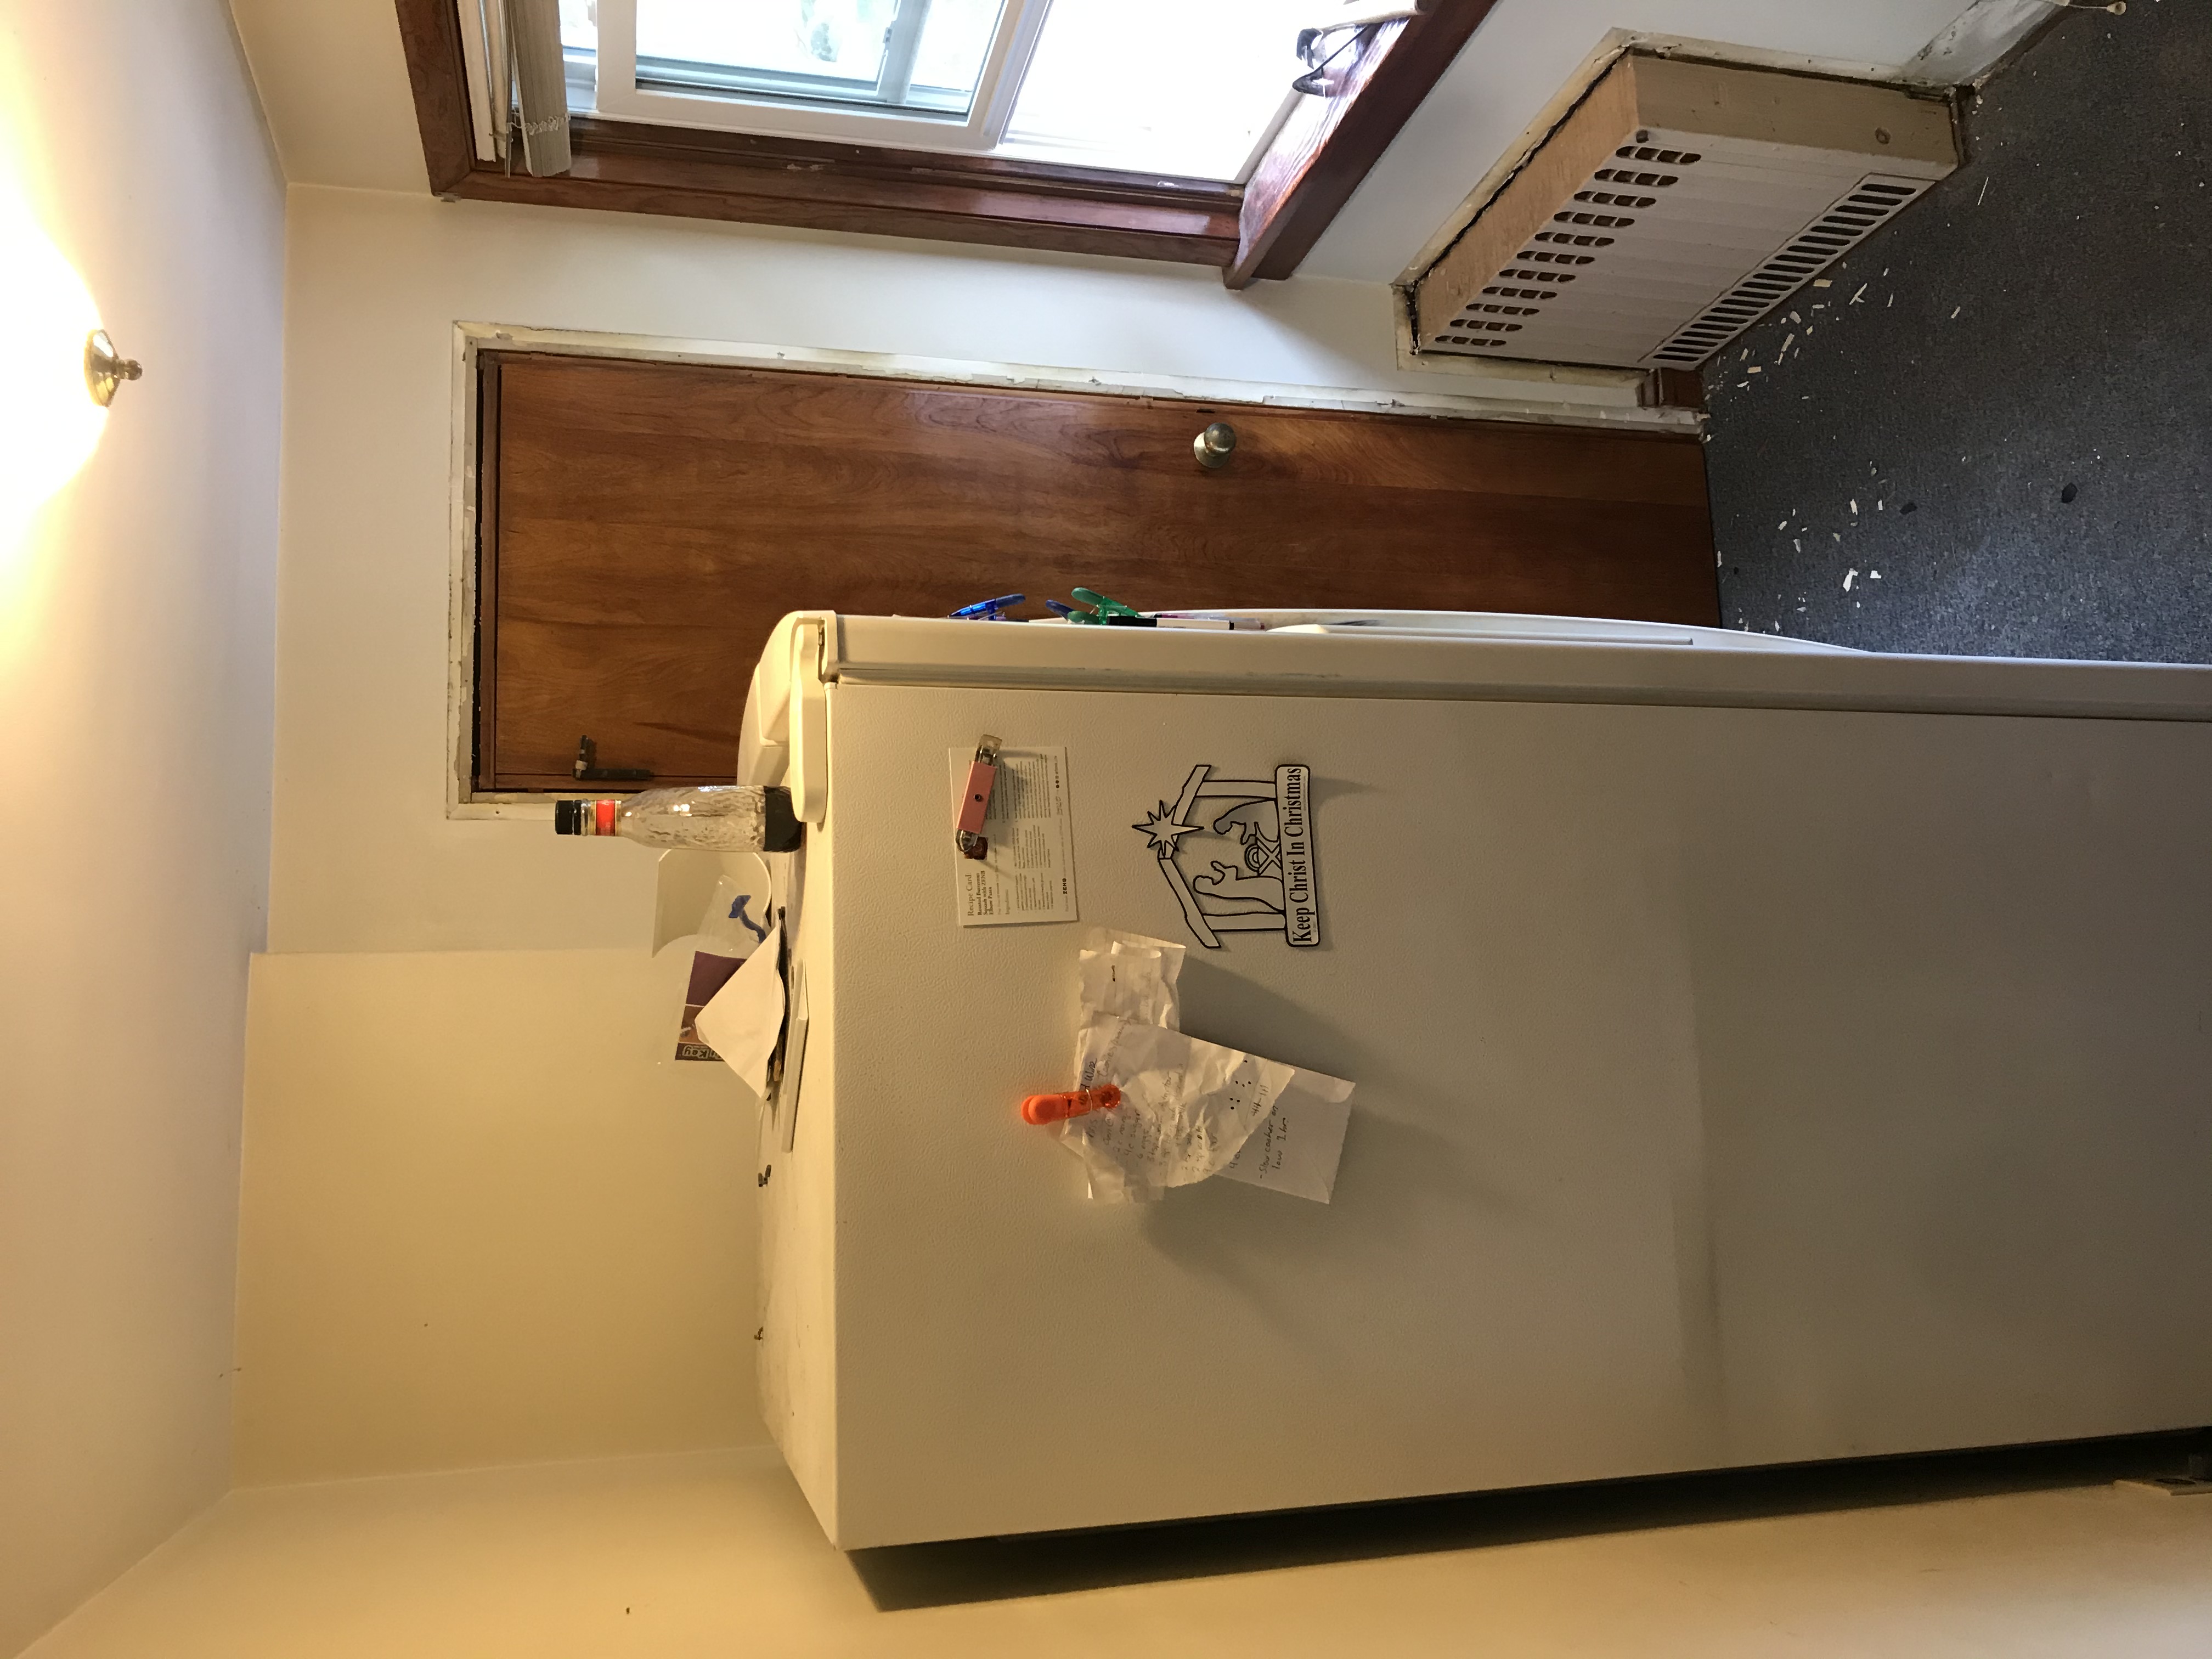
Some more from all angles:
The Plan
So we’re not left with much room in here. I went through about 5 different iterations for how I wanted the floor plan to work out. Our primary goal was to use this as storage for our fridge and for the rest of our food. My secondary goal was to include a space to store our brooms and cleaning supplies. Her secondary goal was to give us a neat place to store appliances.
The next step was to shop around and figure out what I could do with a reasonable amount of money. The most expensive part in this project is the cabinets. I will get into that in another section. But I really needed to work on cabinet configuration. Eventually this was the decided iteration.
The Work
By now i’ve remodeled 3 rooms, so i have strategies.
- Get everything out, turn off circuits, remove hardware i want to keep (nothing).
- Cut the radiator supply line, remove it
- Remove all doors, put up plastic sheet seperating this room from the other rooms to keep dust out. Tape it.
- Begin demolition, leave carpet for quick cleaning of dust. Start with closet wall.
- Use reciprocating saw for all demolition, nothing else besides hammer and crowbar are needed. Throw everything out the window into a garbage.
- Rince and repeat for the other walls that are connected to the exterior wall.
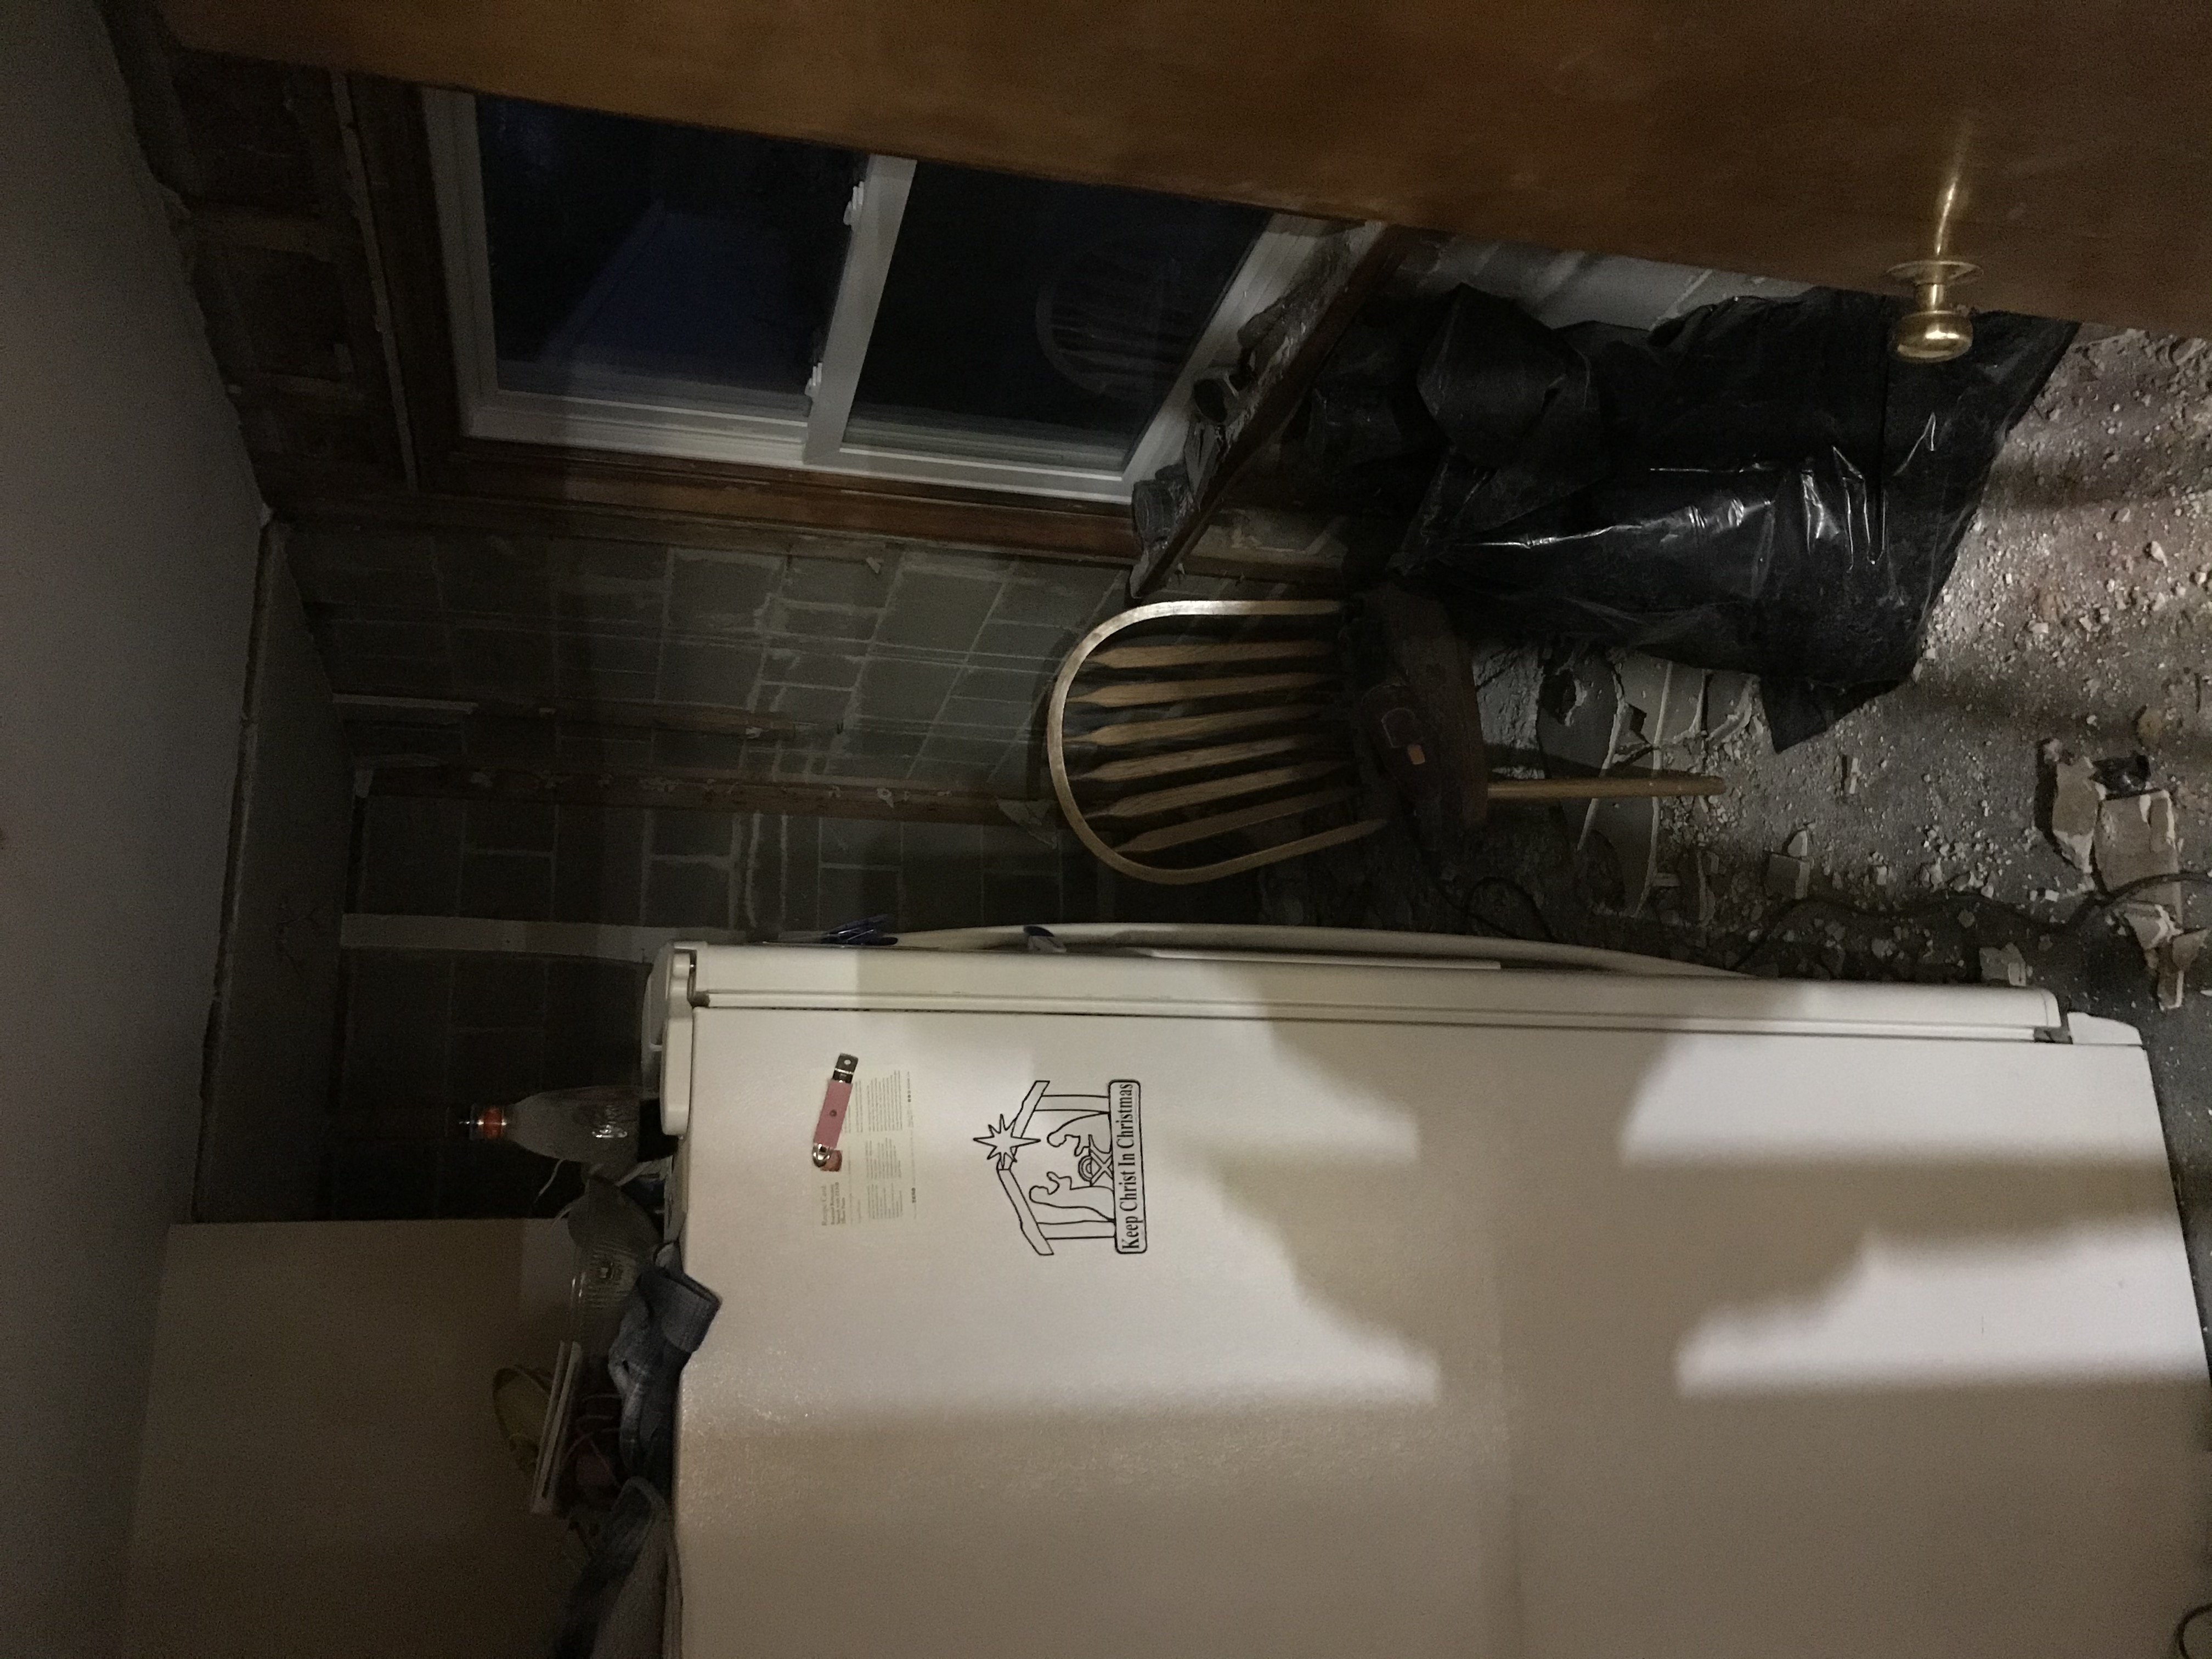
The exterior walls are the only ones we demolish b/c i need to insulate those. The other walls and ceiling we can keep.
Demolition
I lied about removing everything, fridge was too heavy for me alone, i did it after demo.
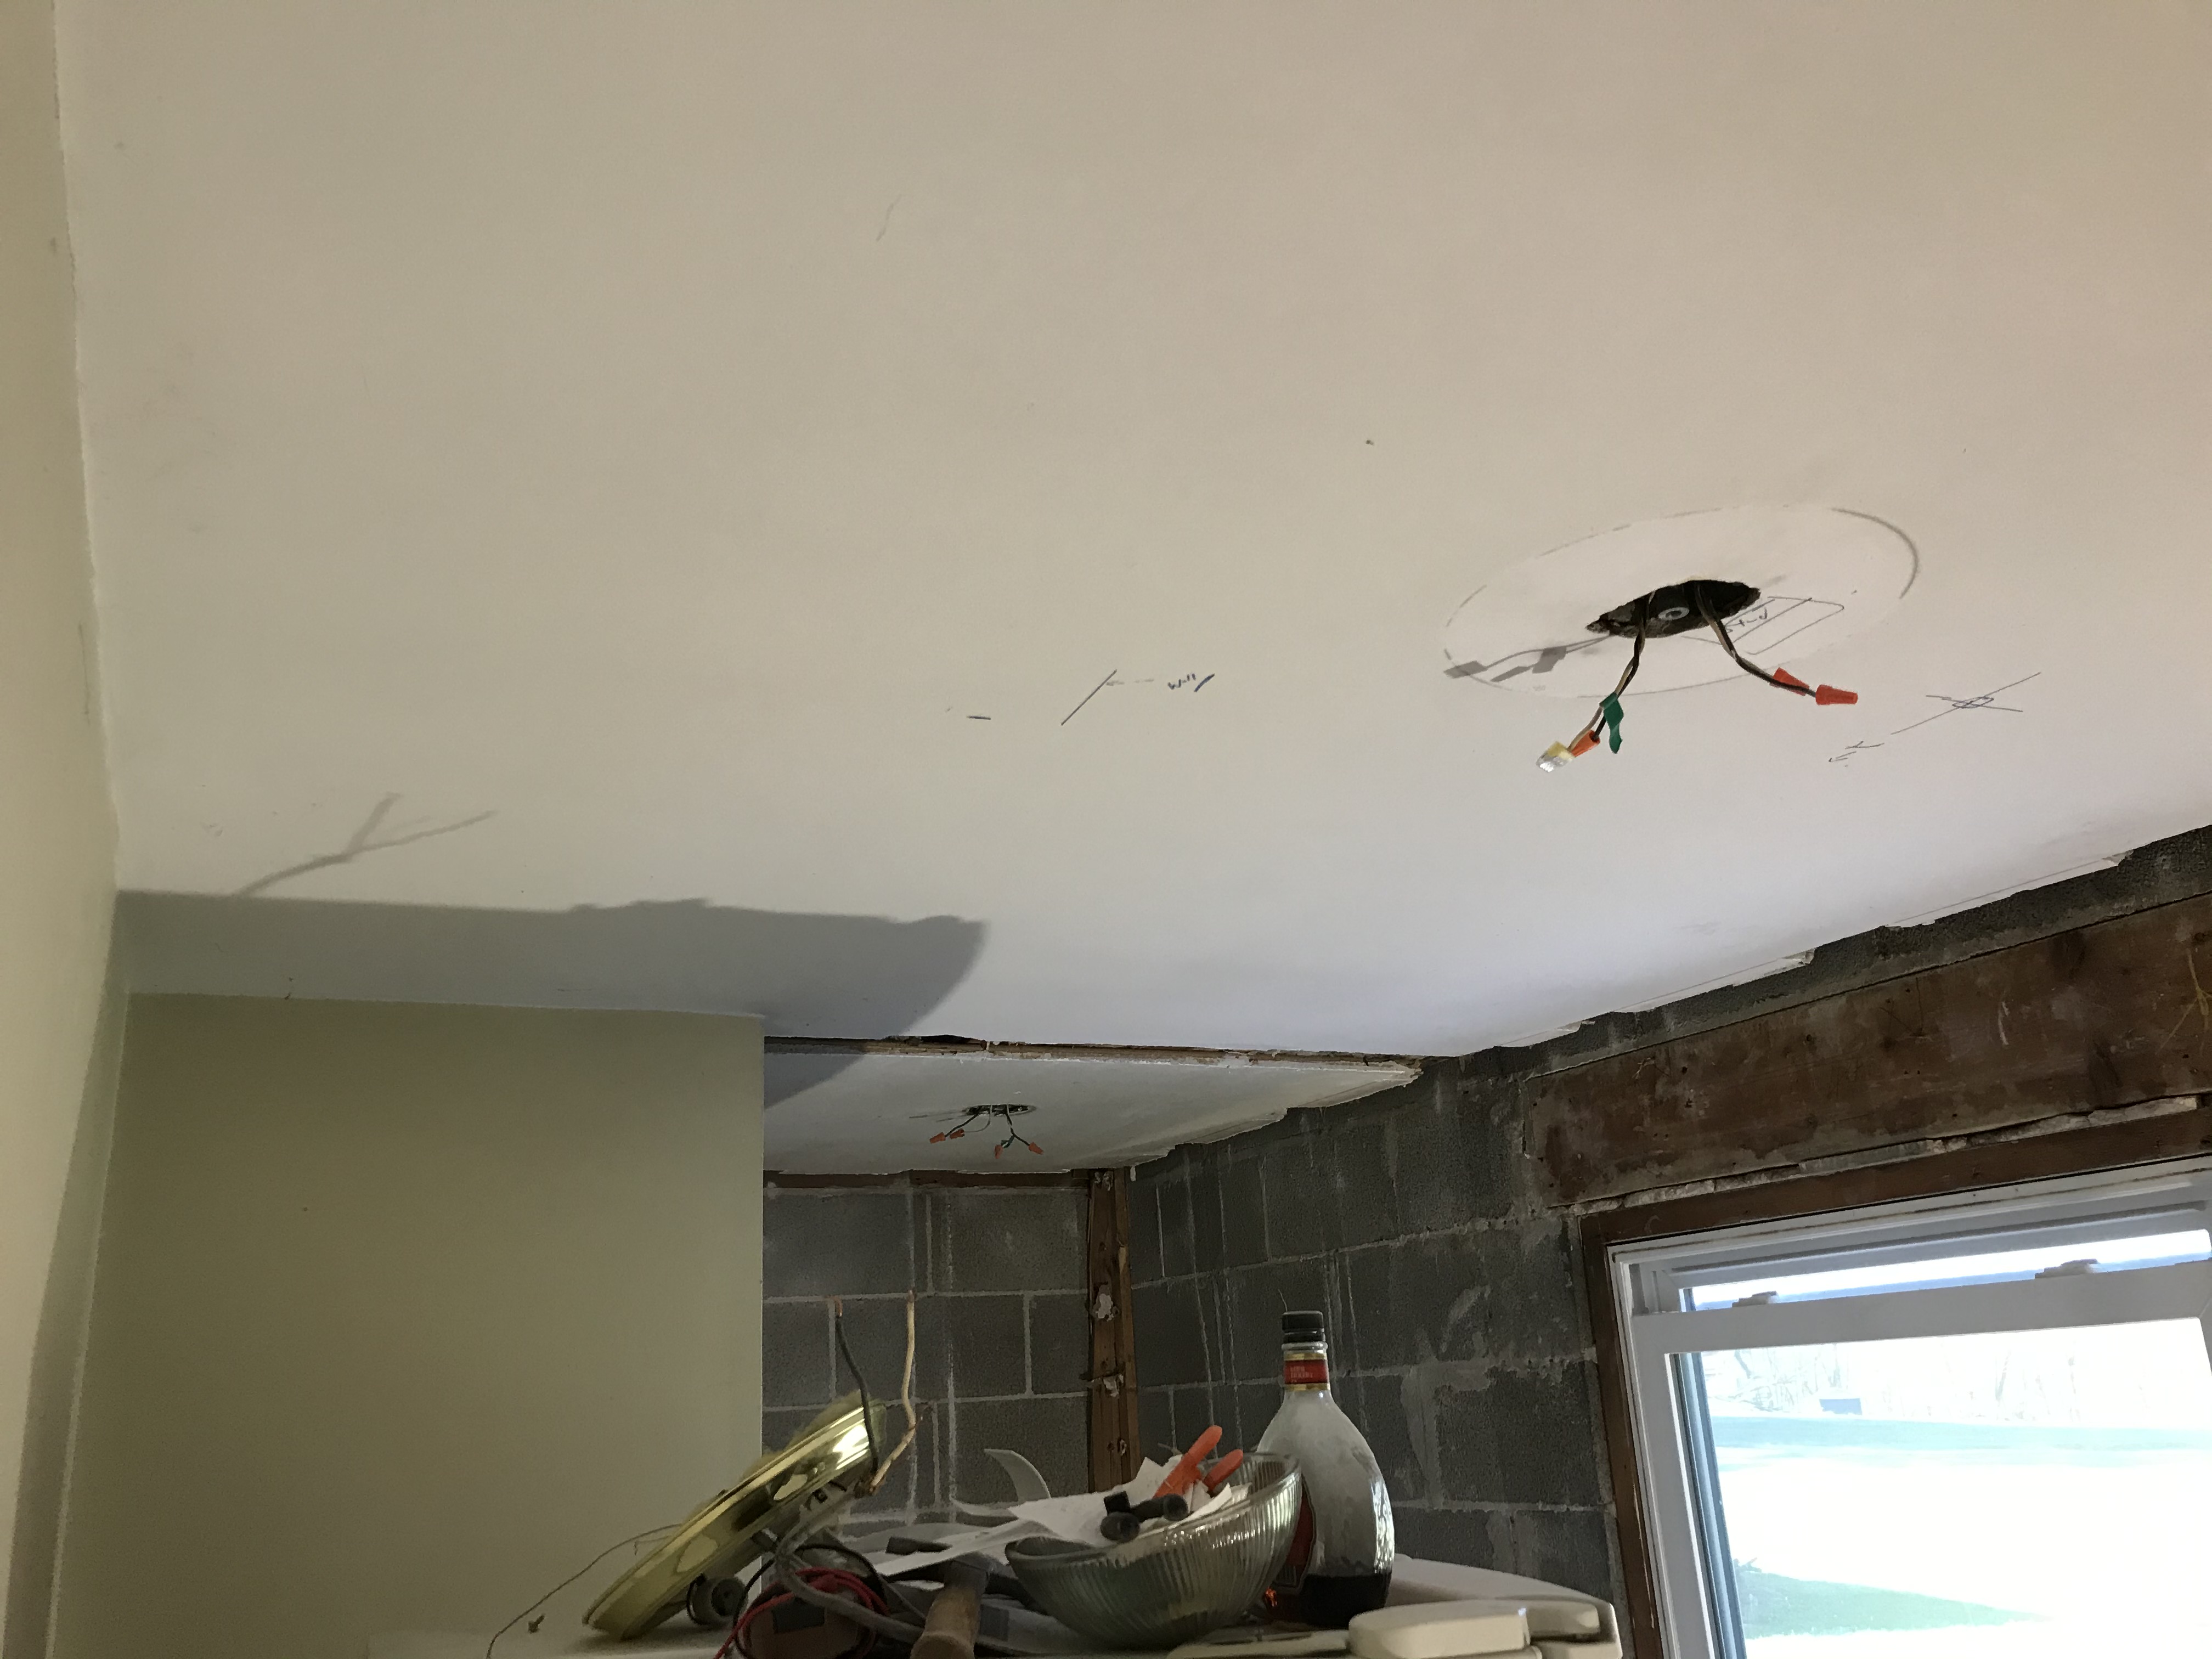
Framing, Electric, Plumbing, Insulation
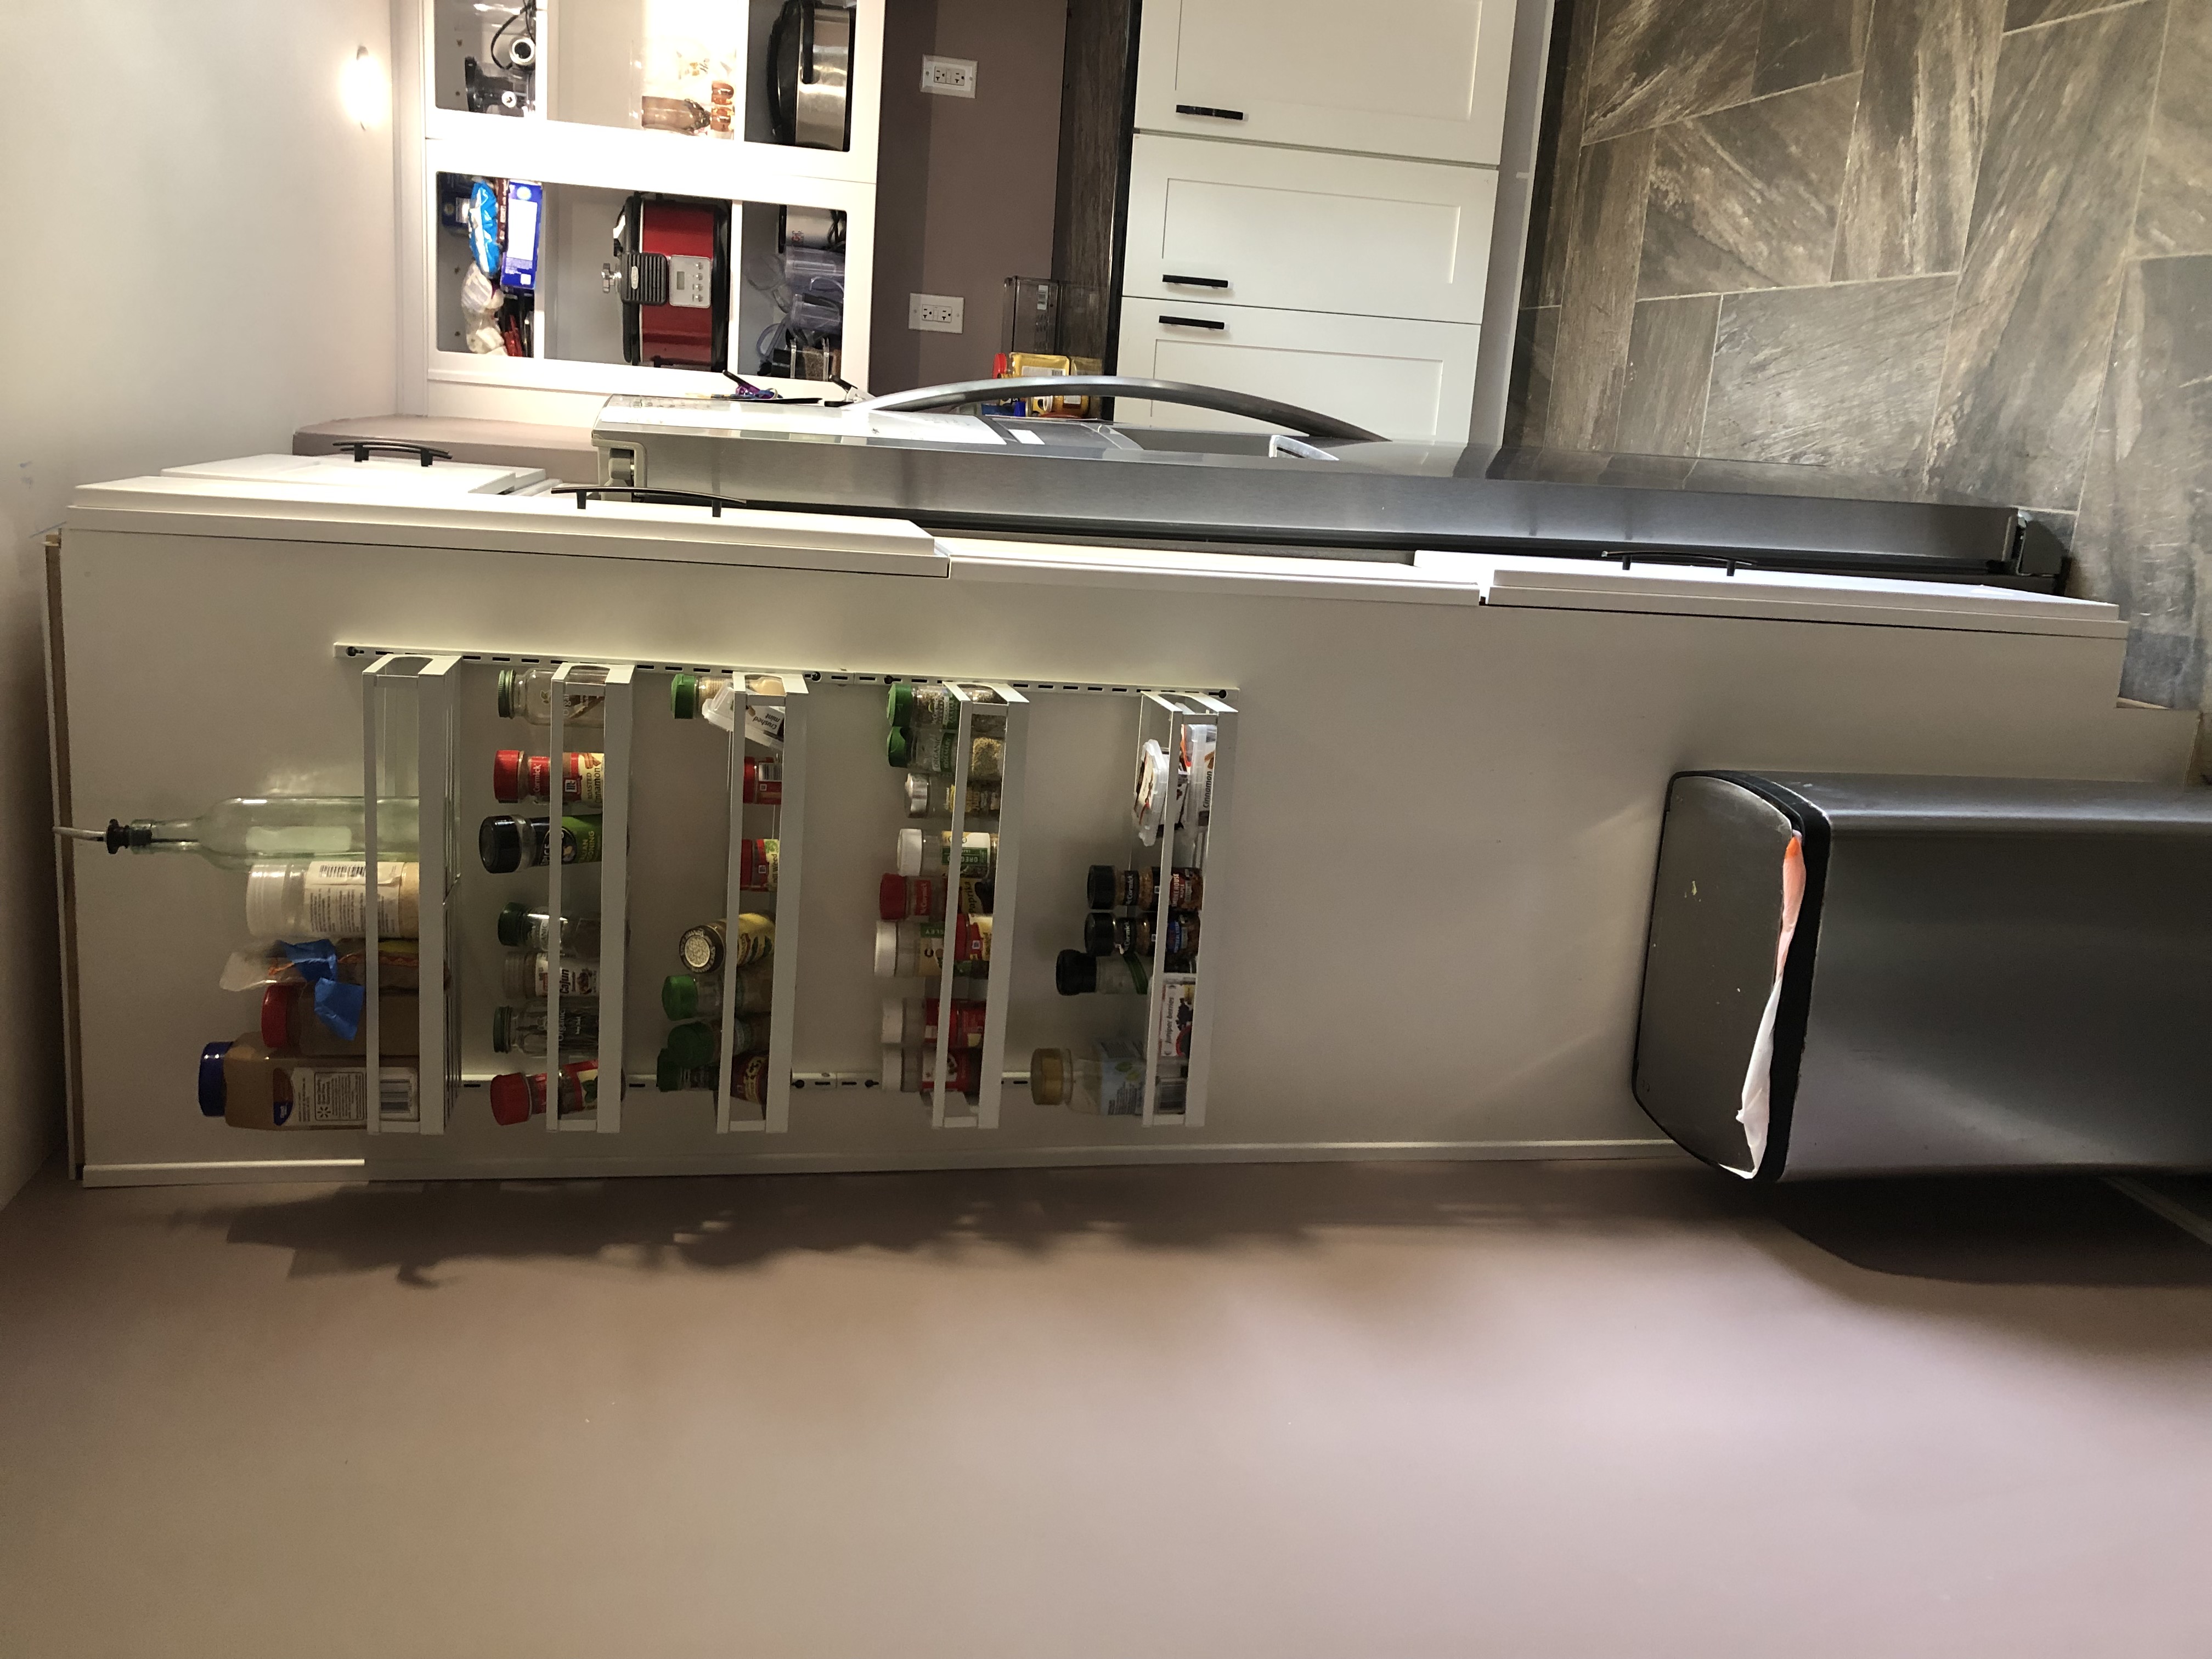
I ran a separate circuit for each outlet in this room, all 12AWG. That’s technically 4. 2 For the previous closet wall (now appliance station). One for the coffee corner, one for the fridge. One plumbing line to supply water to the fridge.
Most time spent here was redoing all of the electric in this room. The wiring in this house had all lights in the entire first floor on a single circuit. So i traced it into the bedroom and had to remove another switch.
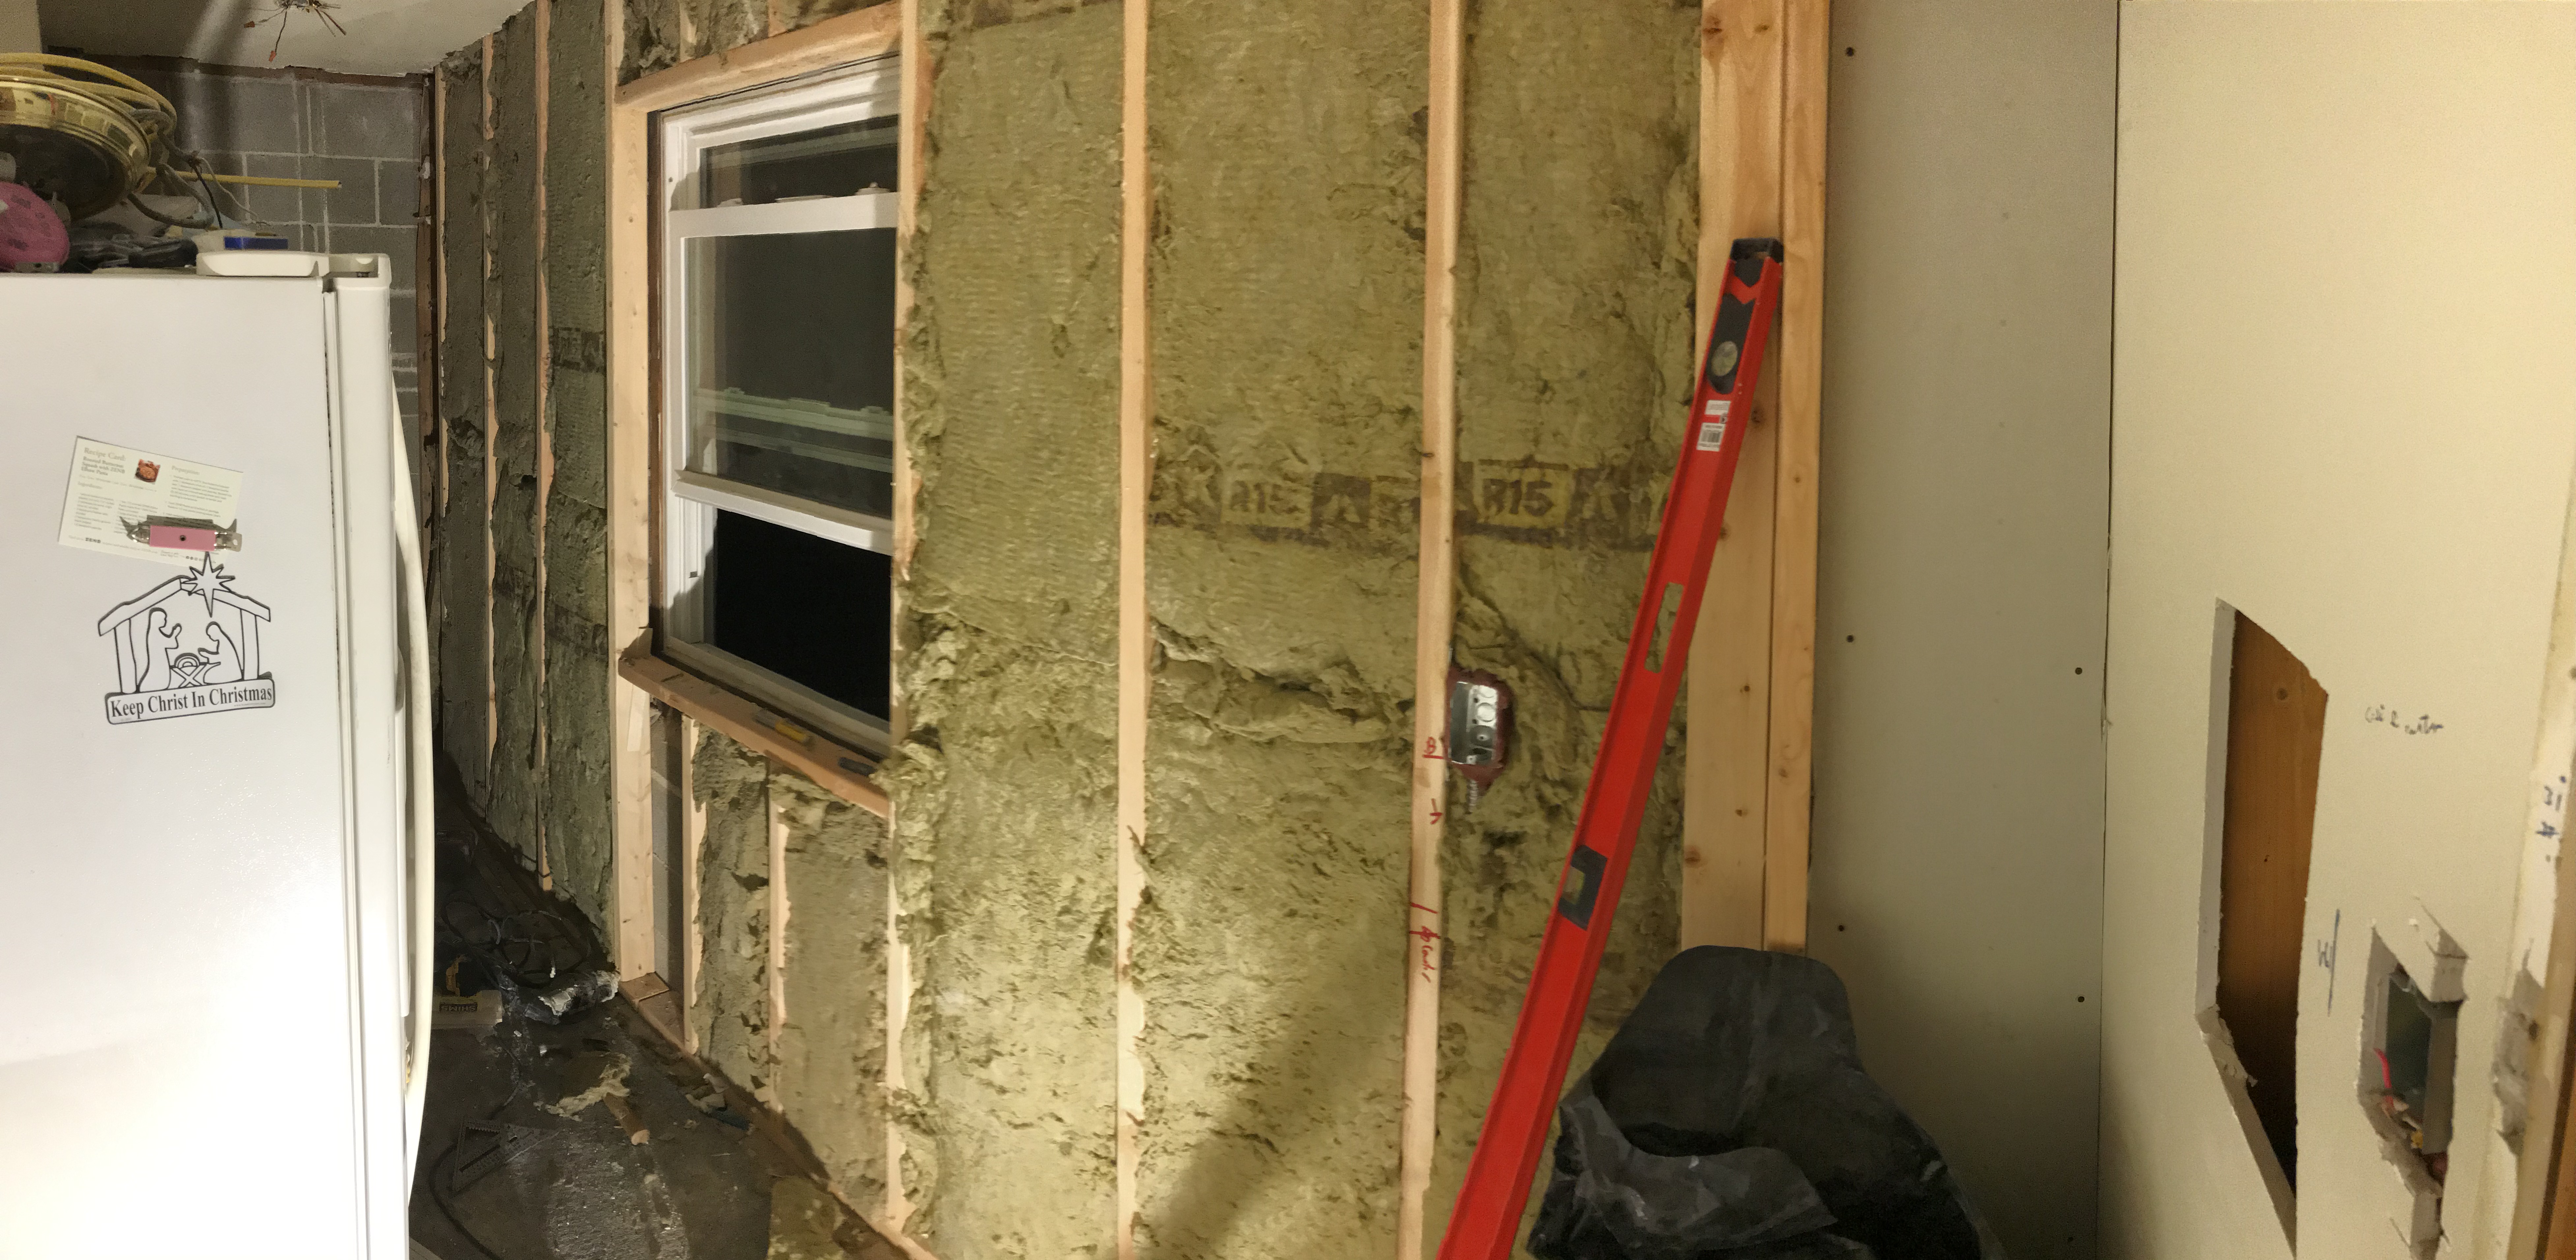
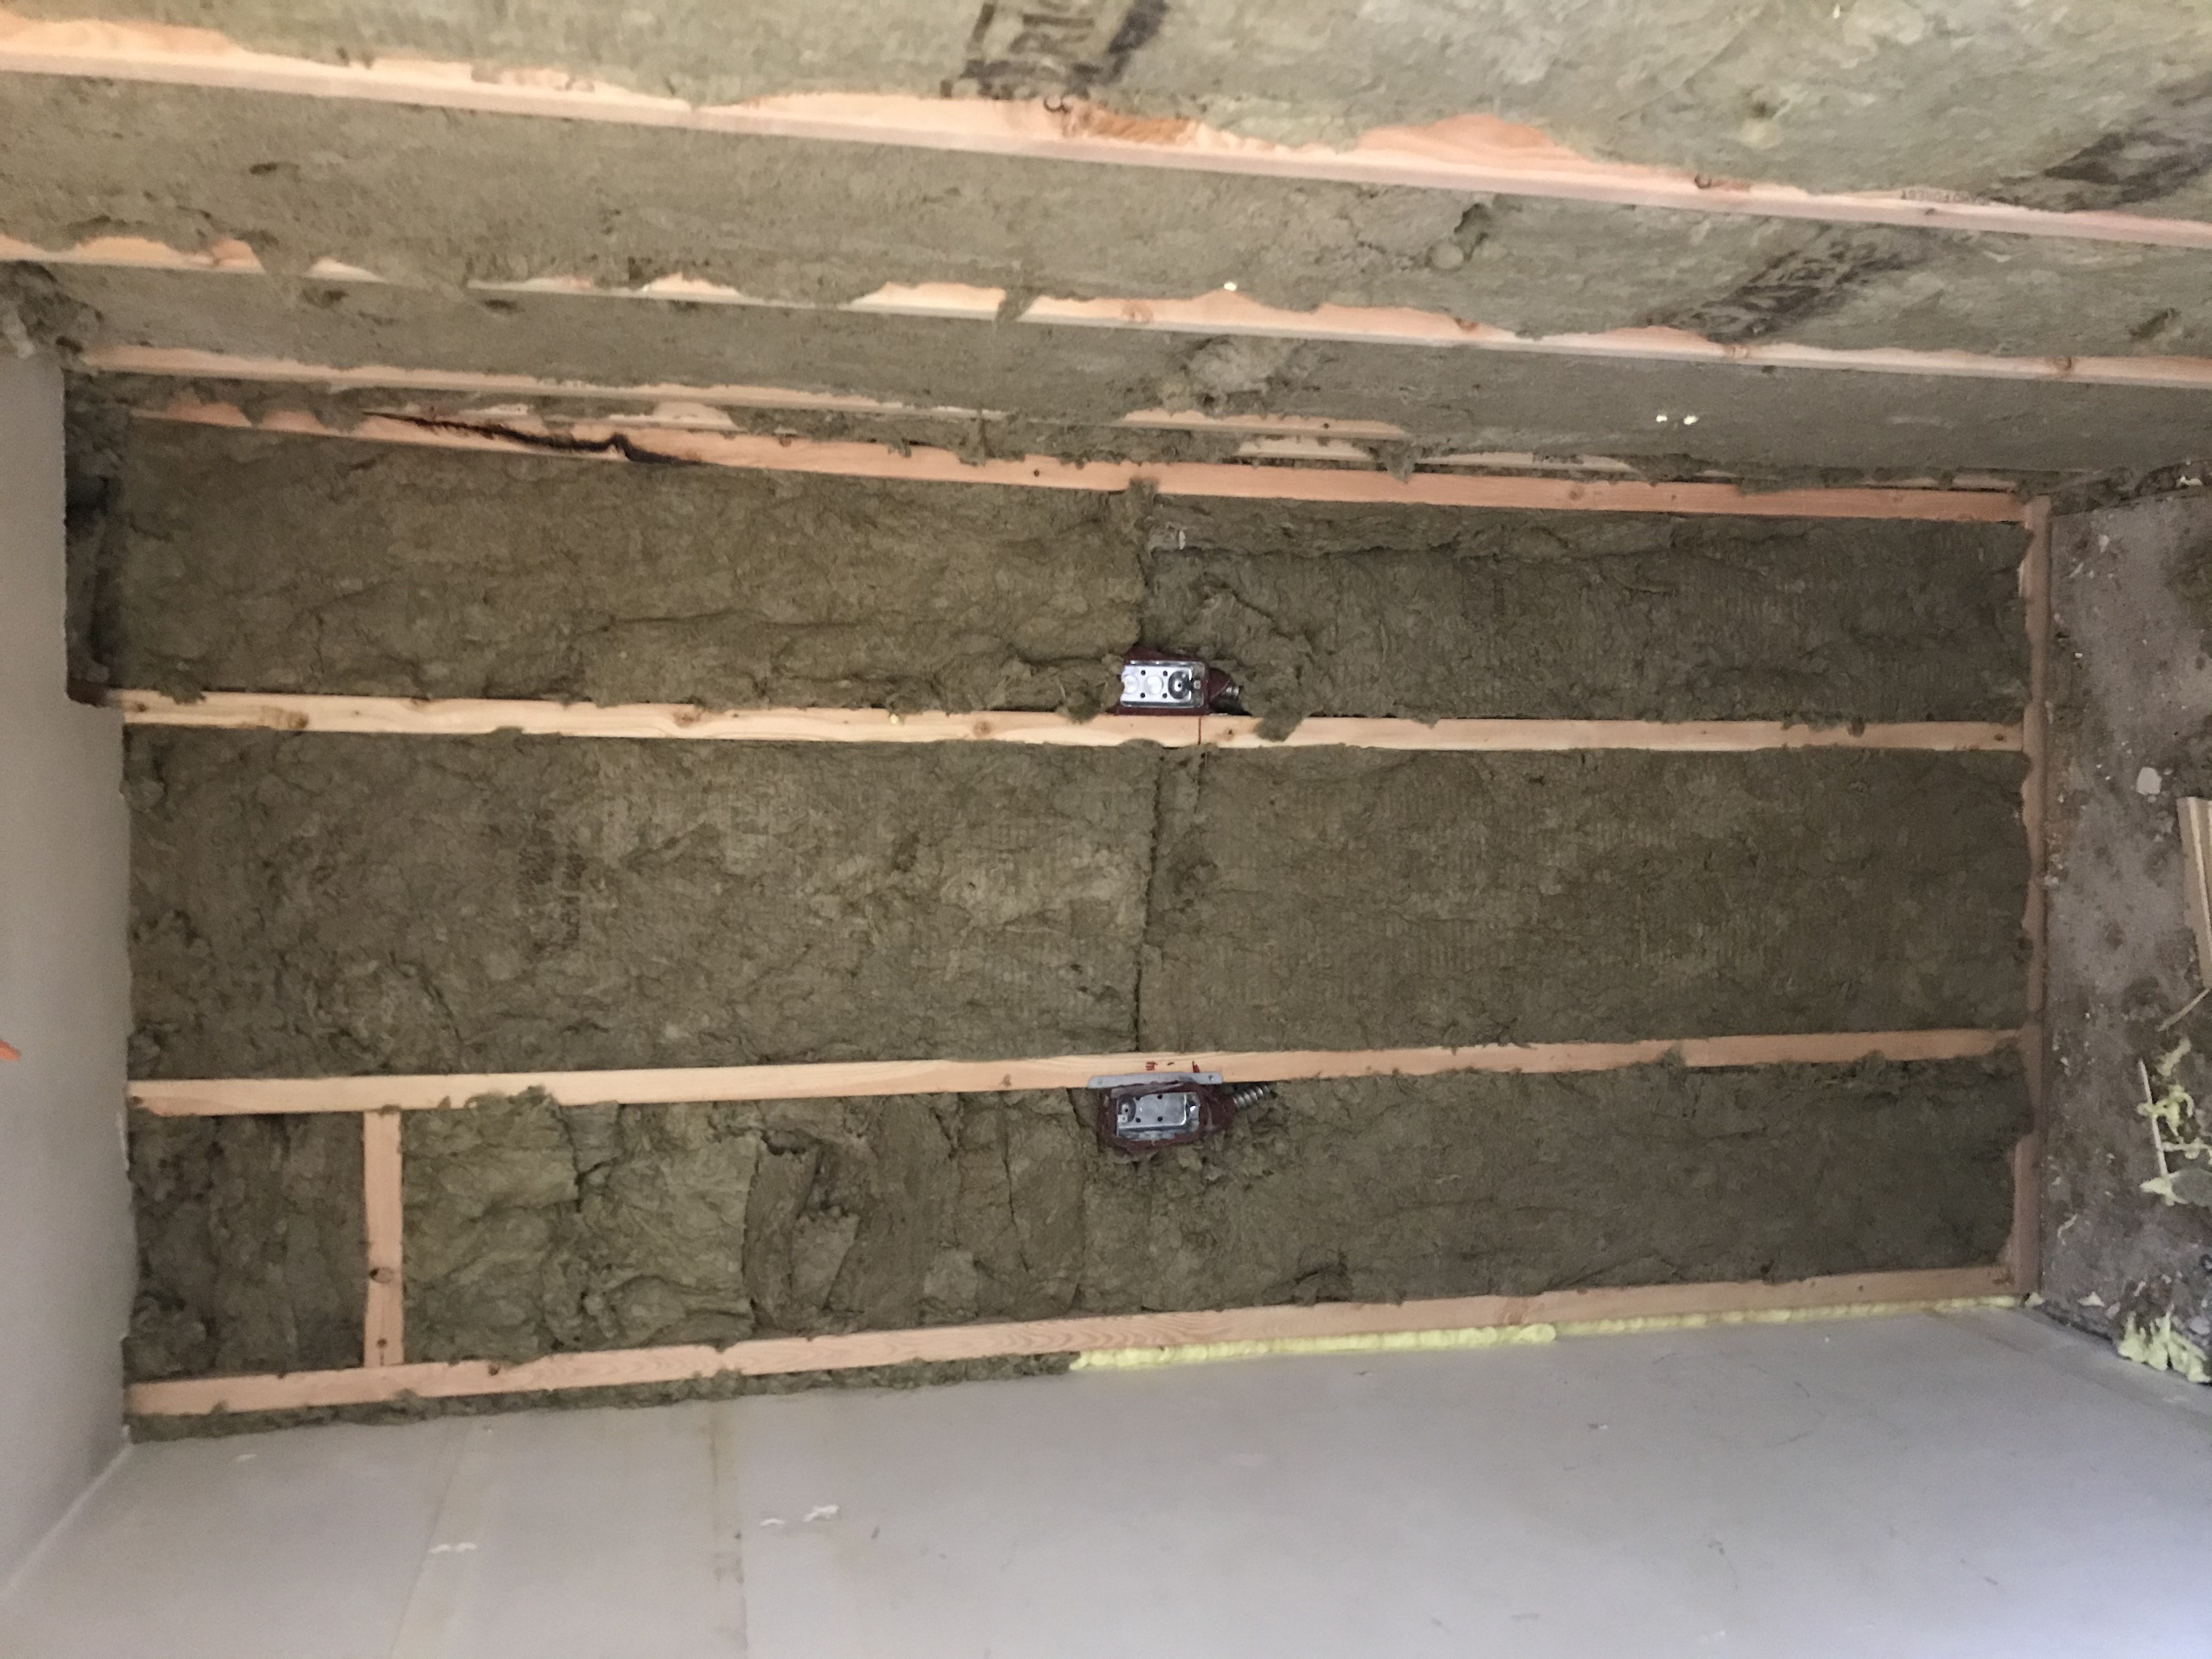
I use rockwool at the recommendation of Matt Risinger. My house is just stucco on block so water can seep from time to time. I’d rather it seep on something that doesn’t mold.
Drywall
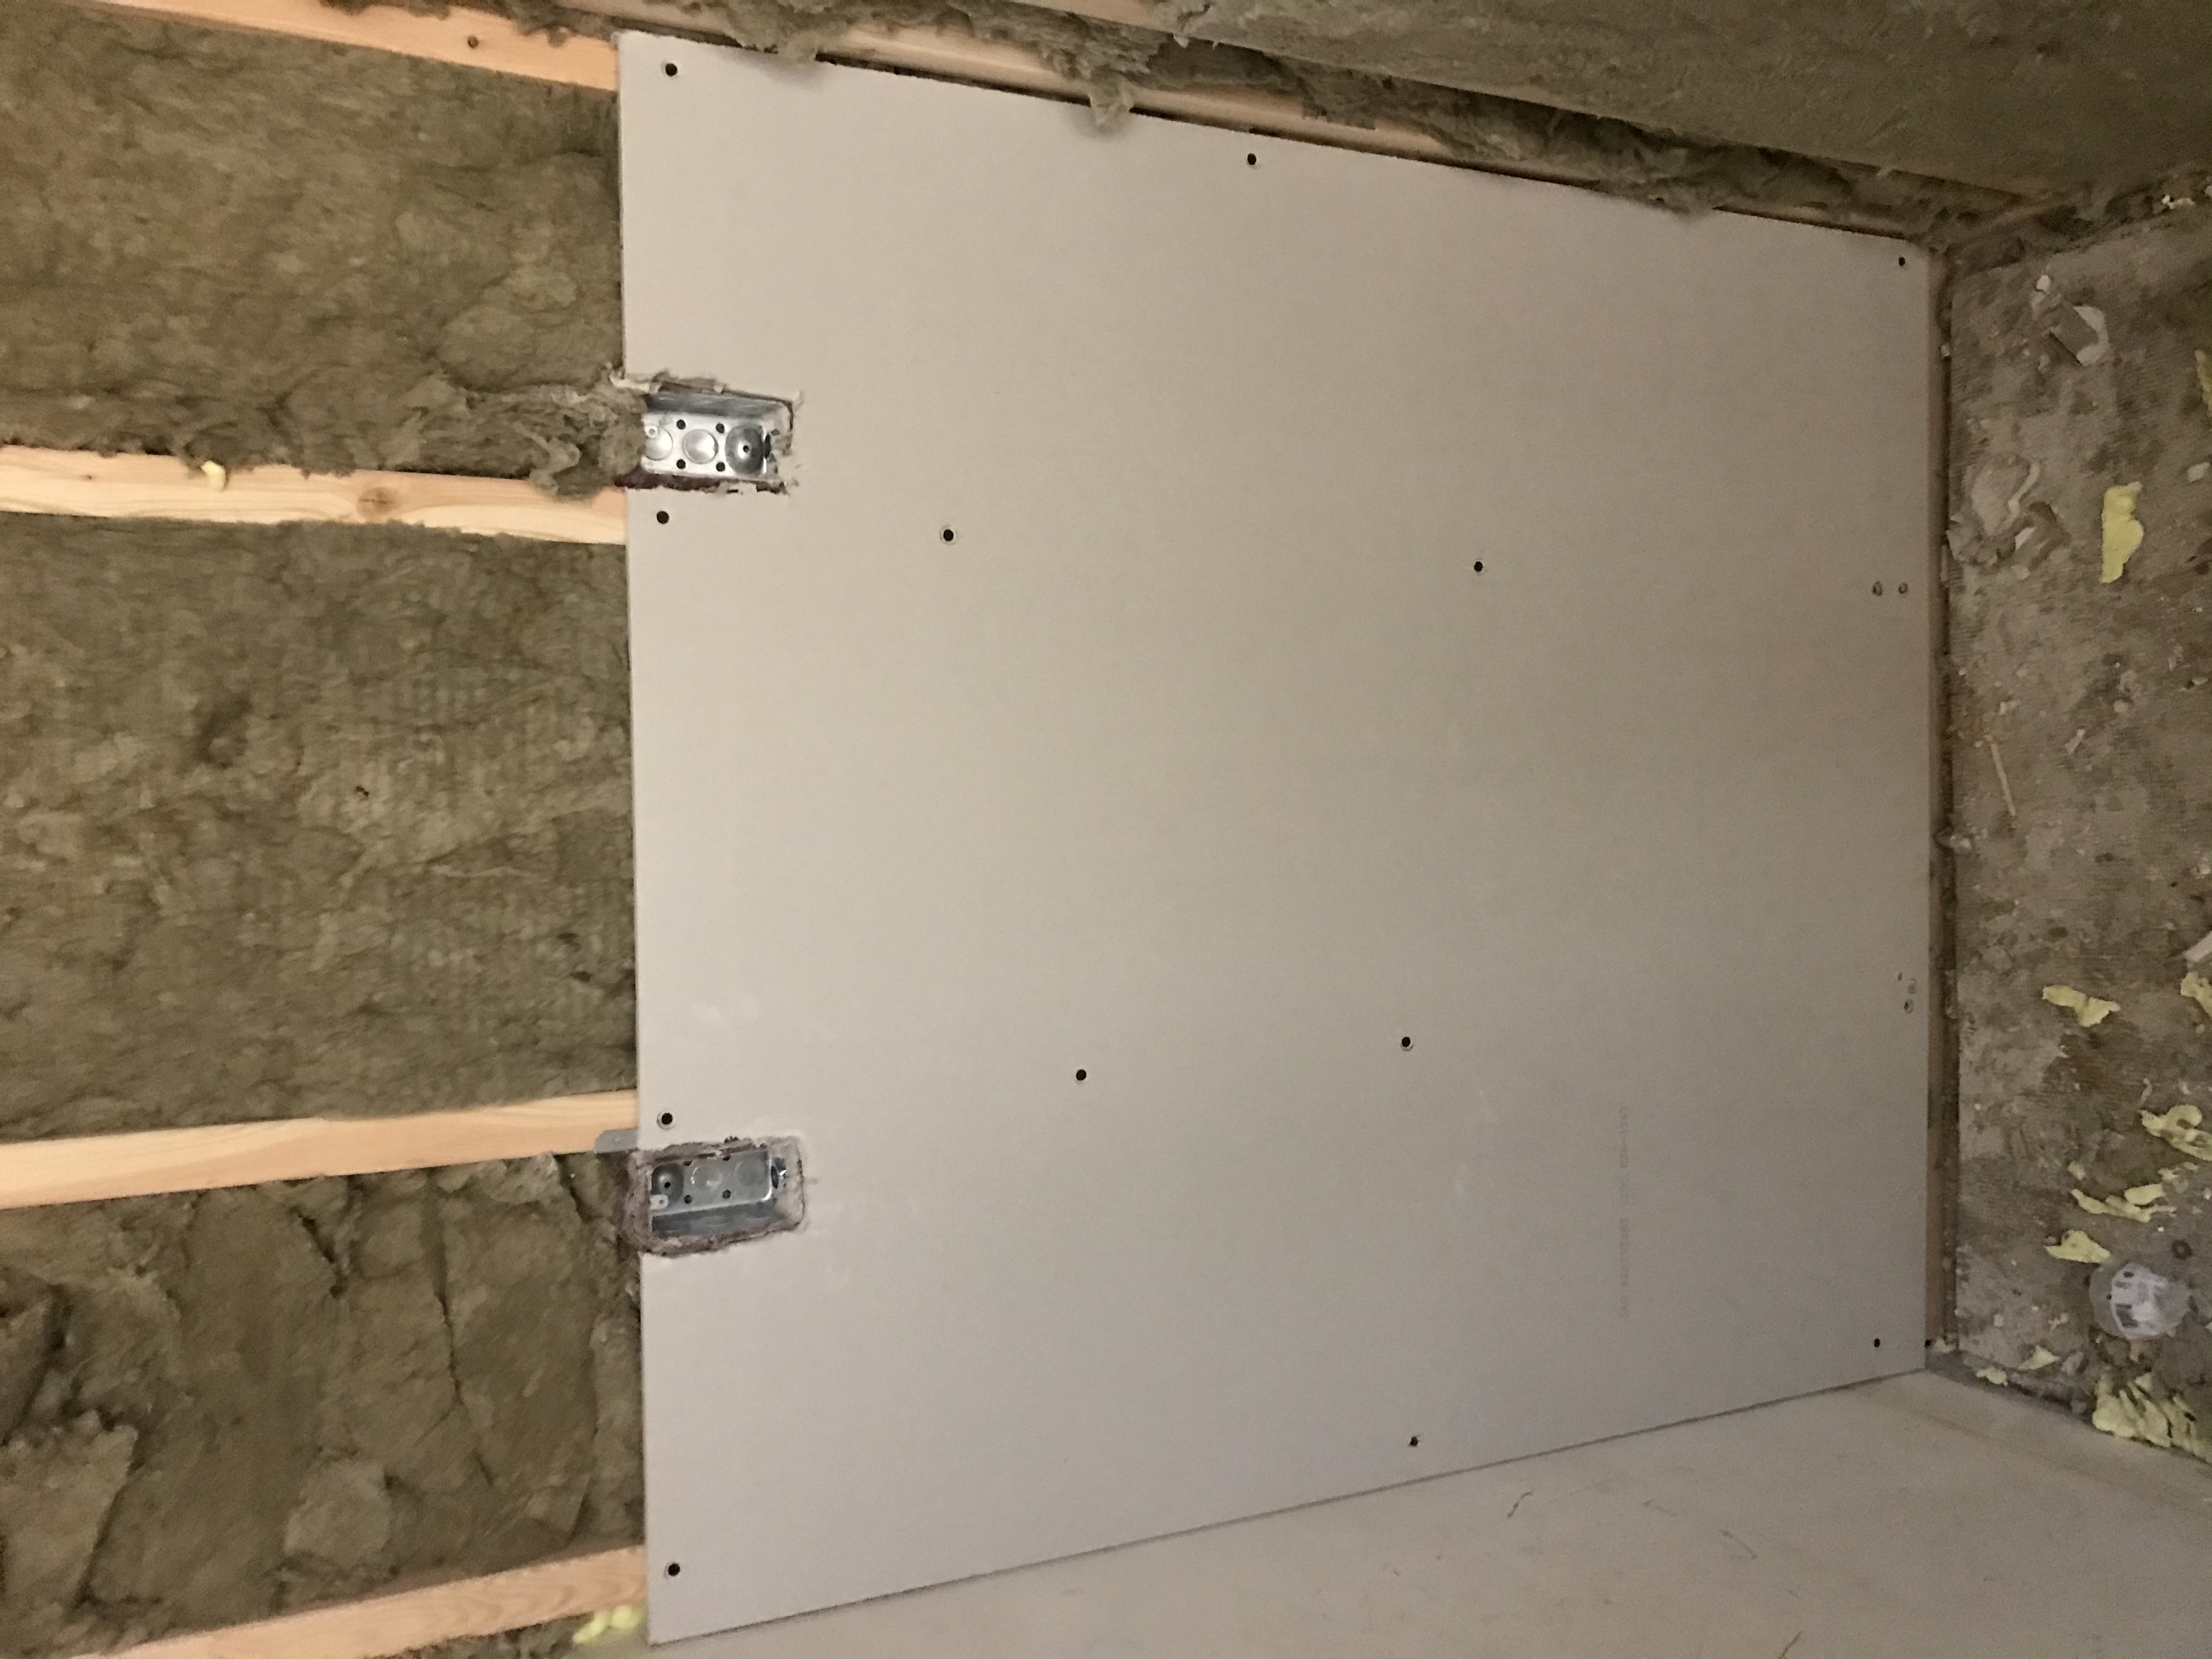


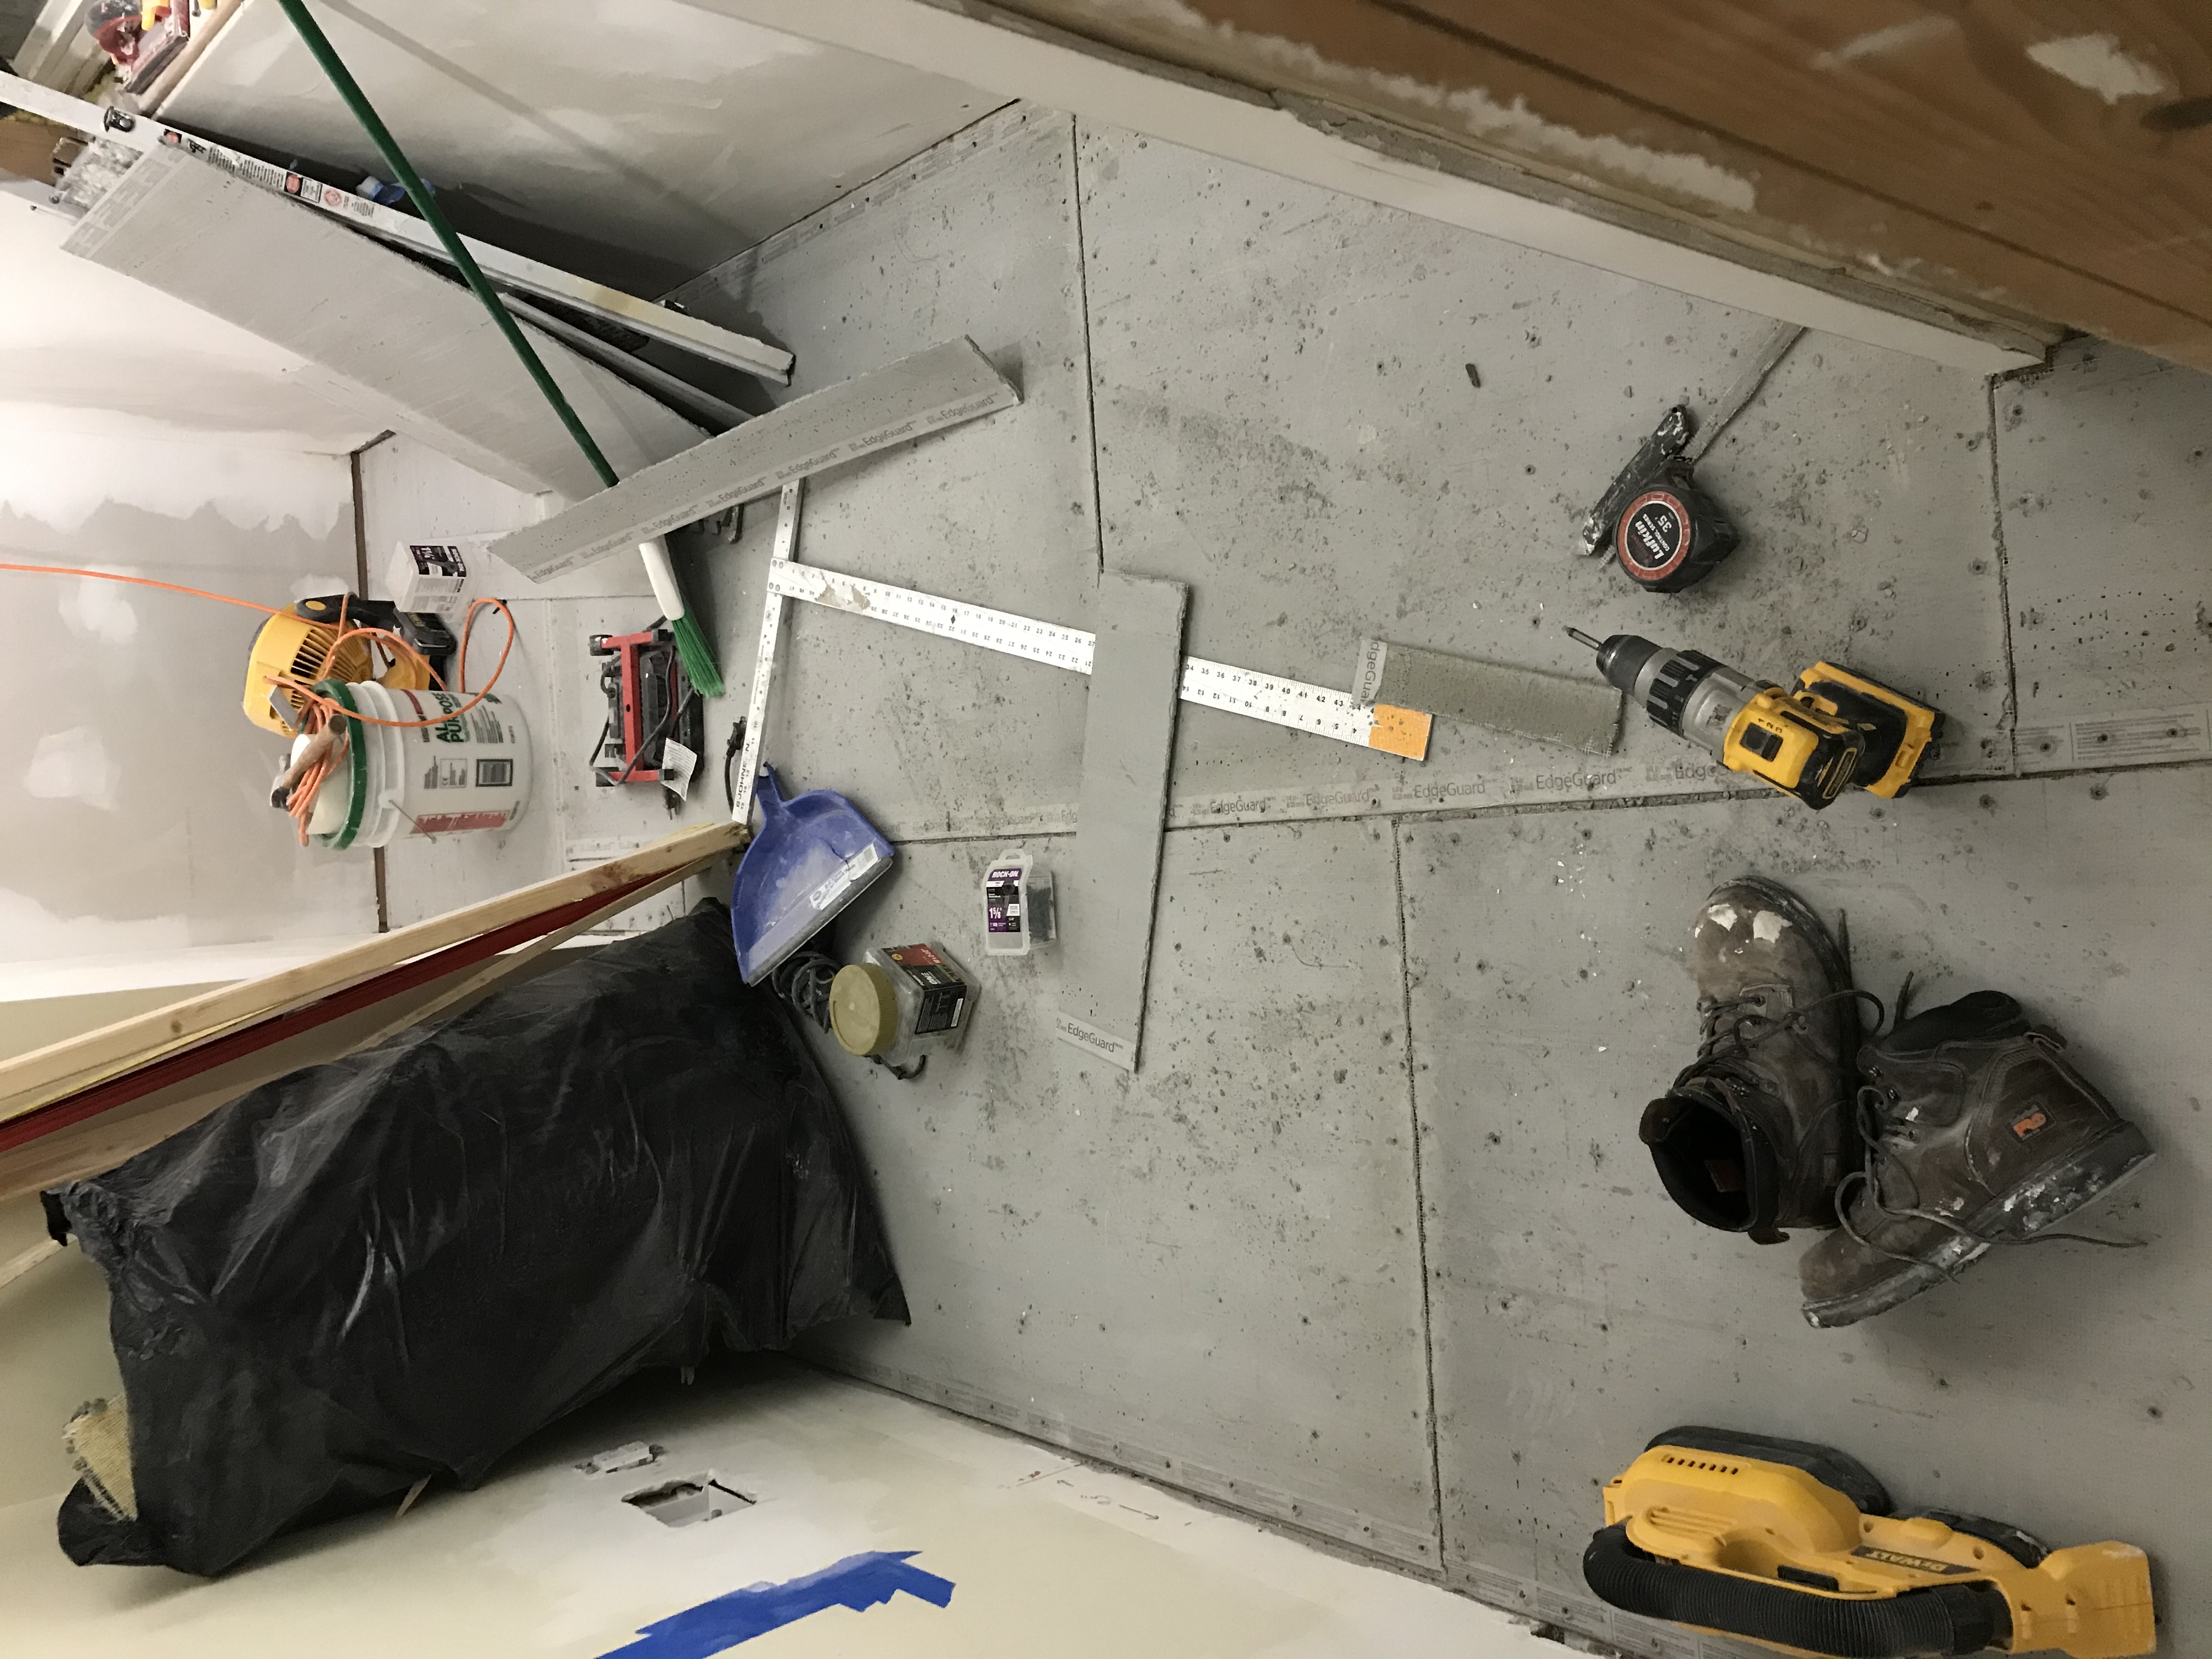
Spackle, Cementboard
Like 3 days of work for patching all holes and spackle. Here we finally remove the carpet, and replace with cementboard after spackle is done for tile.
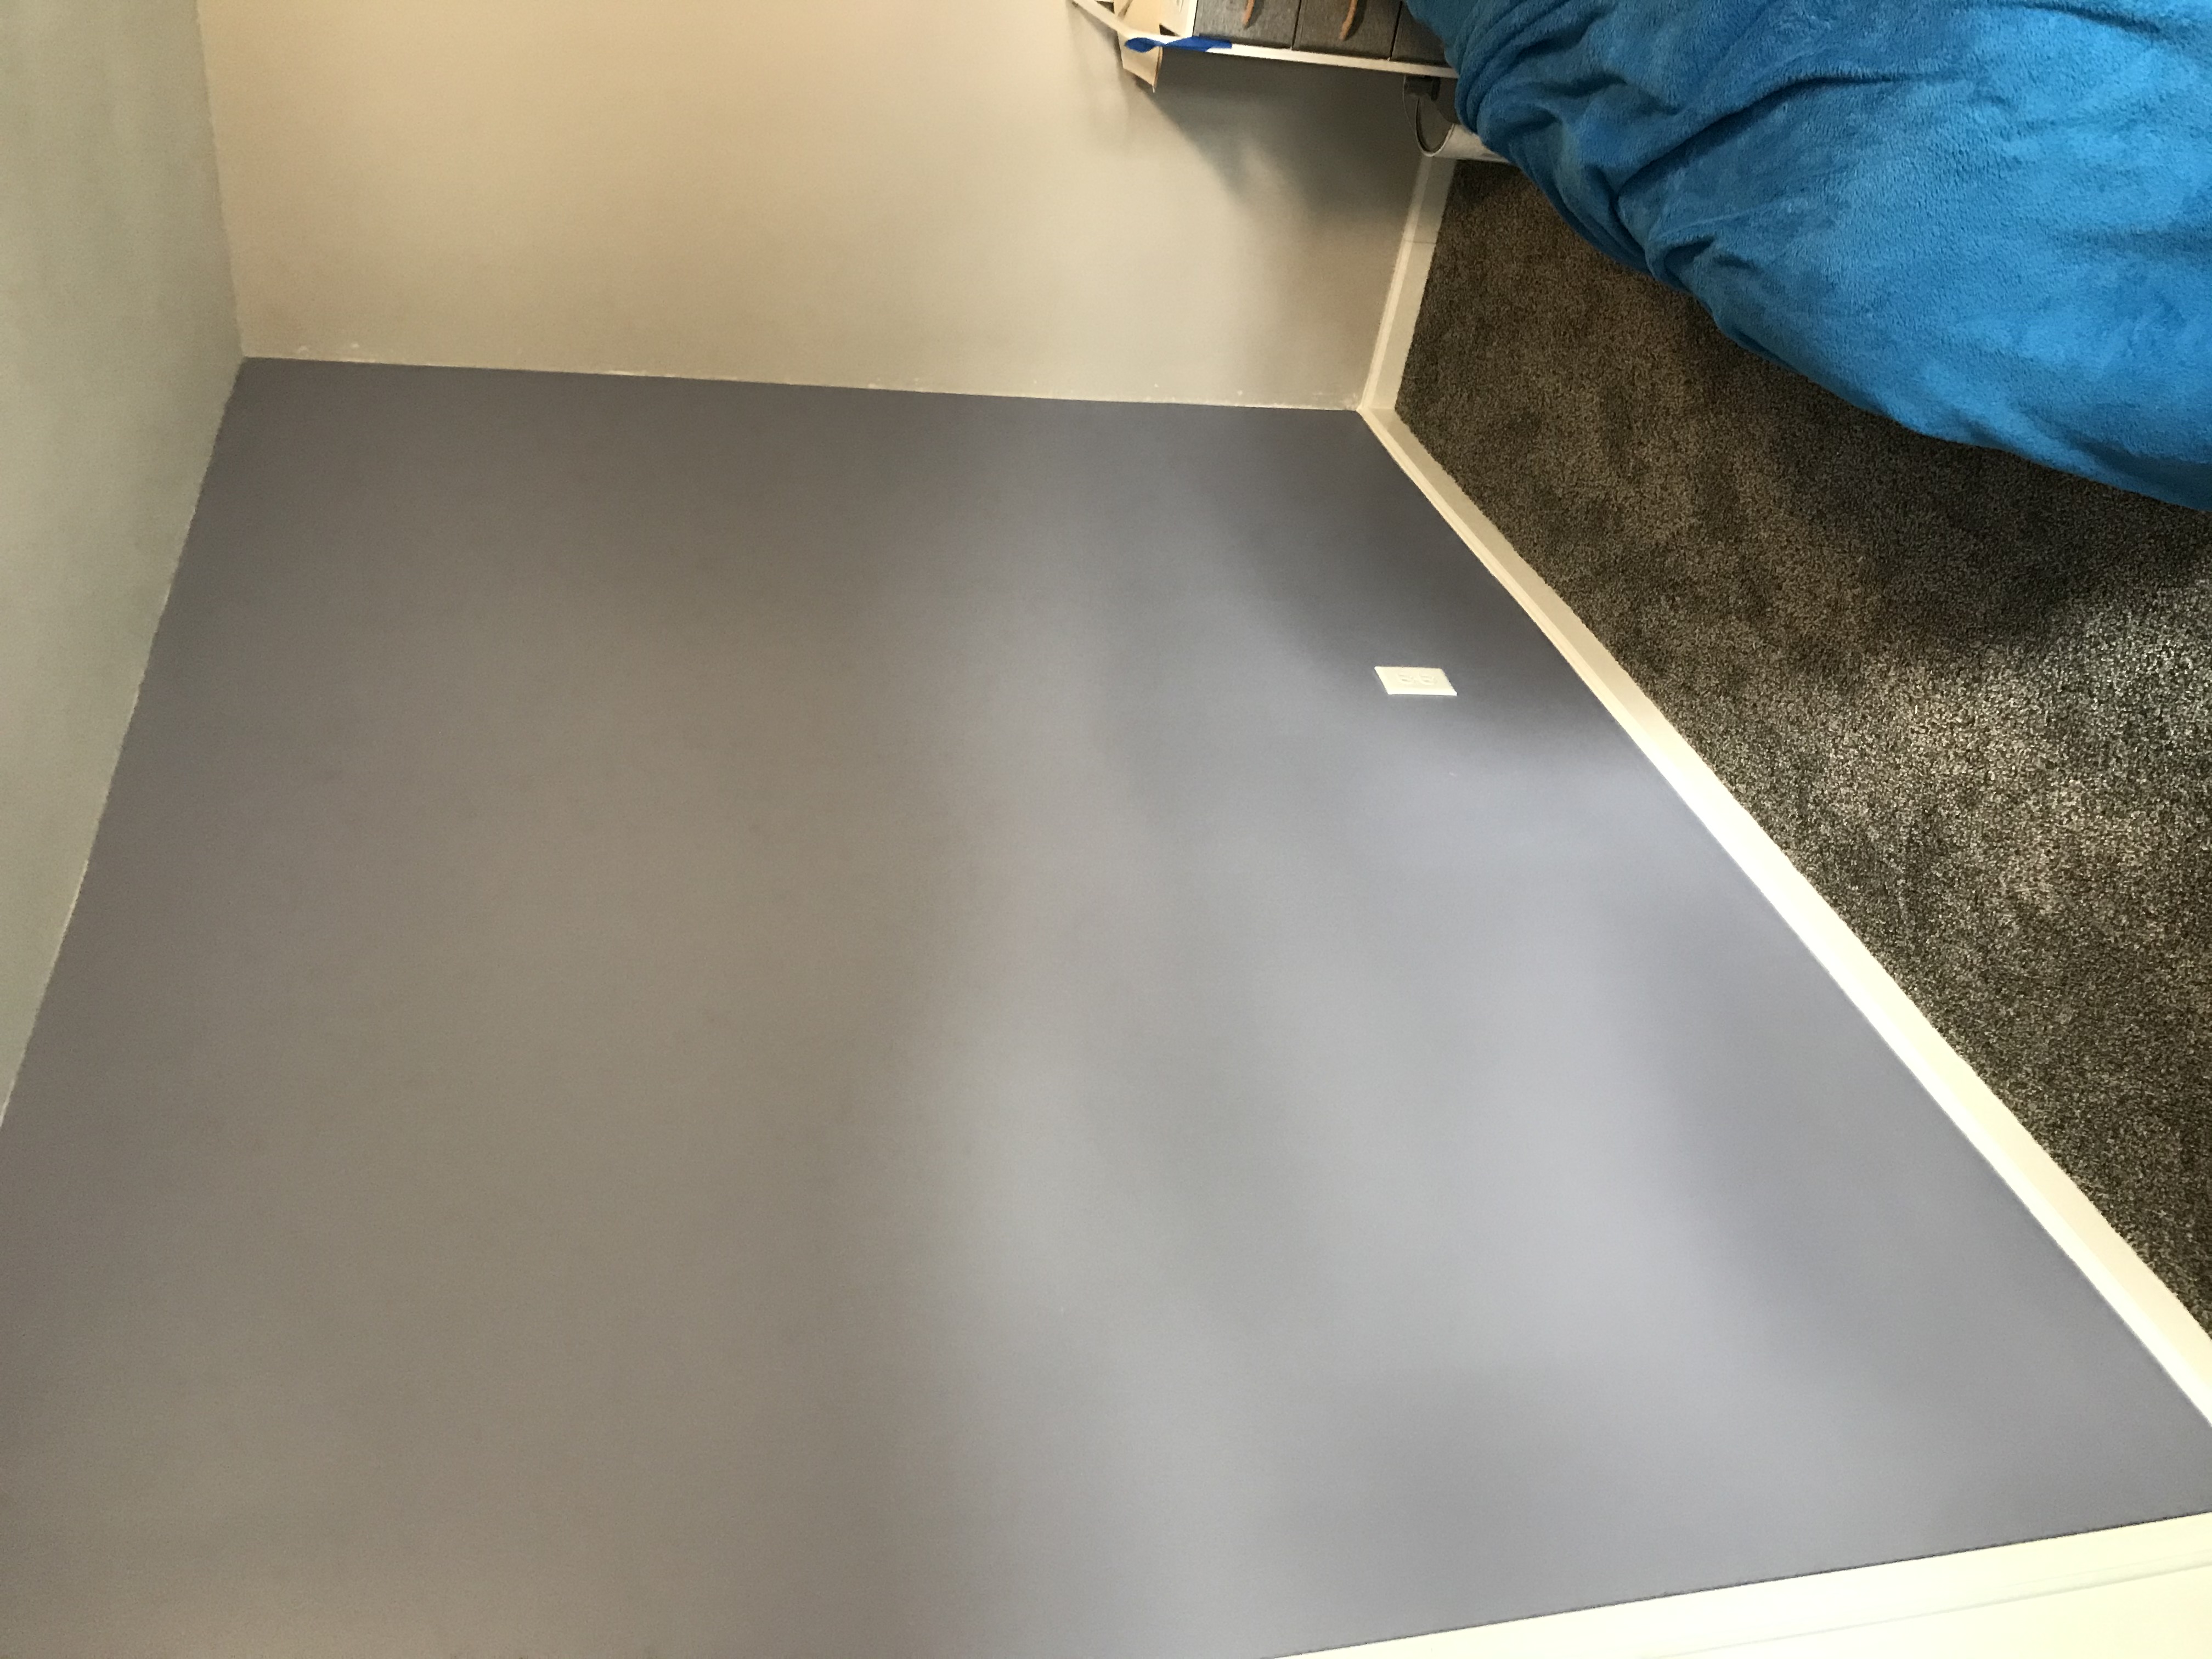

Finish Bedroom
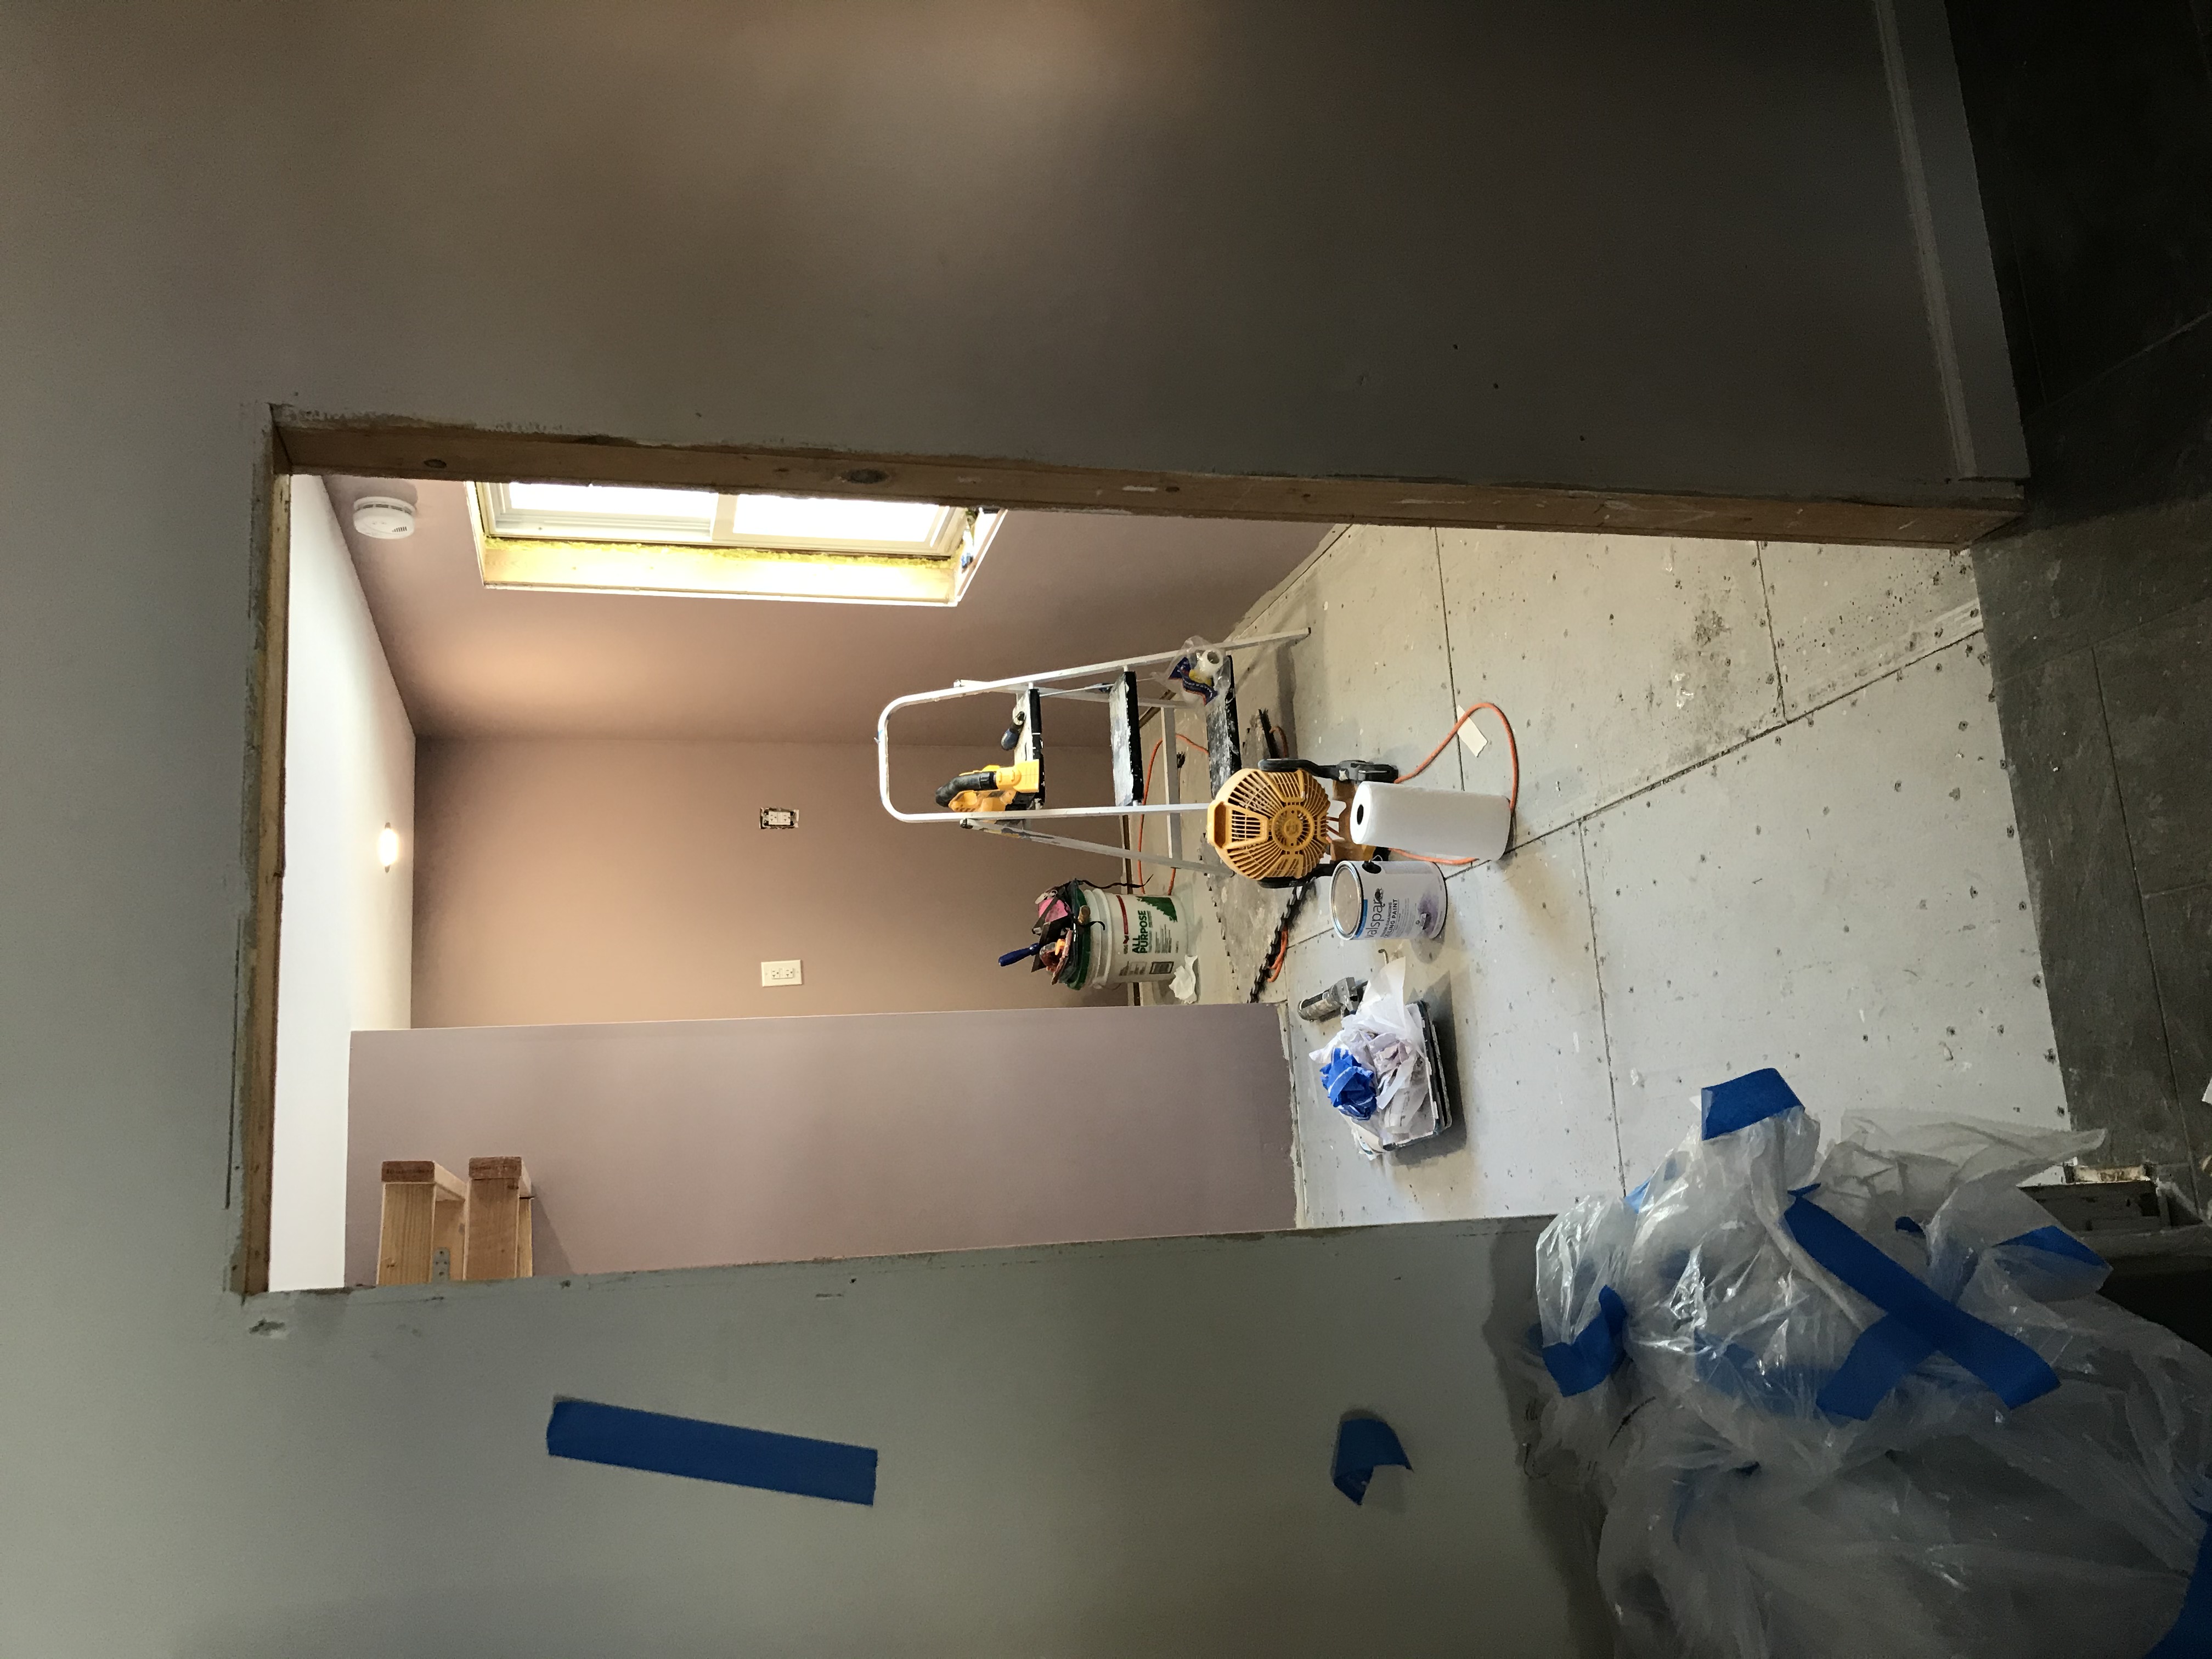
Did this in a day with hot mud + skim coat. Bought new trim. Painted with leftover.
Paint
2 Coats at 1 hr a piece. First time cutting instead of taping to save dry time.

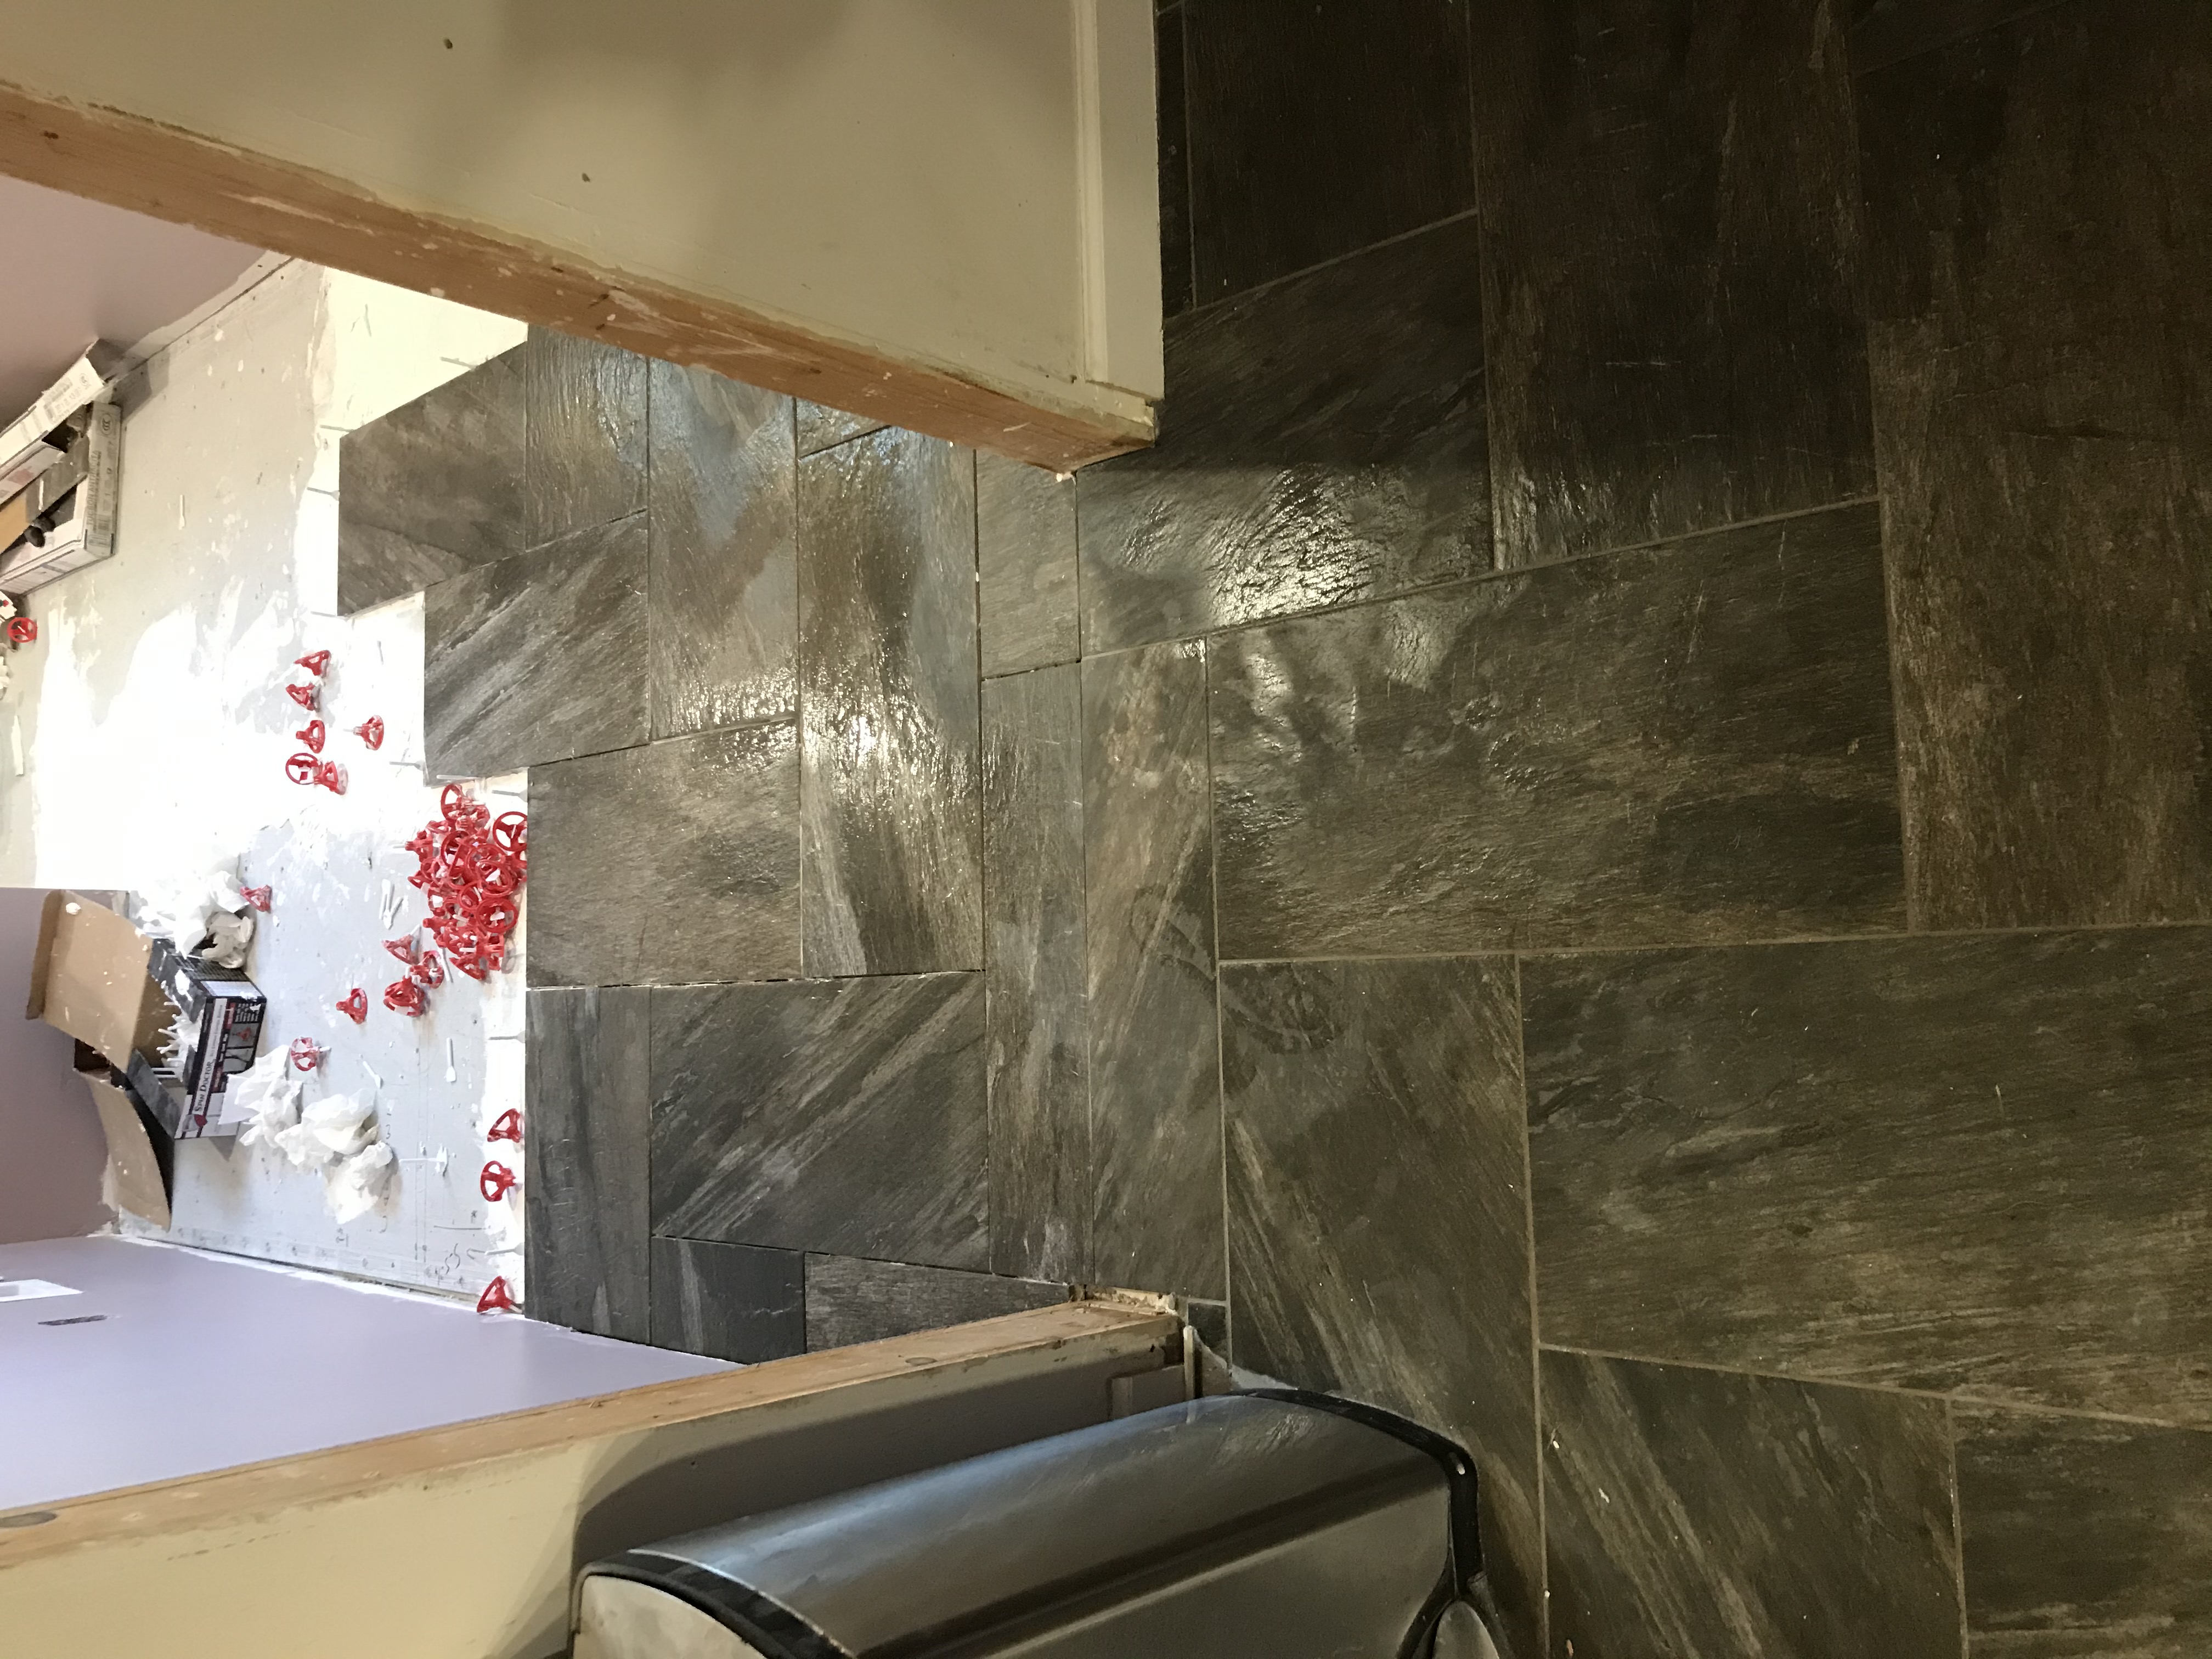
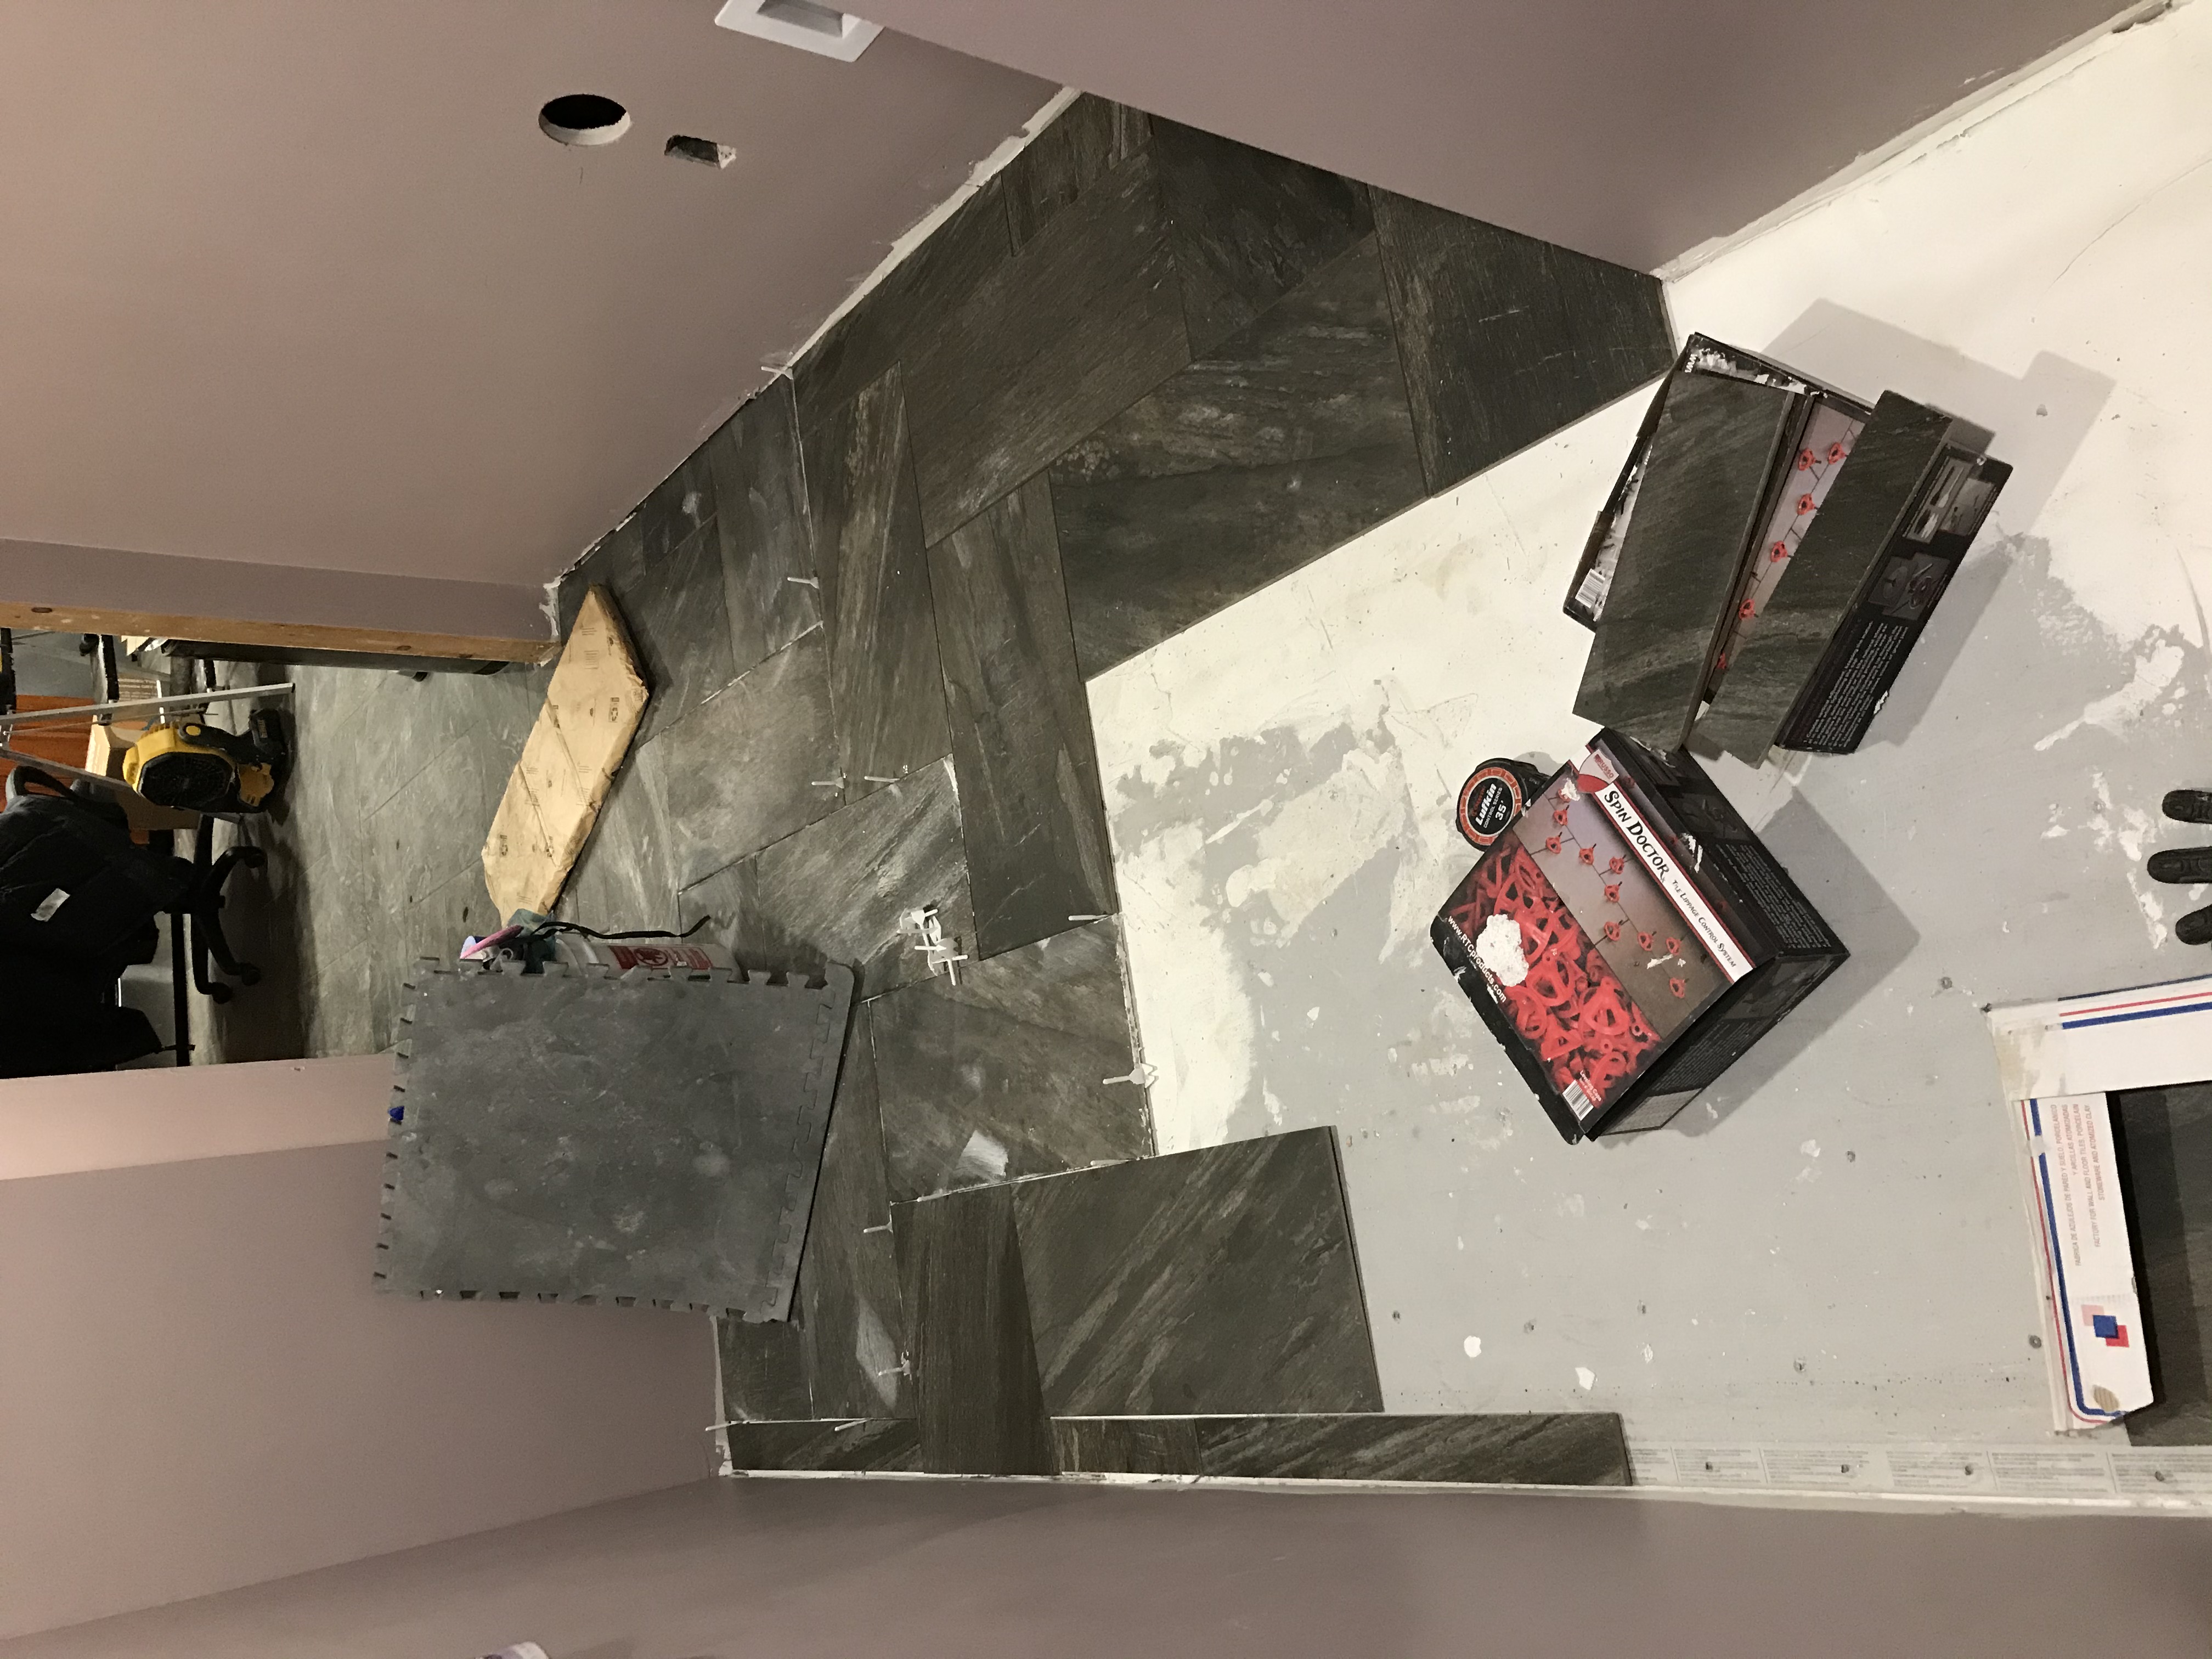
Tiling
3 Day job after work. One day to cut and lay them all out, two do place first and second half.

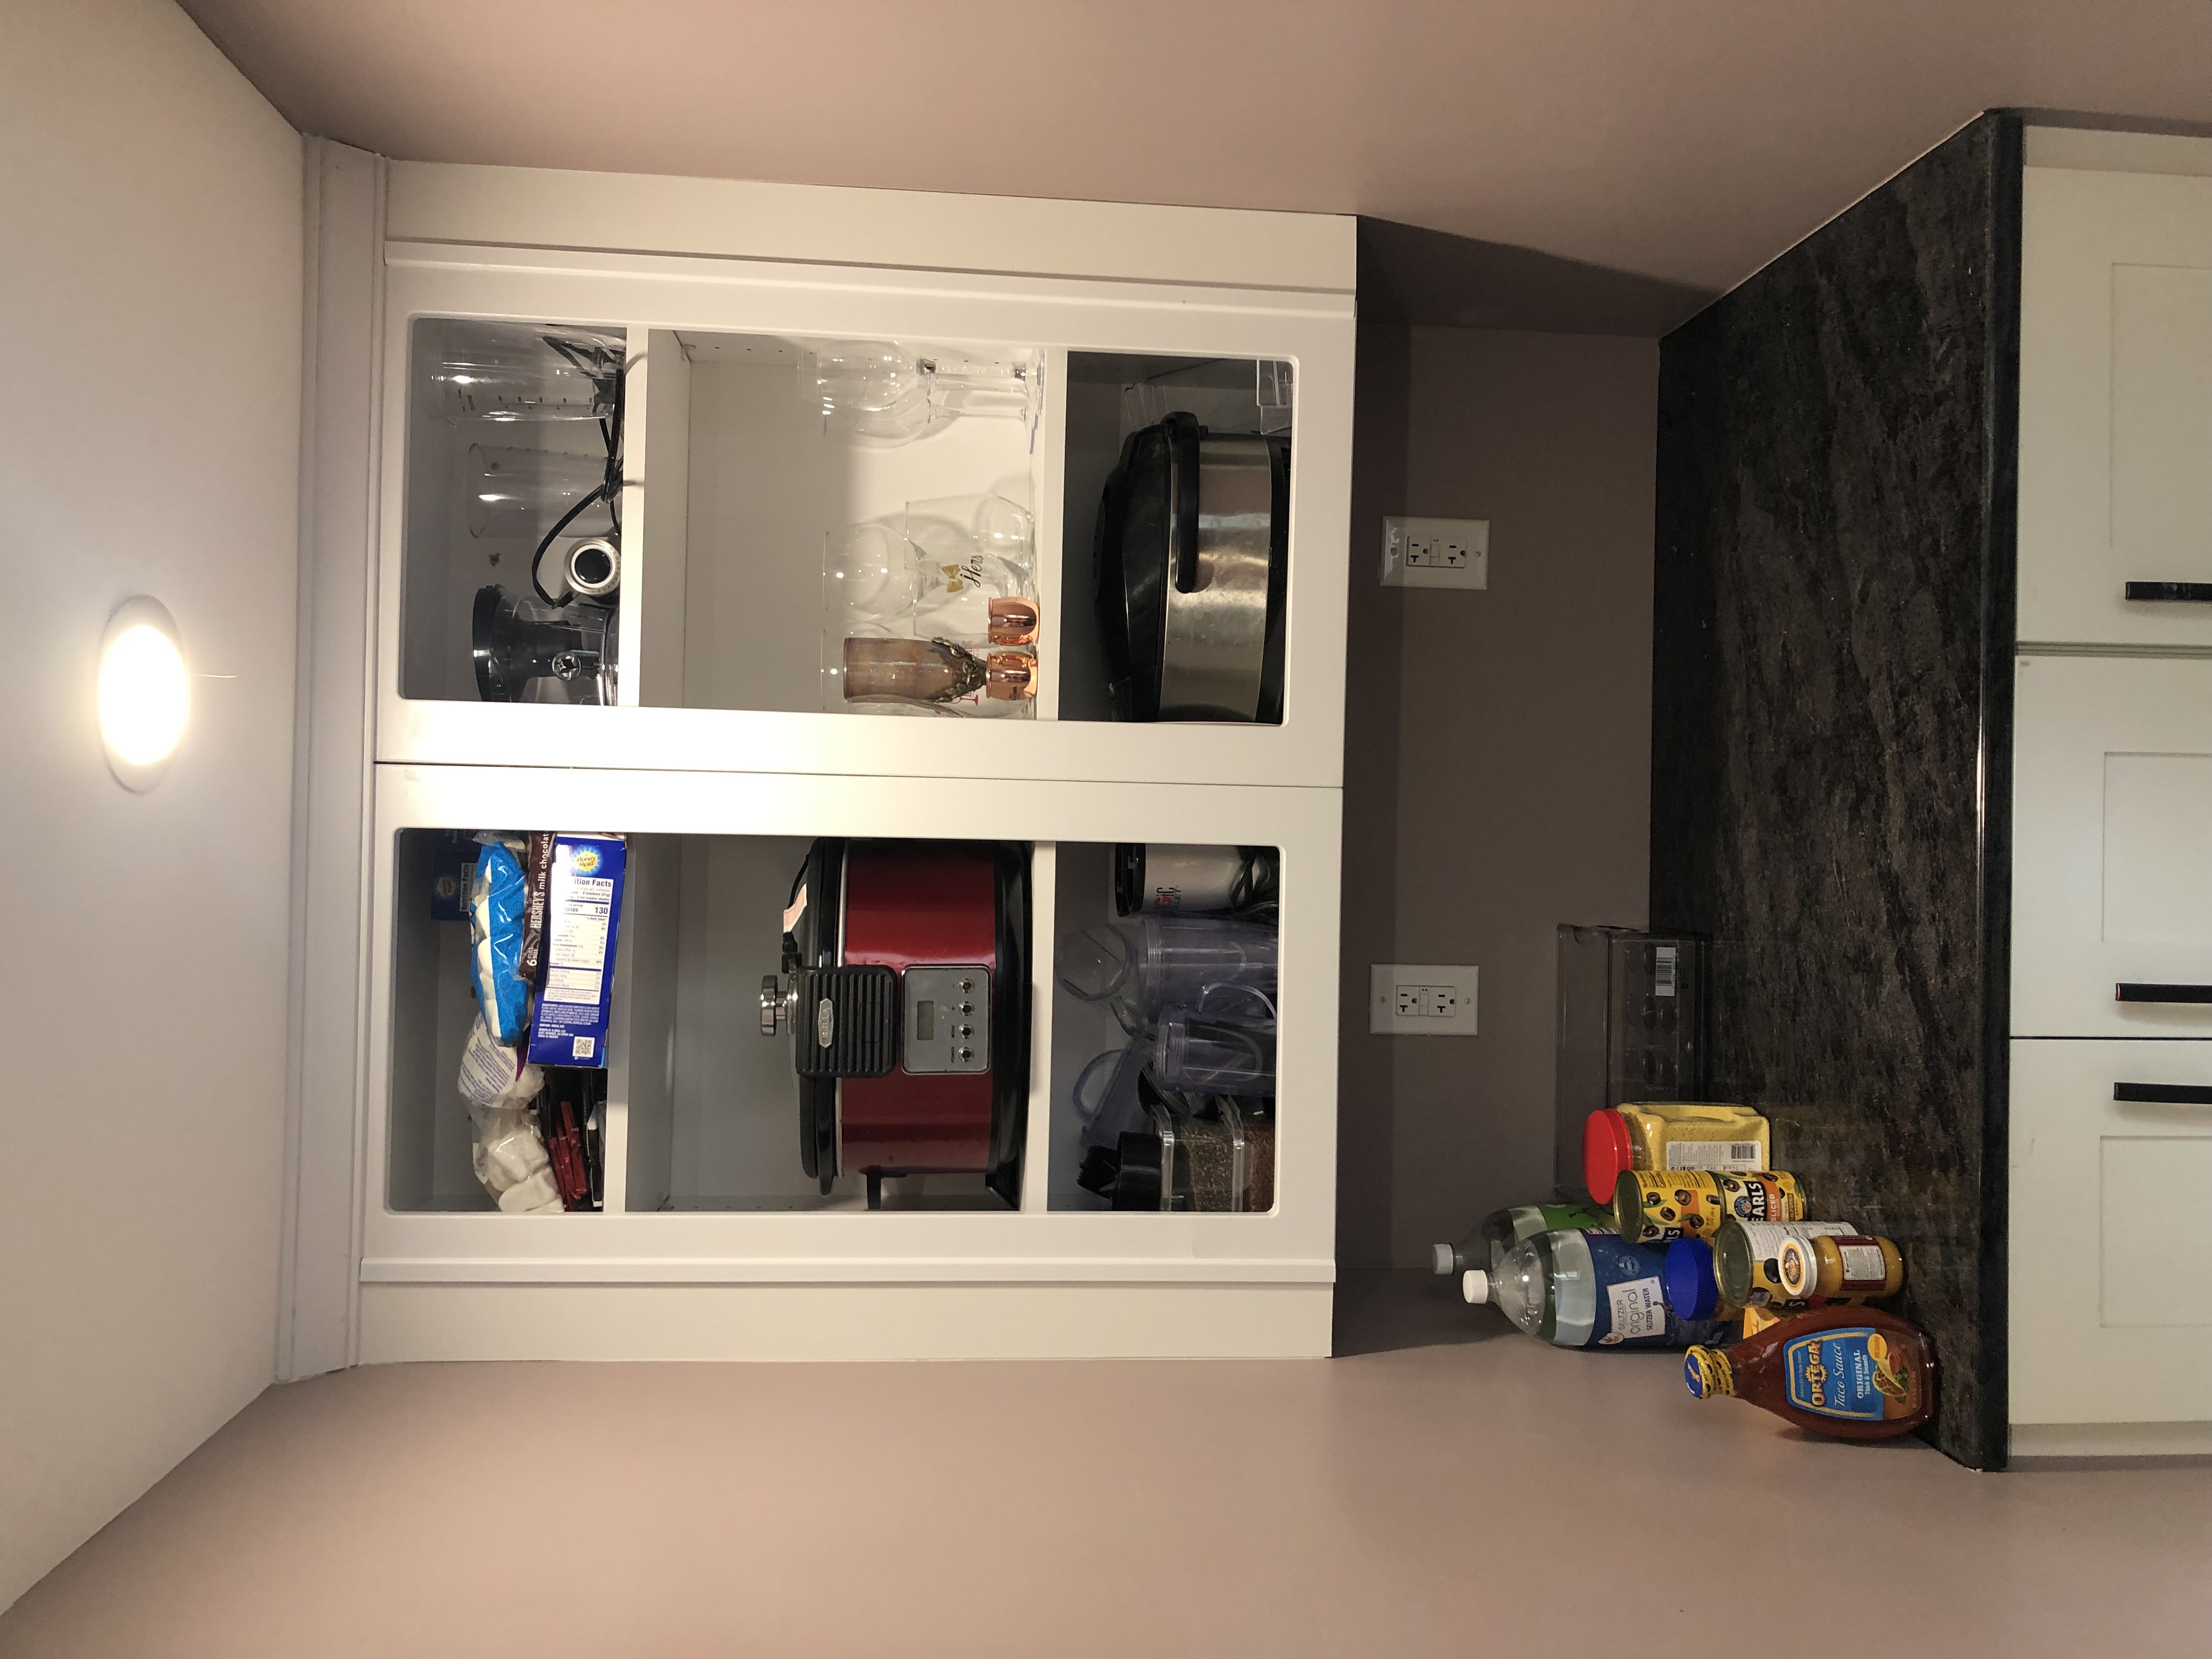
Cabinets, Countertops
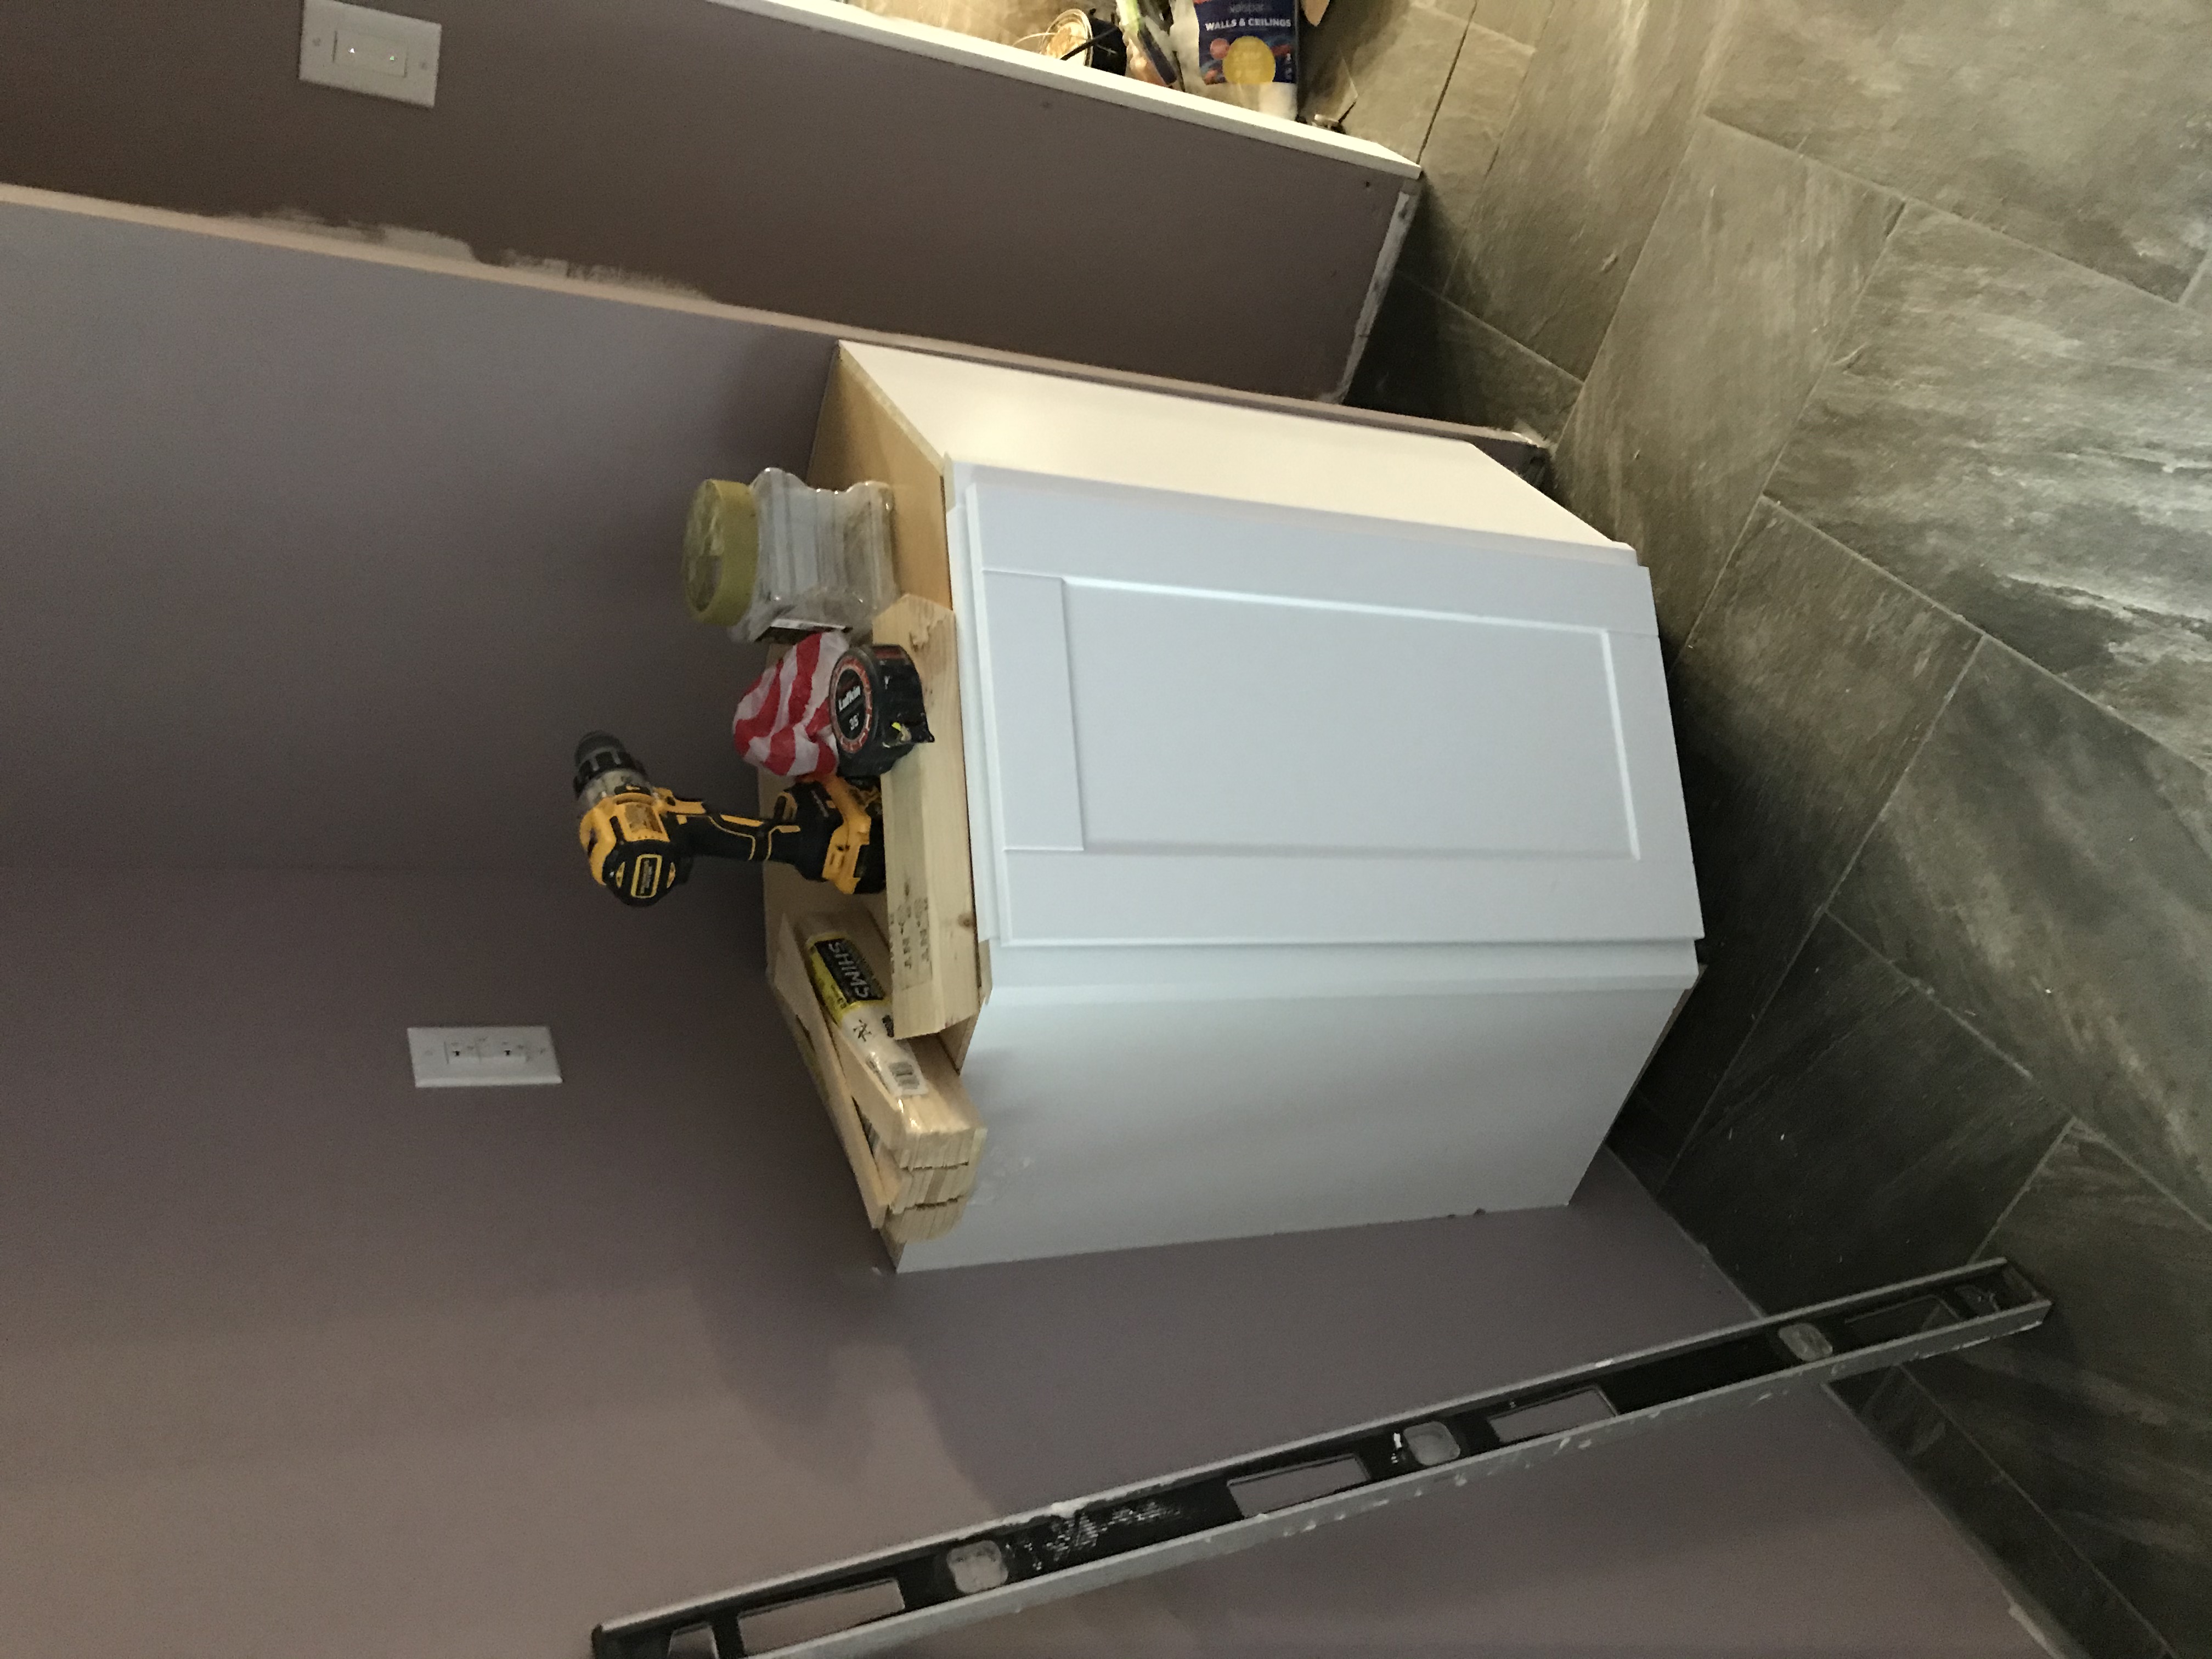
Installing cabinets alone sucks. Basically the trick is to grab 2 2x4s and cut them to the size of the area you’re hanging them. Make them like the floor of the cabinet. Haul the cabinet up, with predrilled screws, then smash cabinet against the wall and screw it in. I had to build out the wall slightly because i didn’t have any good studs to line up my cabinets as well.
The worst part about all of this was jiggering a way for the small 9 inch floor cabinets to be stacked ontop of one another. They make a 8ft cabinet that is 18inches wide, but not 9. So i had to get creative. I made a small support for the cabinet to rest ontop of the other cabinet, keeping the weight on the sides of the cabinets. I then cut a large piece of white mdf painted board and put it on the side to hide the stud.

The countertops were a little tricky. To get one done, you buy a piece of MDF board, cut it to the exact size you want it. This is called a template. Then you bring it into a countertop store and they will cut whatever you want to that size. Use labels on the mdf board so they know which sides to finish. I forgot to take photos of this process.
Special Sliding Shelves
I had to get creative (once again) with the sliding drawers that tyler wanted in the 9 inch cabinets. The brand is called “Rev-a-shelf”. To install it, I popped off the door of the cabinets, then shimmed the shelf so it was centered, I then nailed the door back to the face of the rev-a-shelf. I then placed a handle in the center of the shelfs, and filled the nail holes with chalk.
Trim and Broom Nook
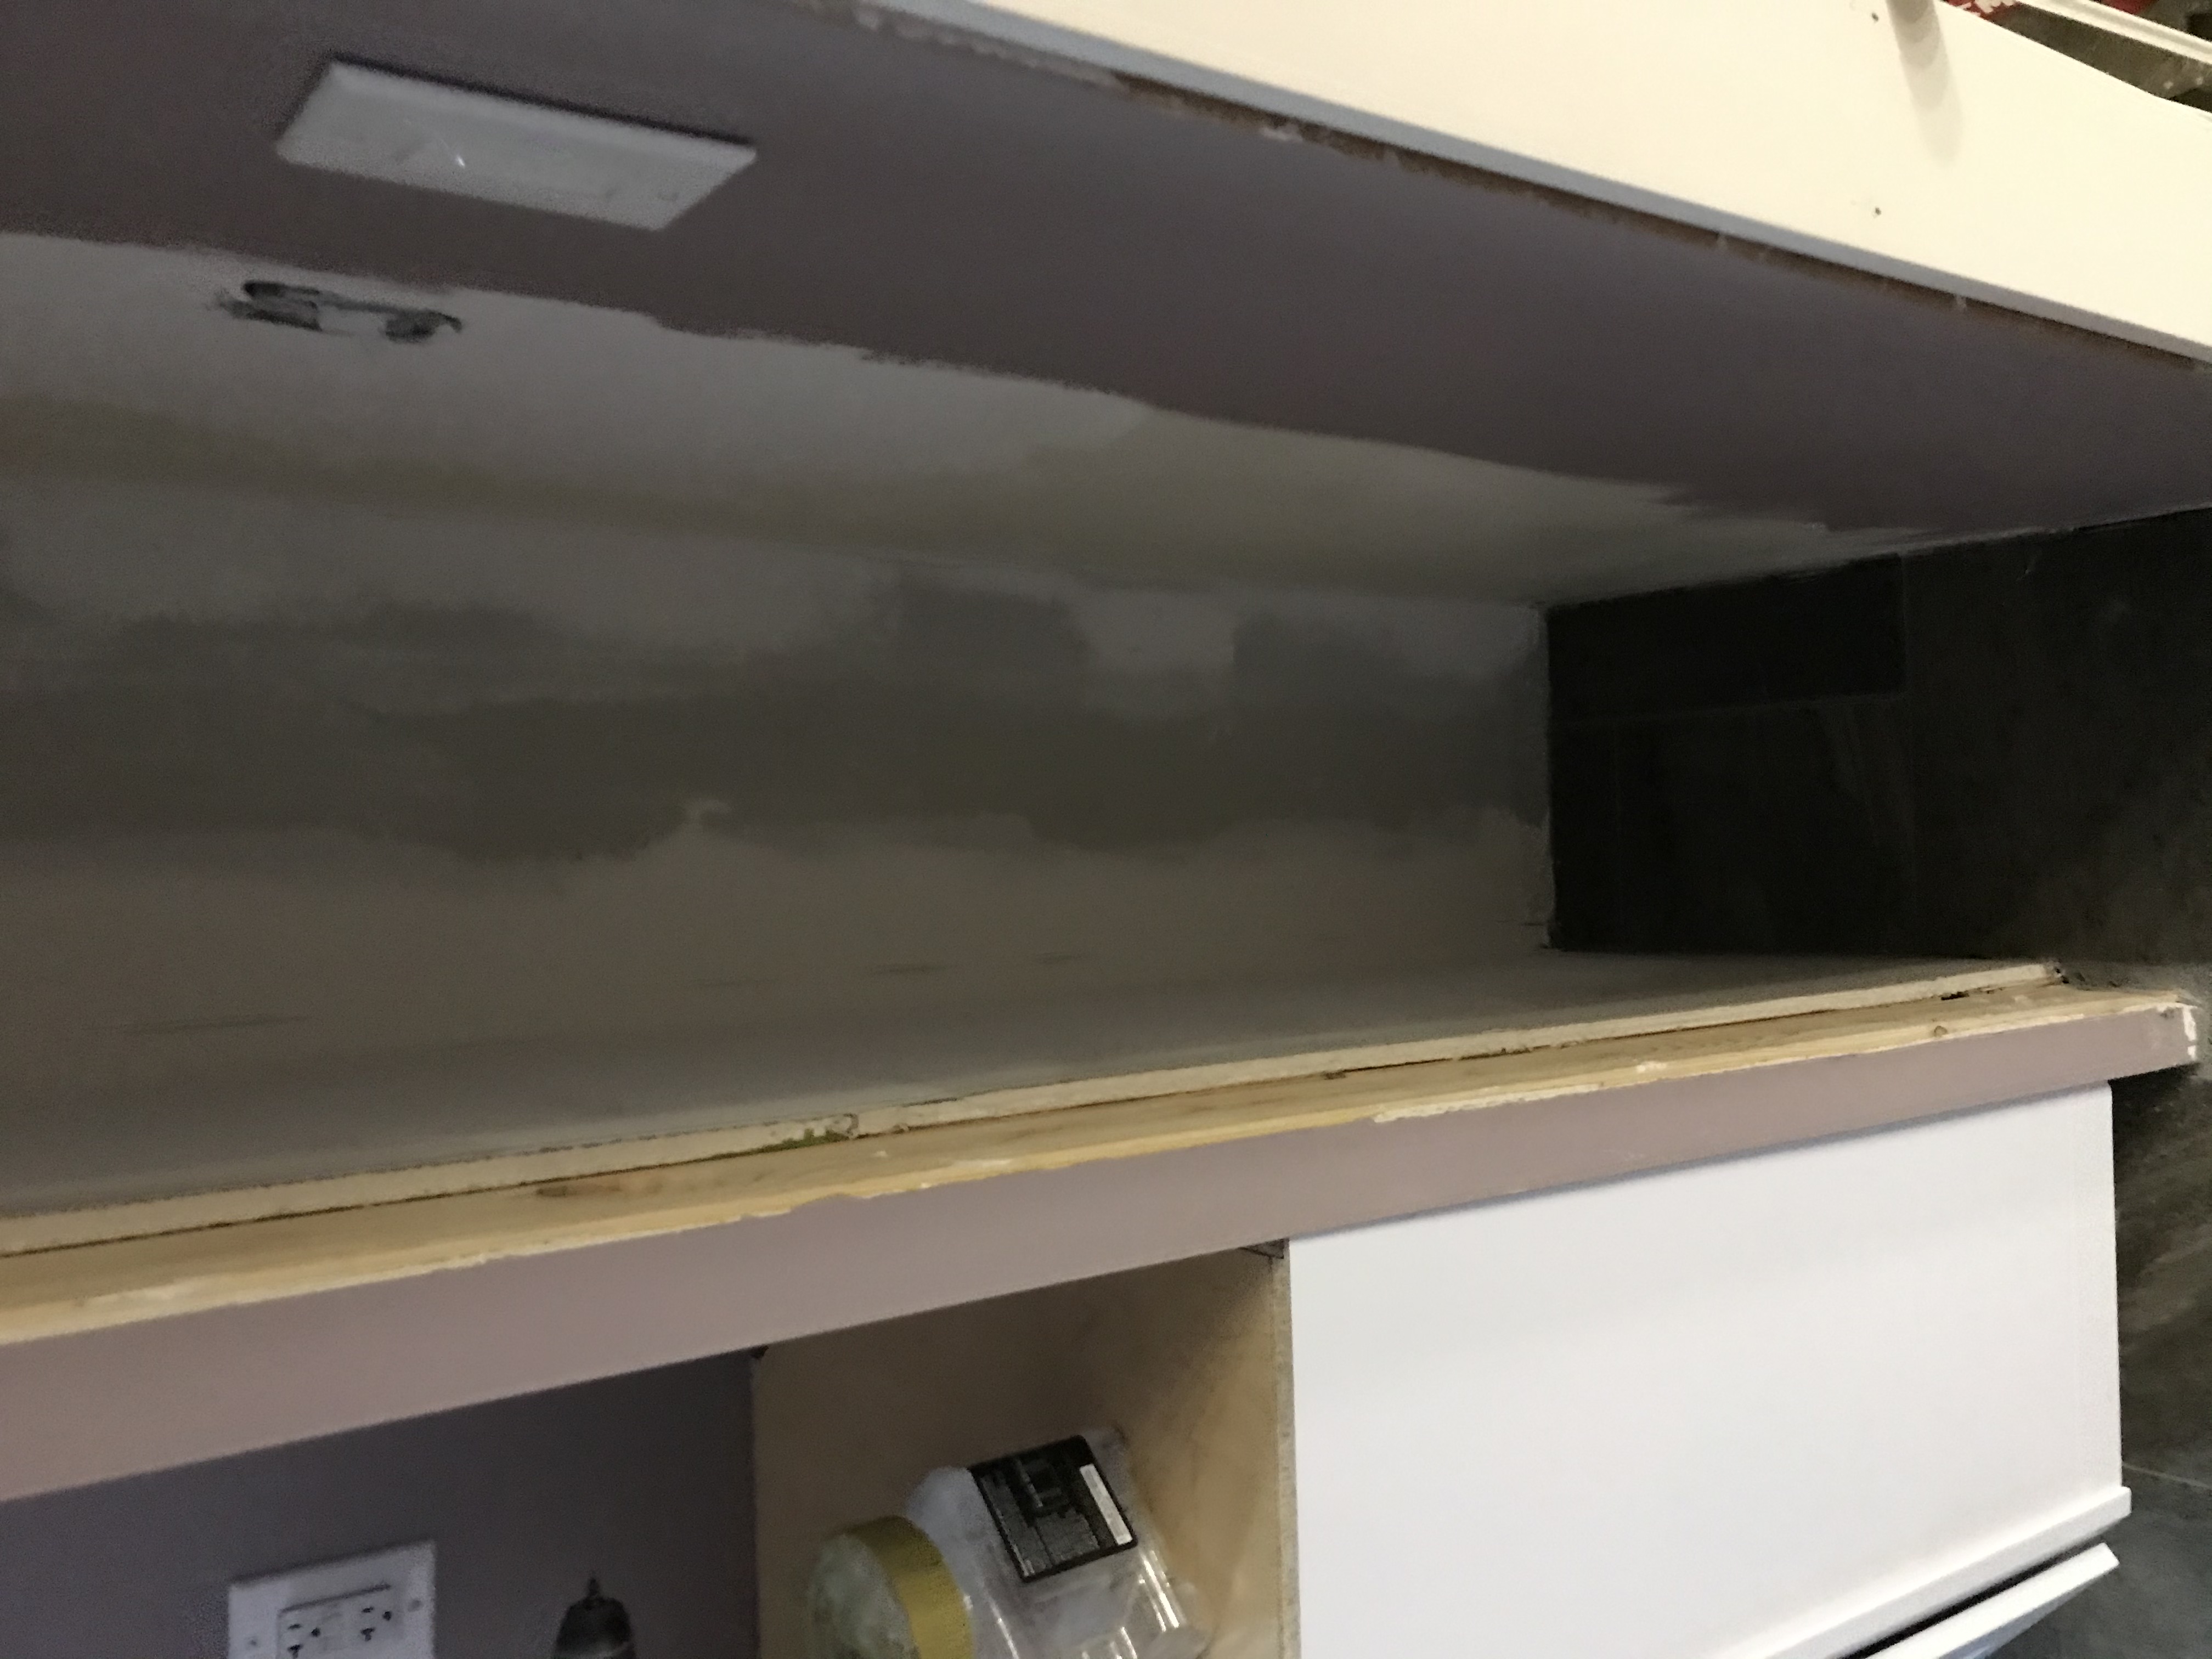
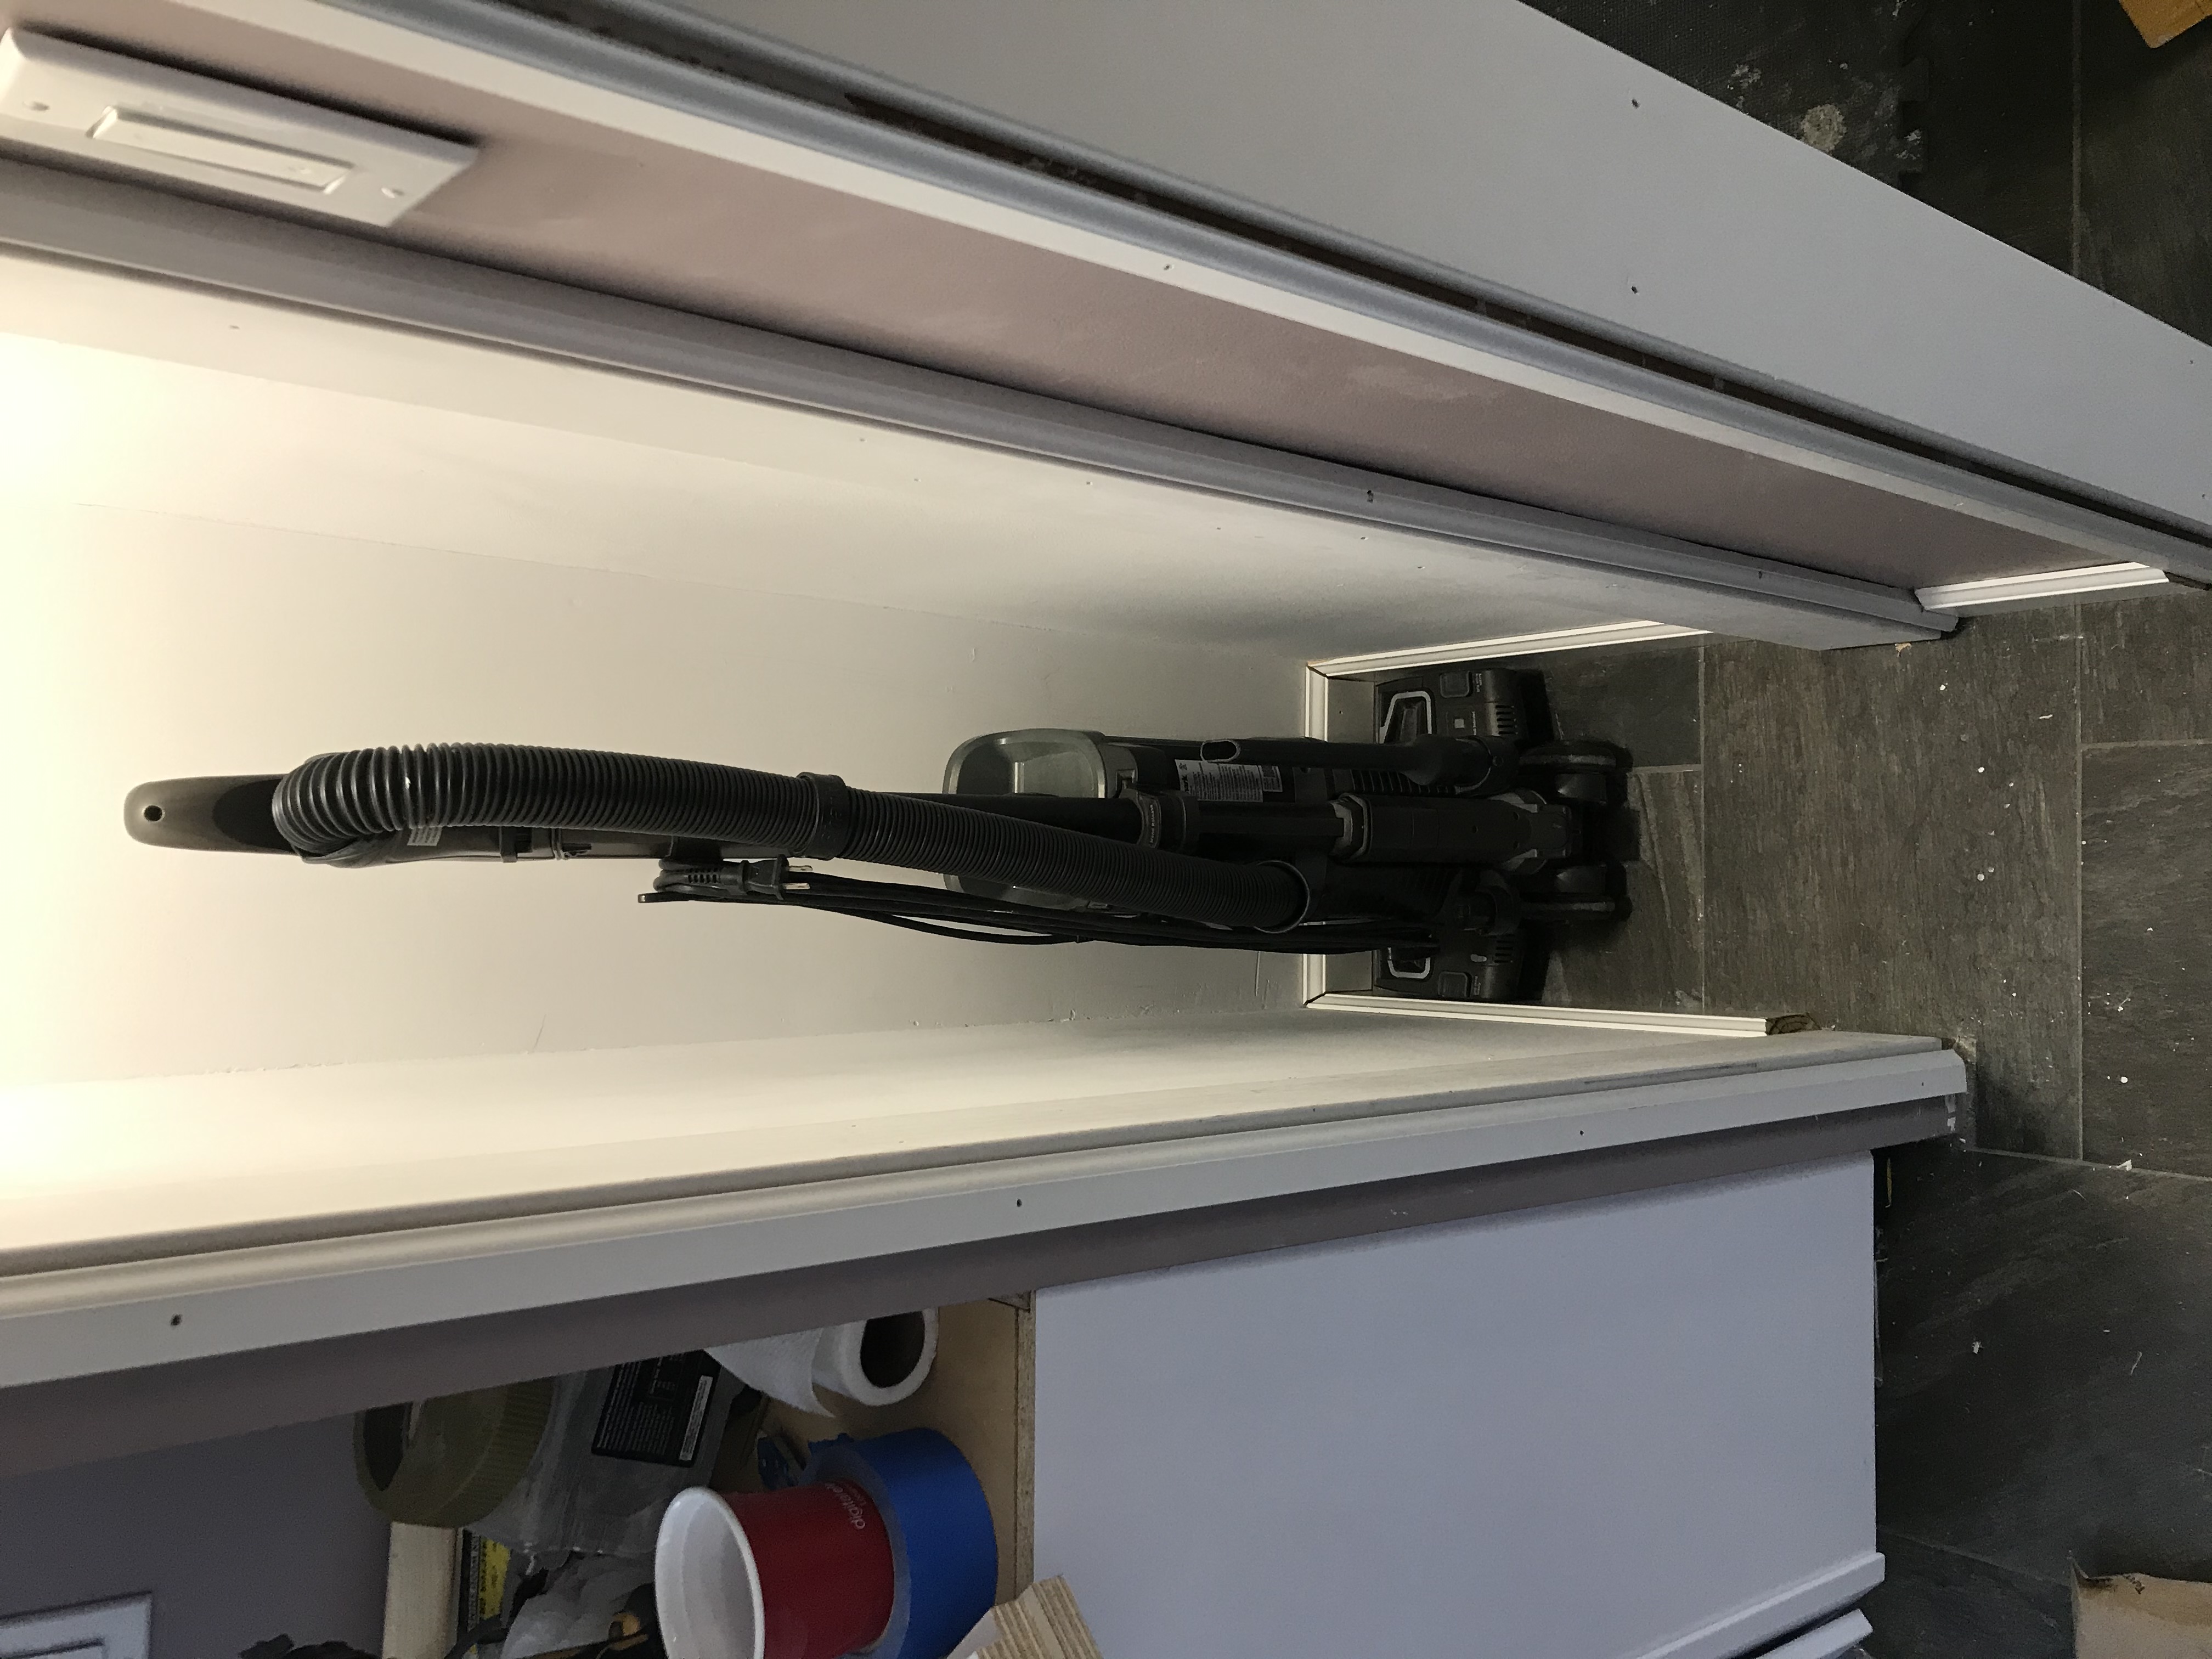
The broom nook I got lazy with, but i trimmed it out, and spackled as needed.

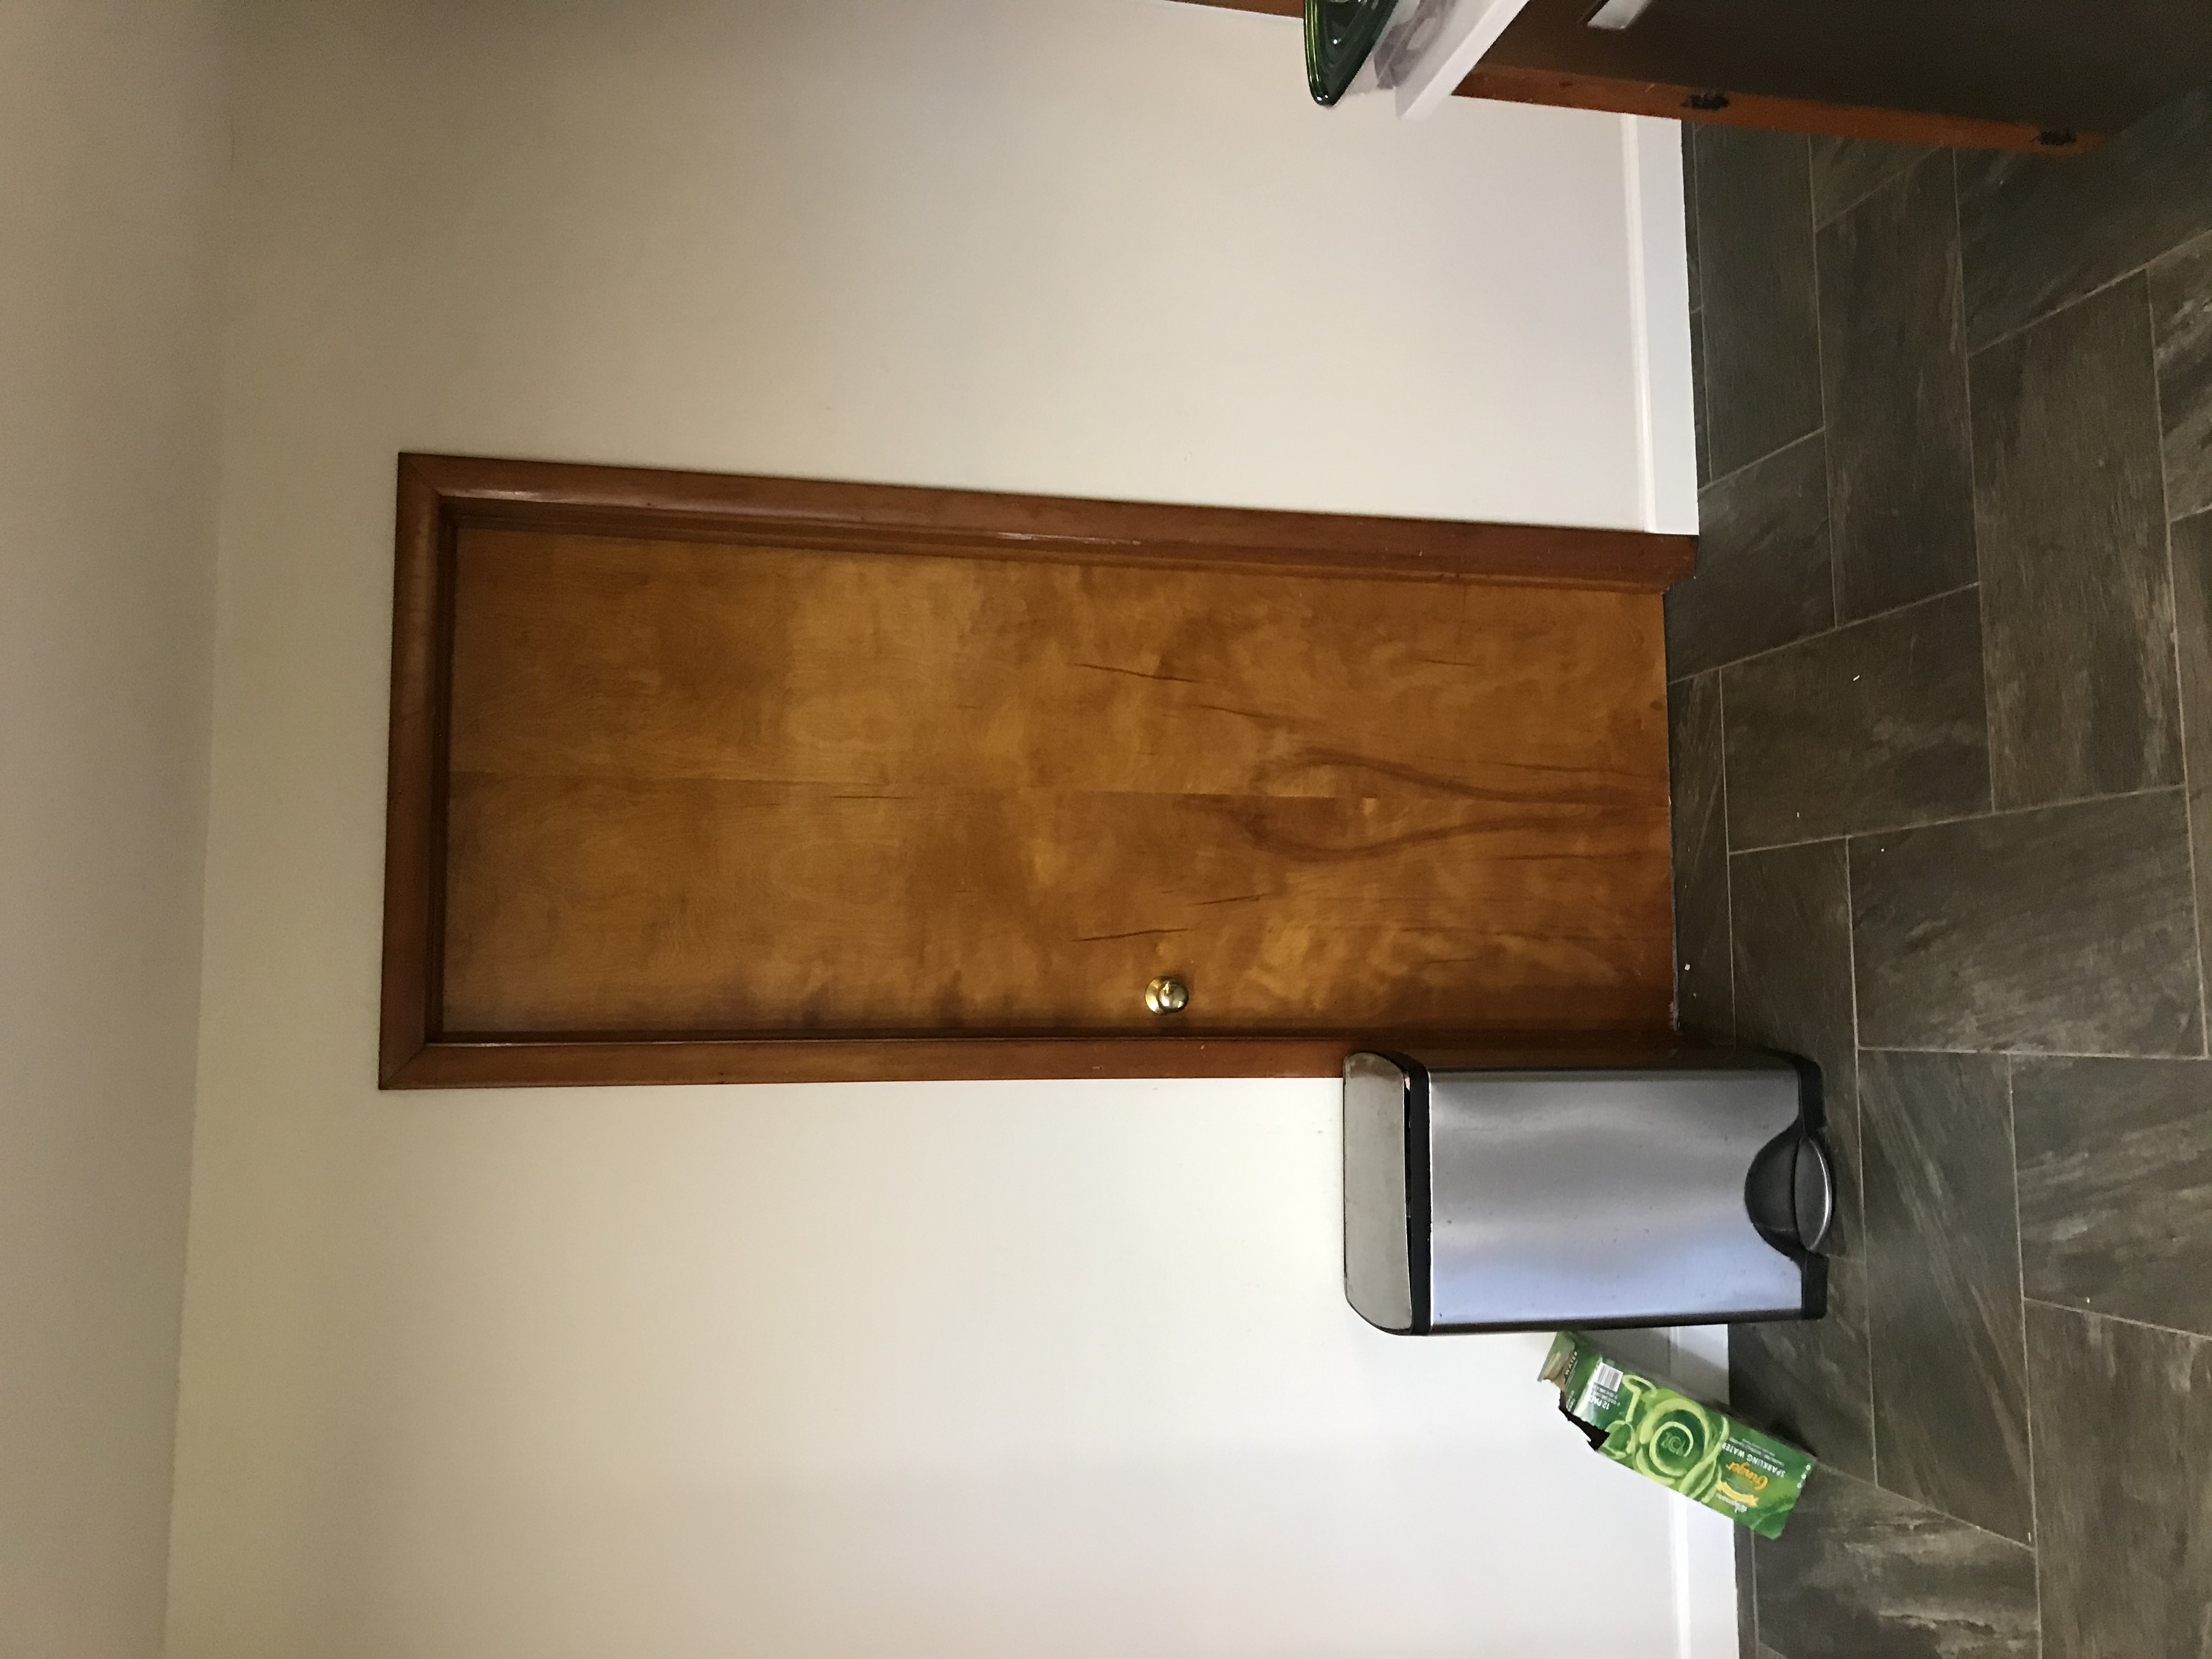
After
Pantry Door
This took longer than I care to admit to paint.

Broom Nook
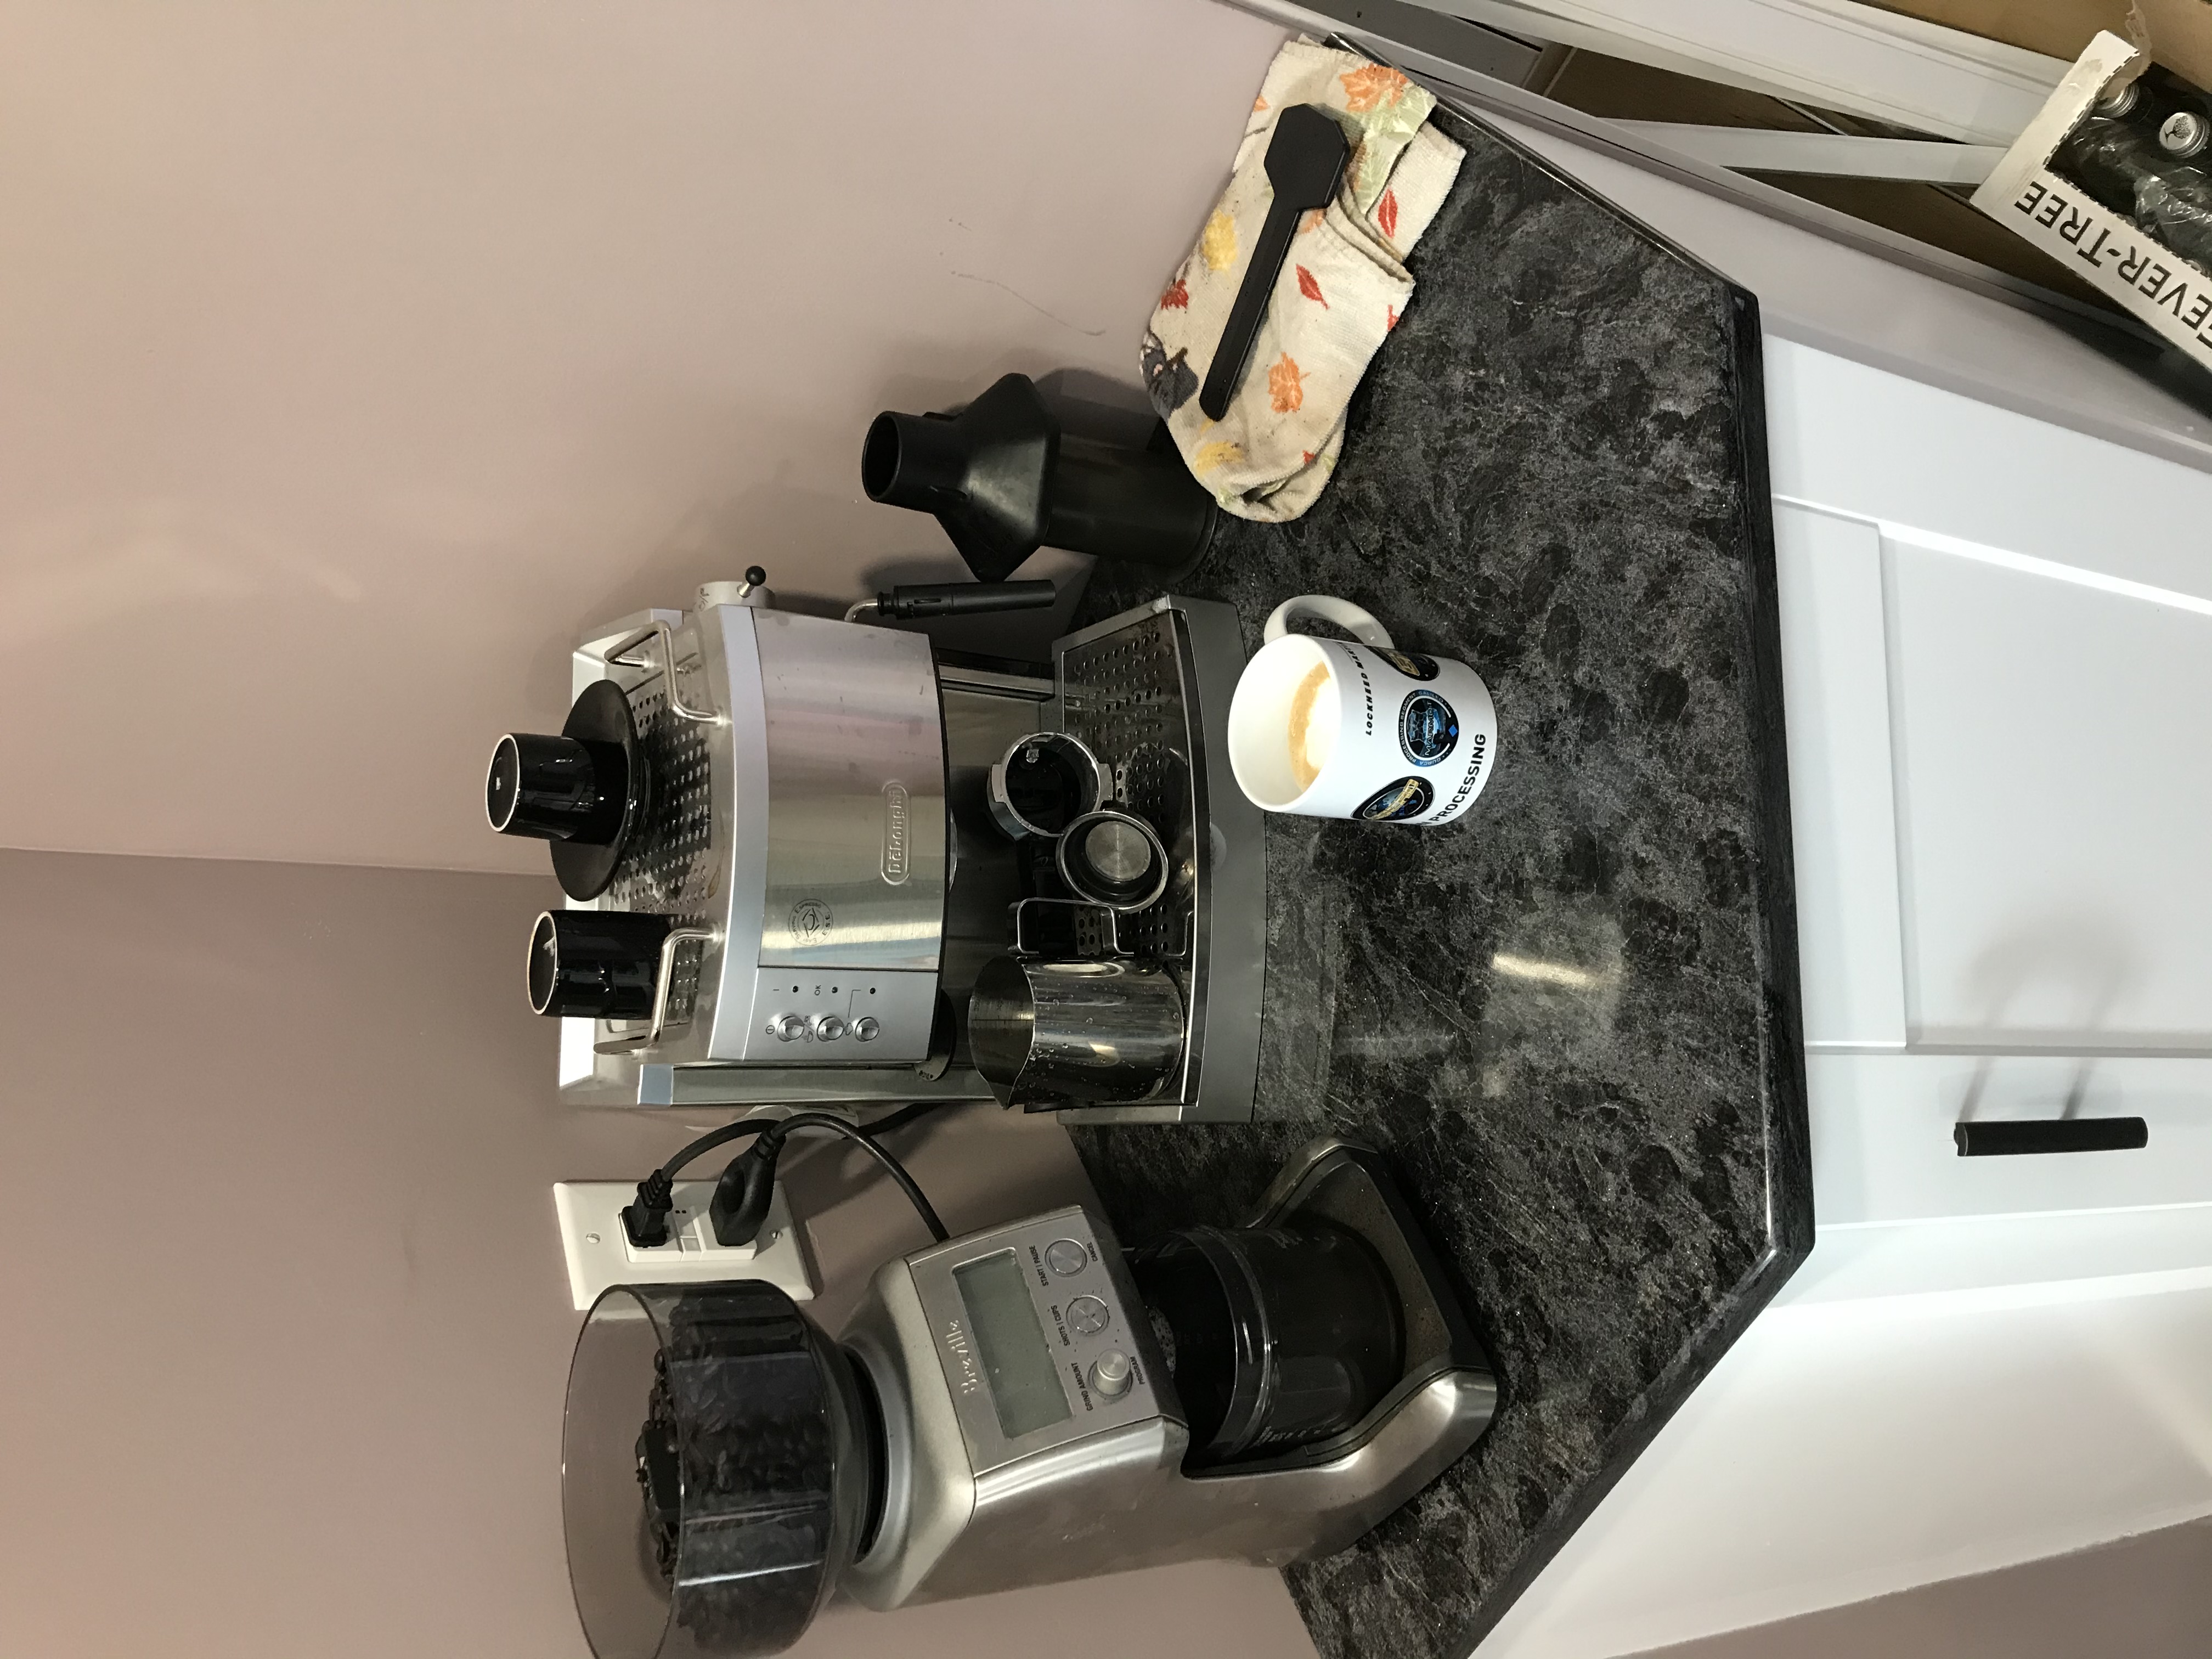
Coffee Corner
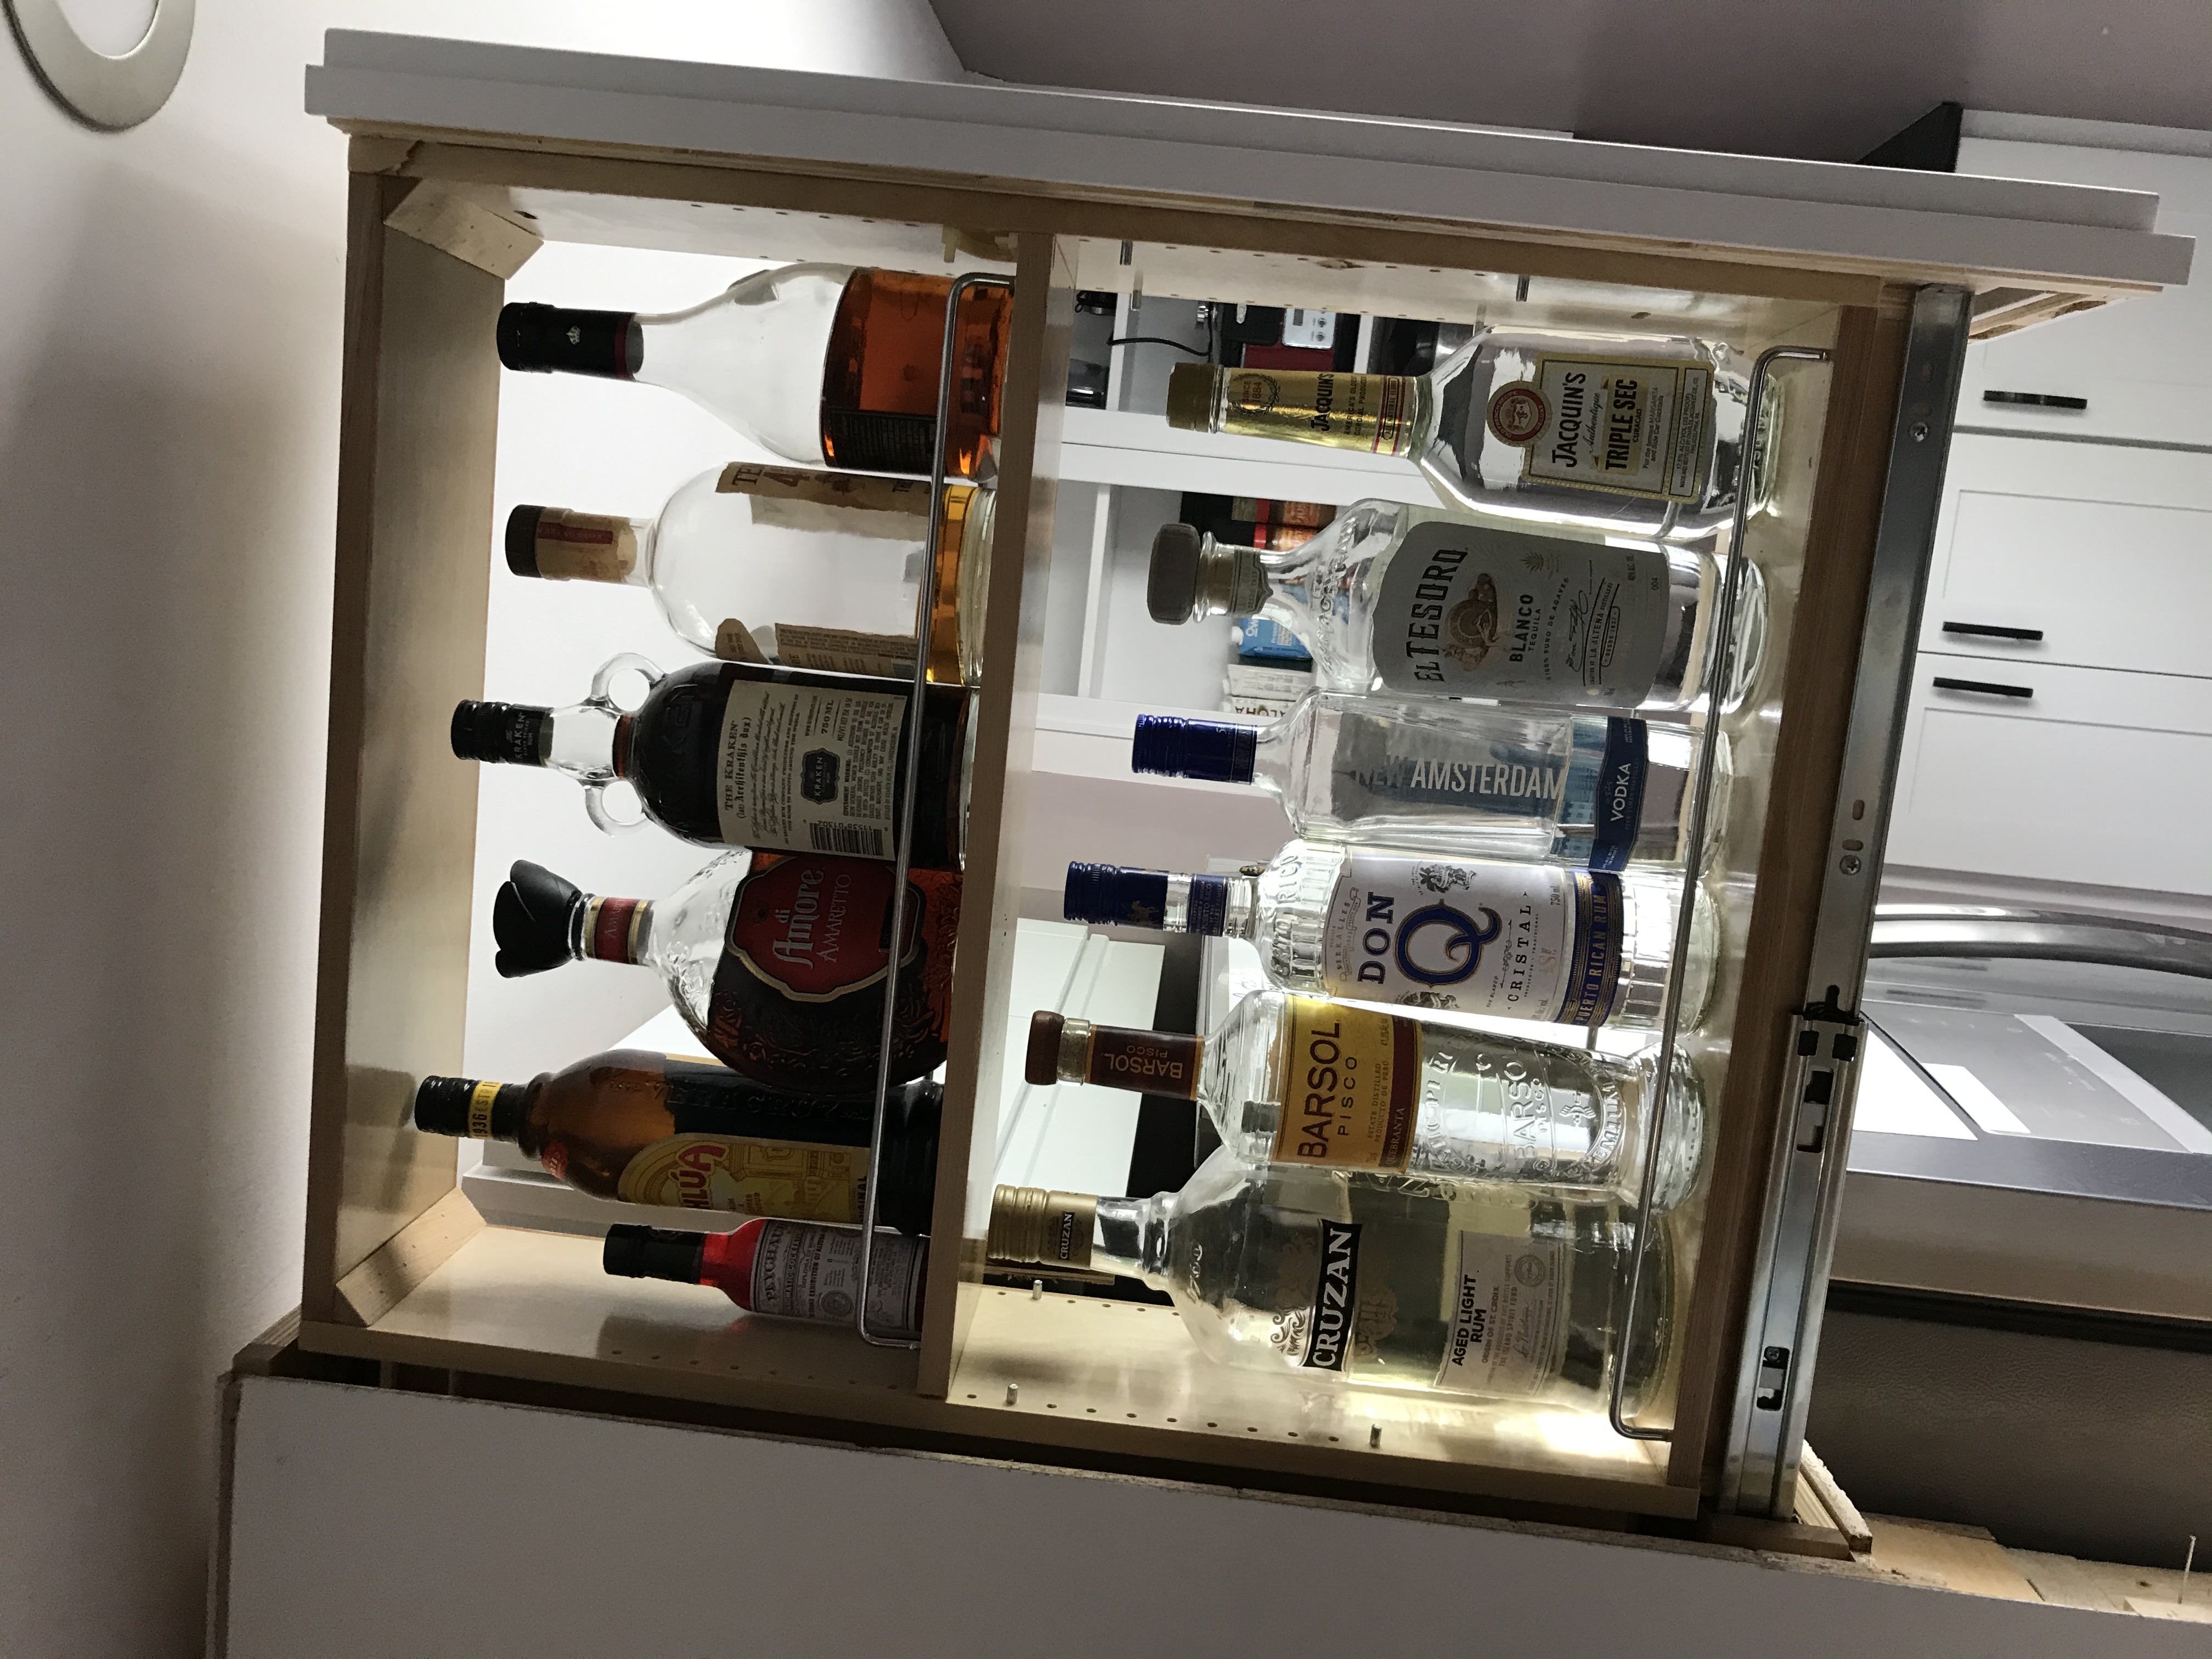
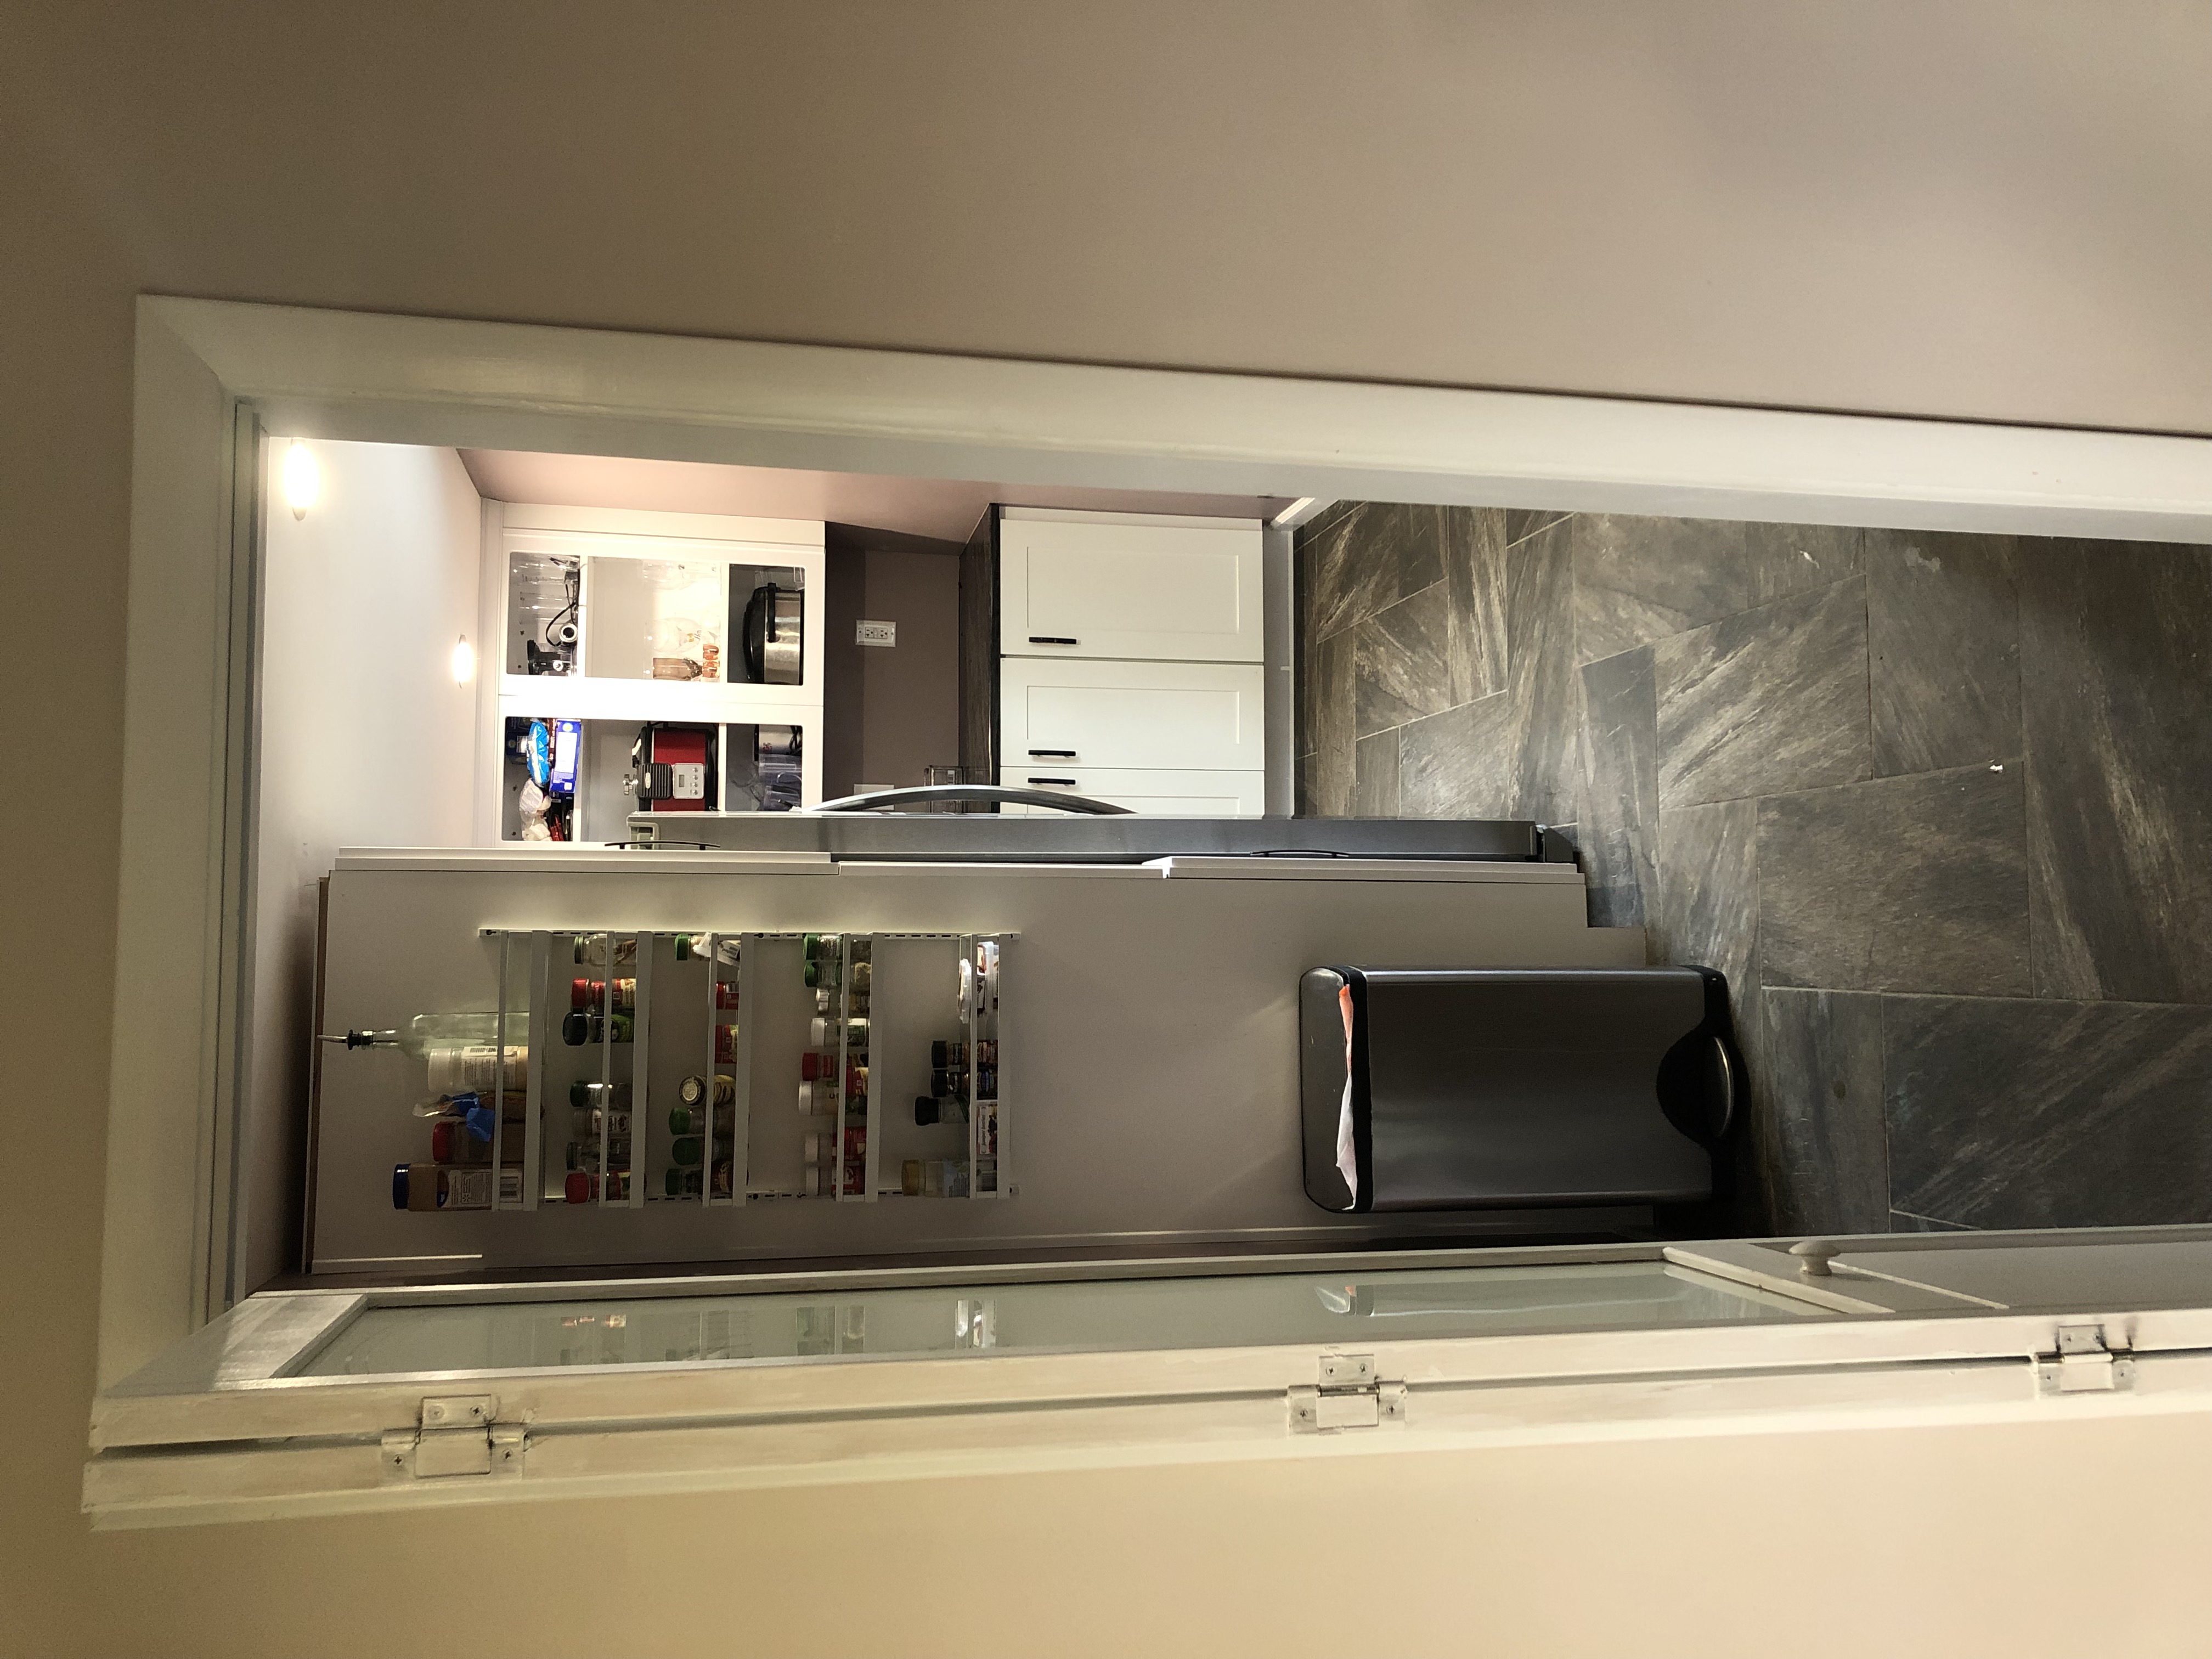
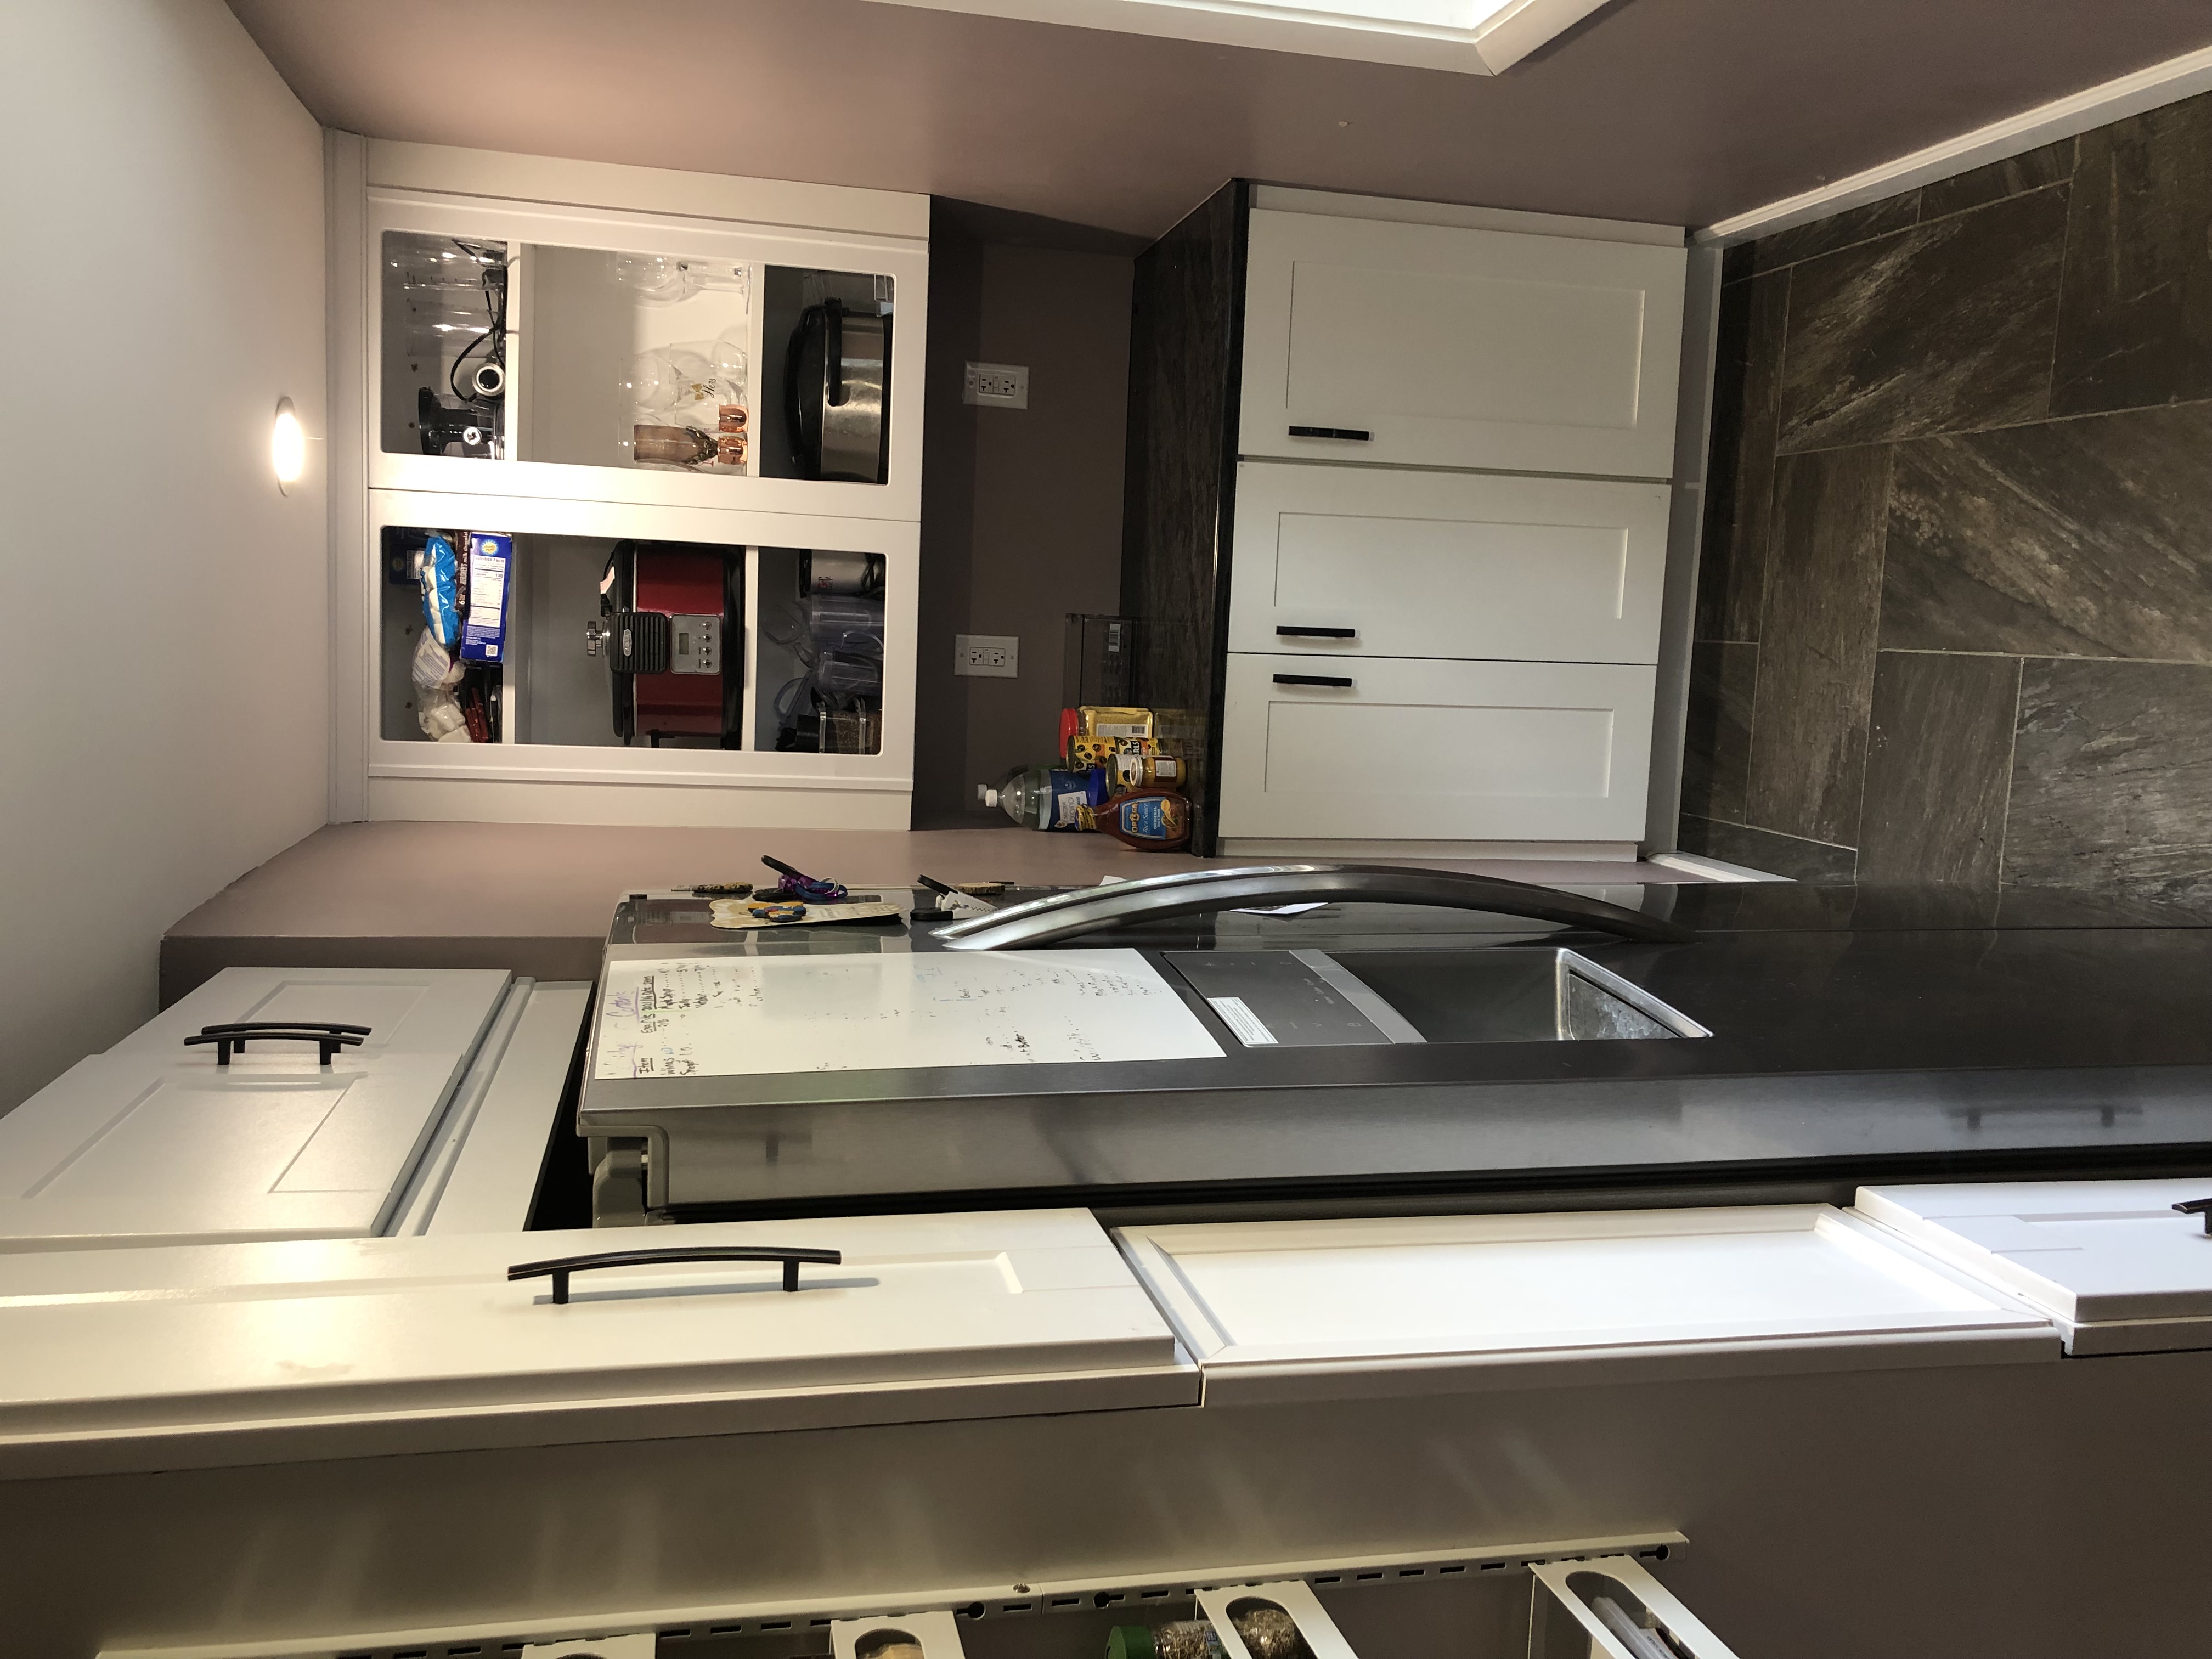
Appliance Station
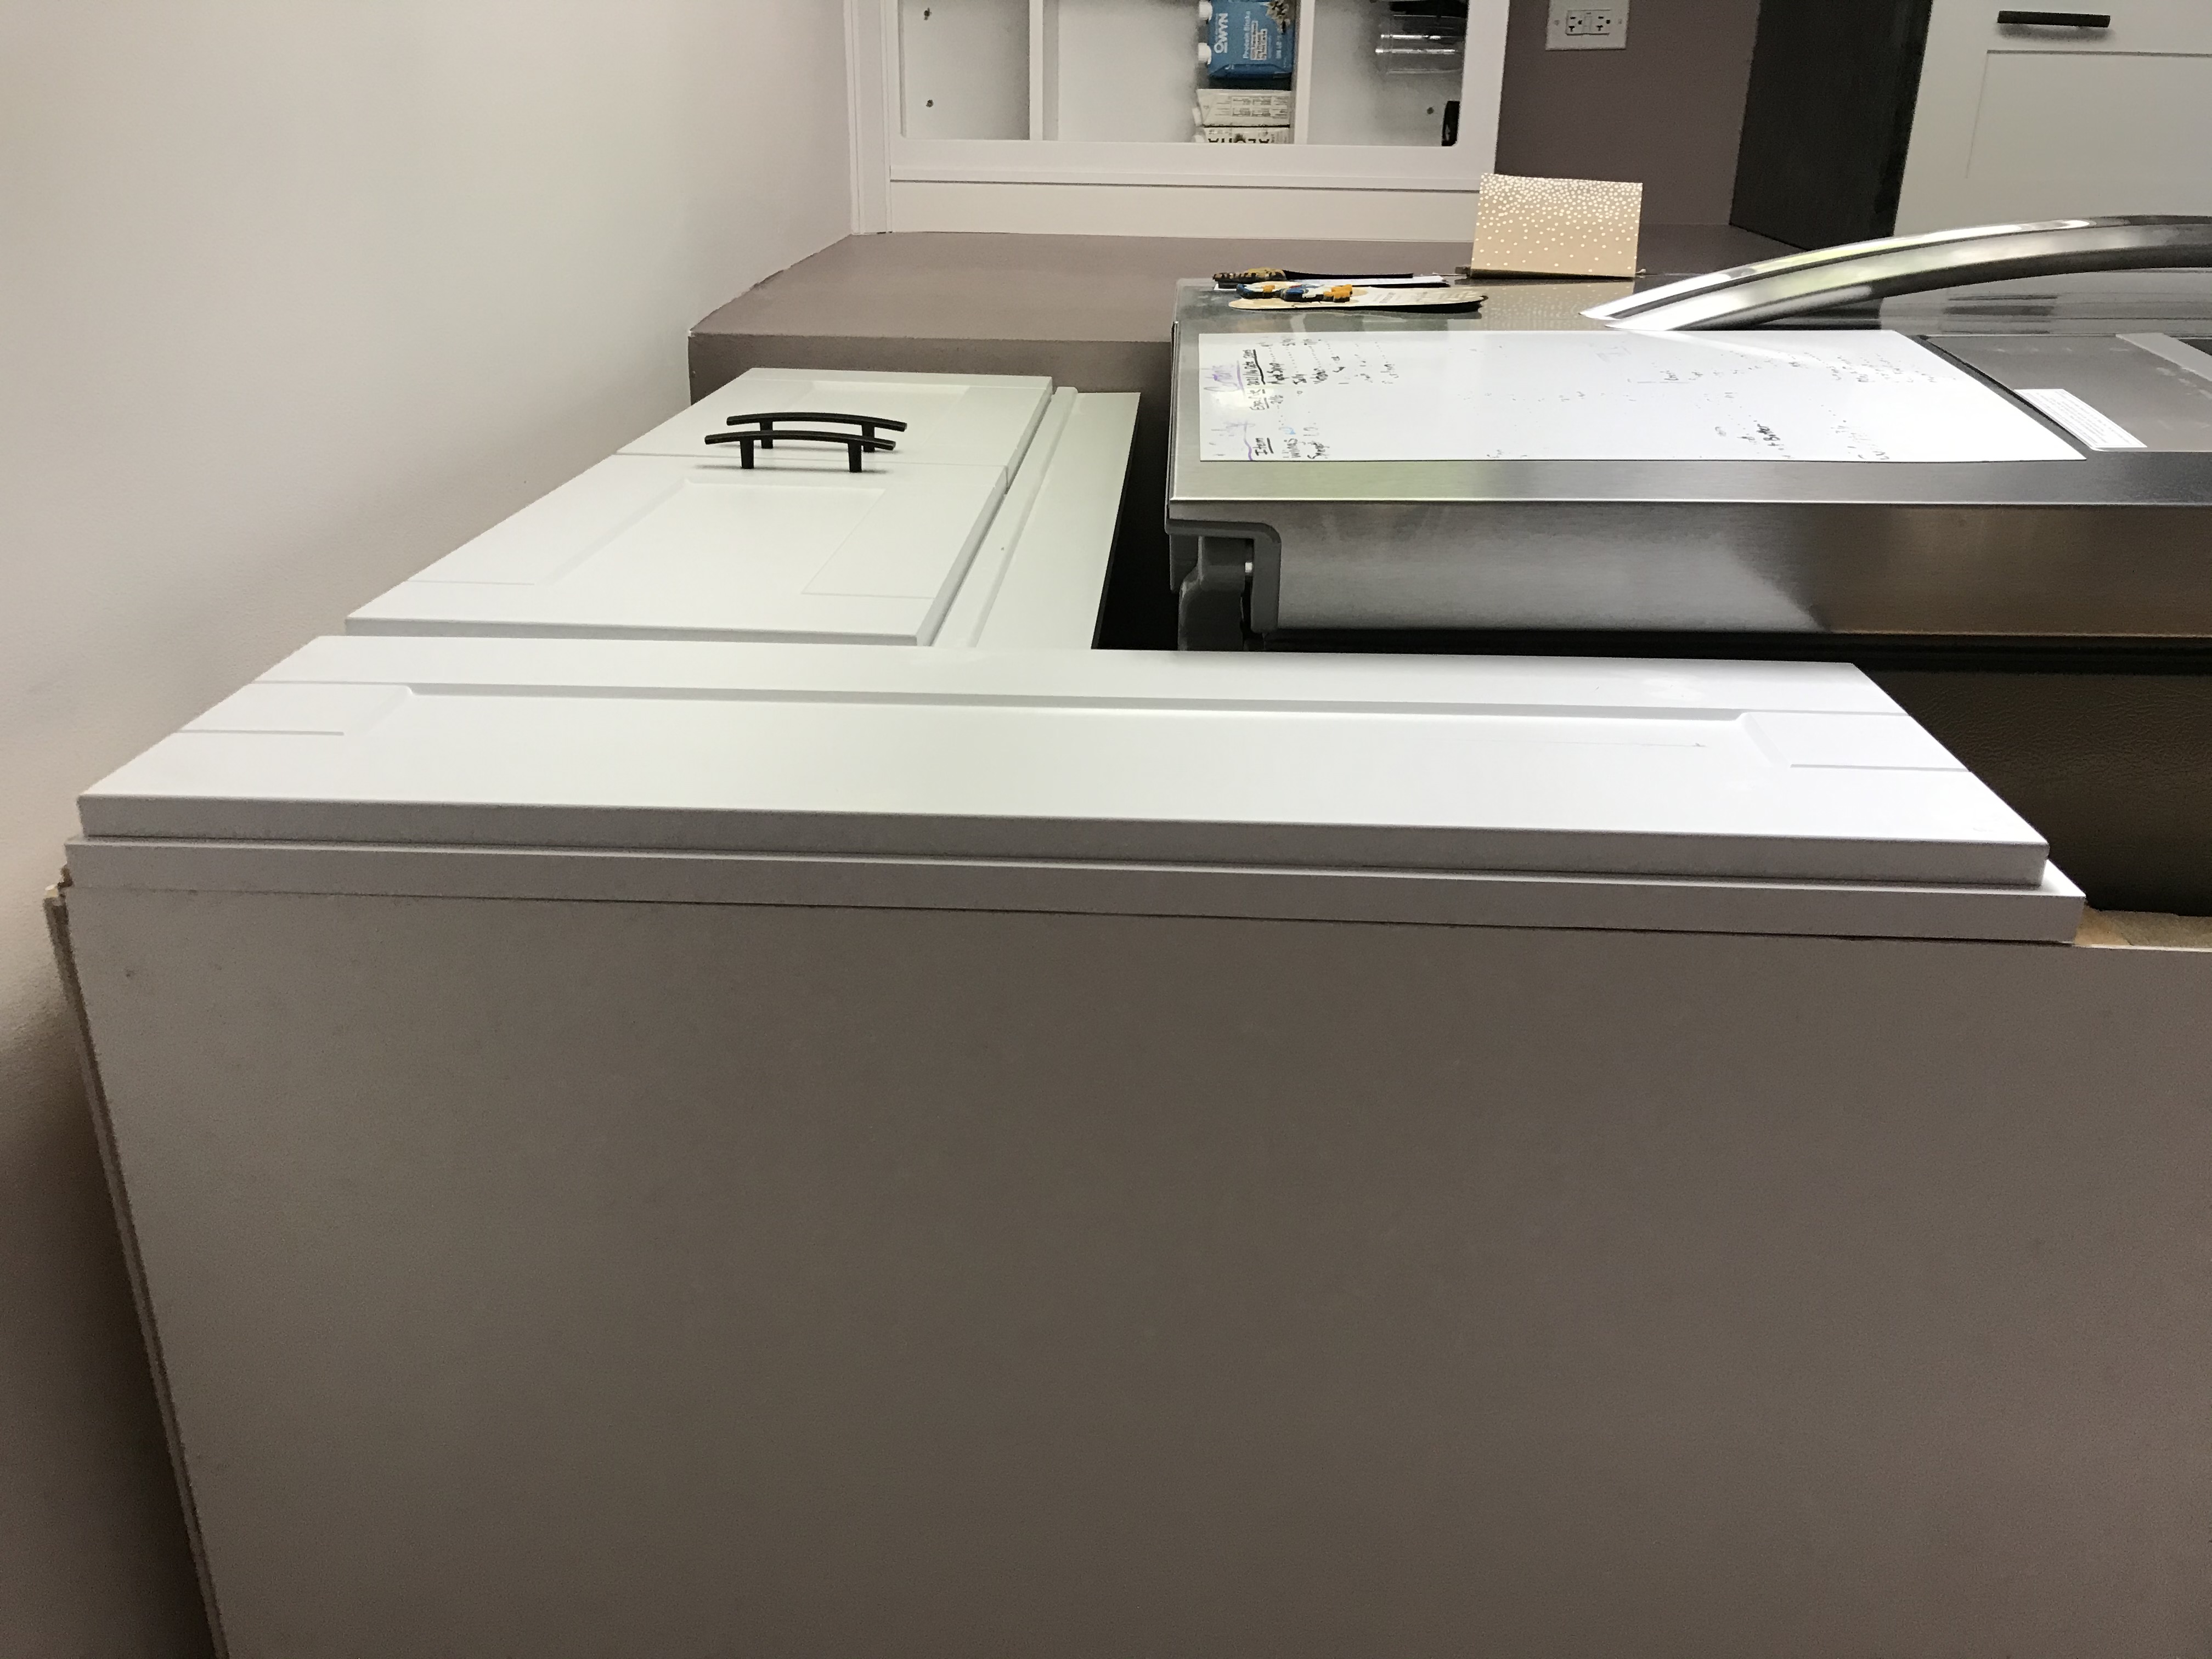
After Fridge & Cabinets
New fridge who dis?
Later Thoughts
- Do not use marker to mark your drywall, its very hard to remove.
- When purchasing drawers for your cabinets, if you’re doing the install yourself, just build the drawers, its far cheaper.
Each cabinet is around 1-2 hundred dollars depending on their size, then the sliding drawers idea we had to maximize the space were pricy to buy preconfigured as well, if i could go back i would just buy a router and build the drawers myself. The hardware is pretty standard and i can get at lowes for cheap.